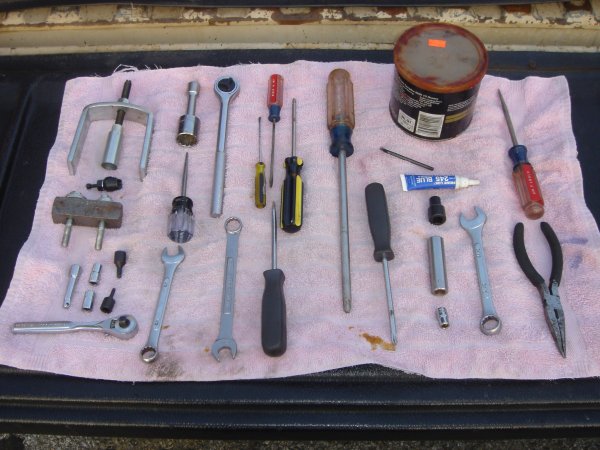
Tools needed are:
Phillips screwdriver #1
Phillips screwdriver #2
Phillips screwdriver #3
Small flat blade screwdriver
Ratchet
13/16 socket
Small brass hammer
Small picks
Needle nose pliers
Torx bit #20
Torx bit #30
Inverted Torx bit #E8
7mm socket
1/4 socket
Small chisel
Steering wheel puller
Lock plate remover/installer
Pivit pin remover
Locktite thread locker
Wheel bearing grease
Remove the horn button
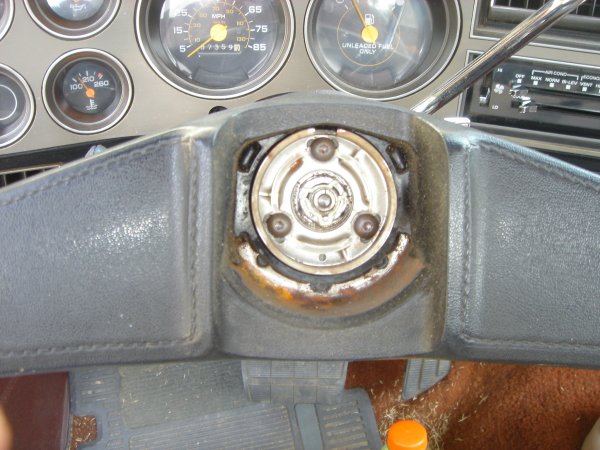
Remove the horn contact clip
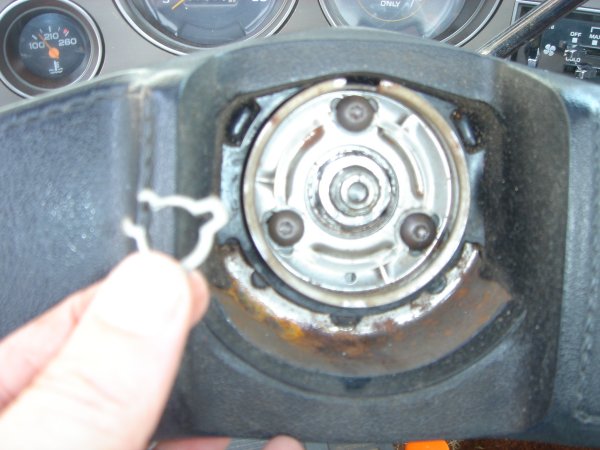
Remove the horn contact assembly
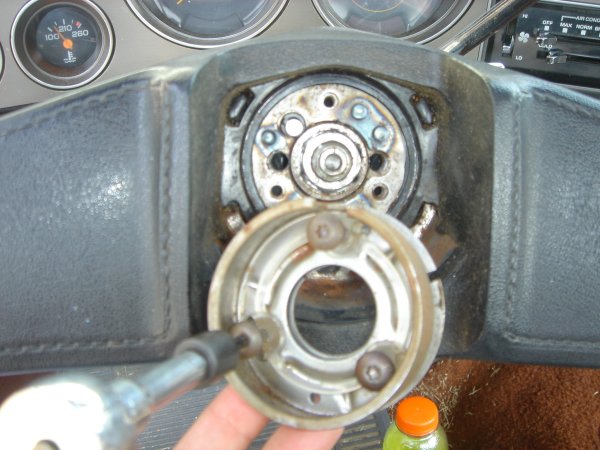
Remove the horn lead asembly
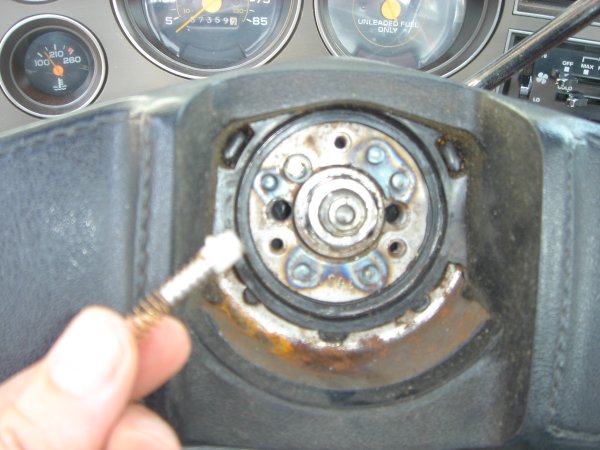
Remove the steering wheel nut
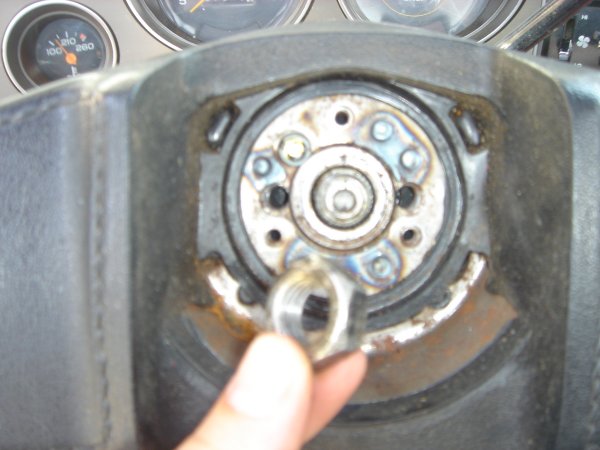
If your wheel and shaft do not have corresponding alignment marks, use a chisel or similar tool to mark them for proper alignment upon re-assembly.
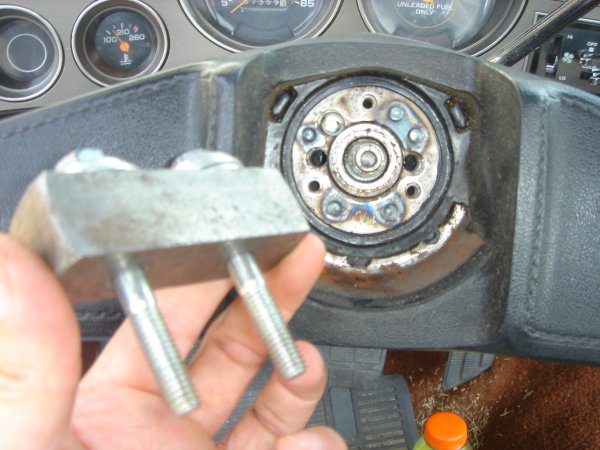
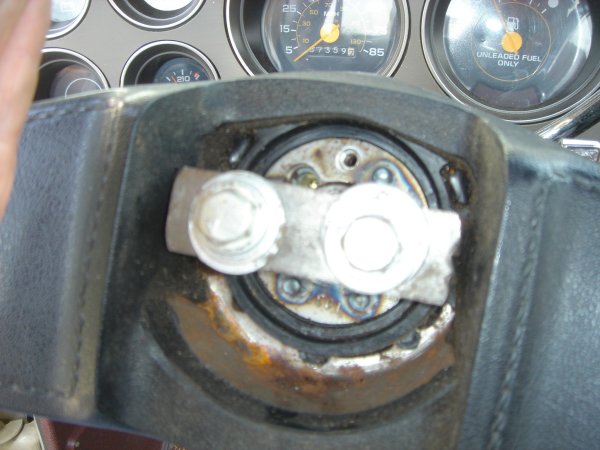
Remove the steering wheel using a steering wheel or crankshaft puller:
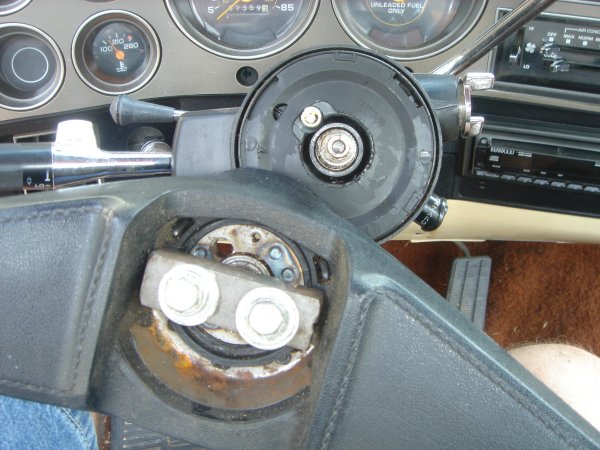
Remove the lock plate dust cover
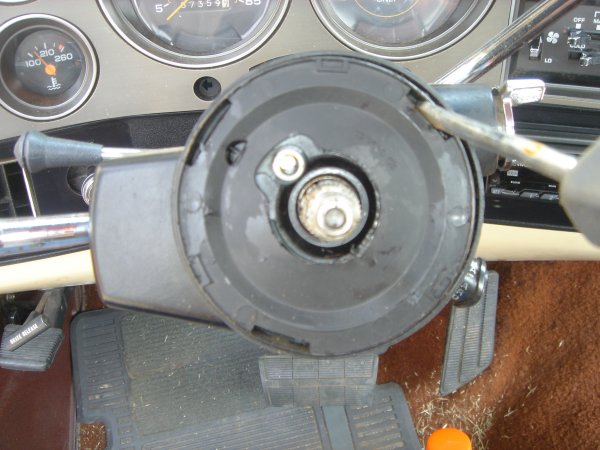
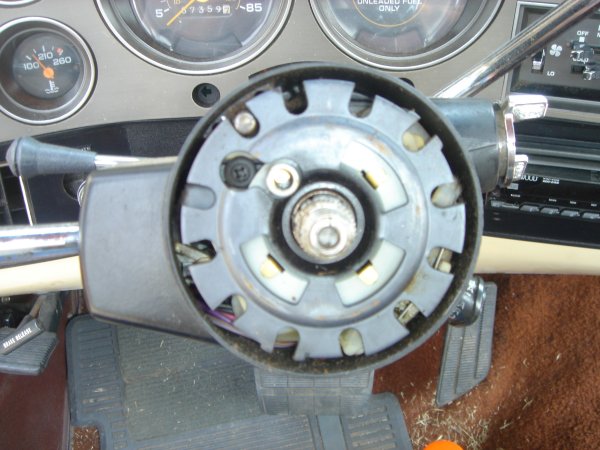
using a lock plate removal tool
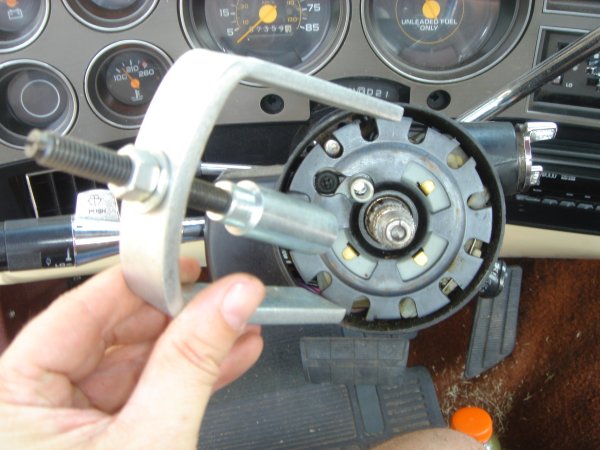
Install lock plate tool
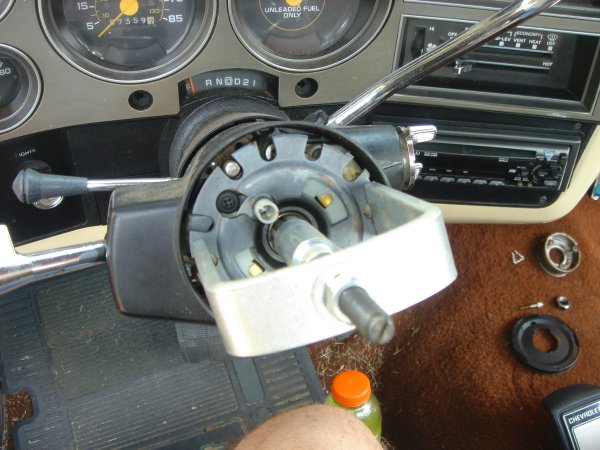
depress the lock plate just enough to expose the locking ring
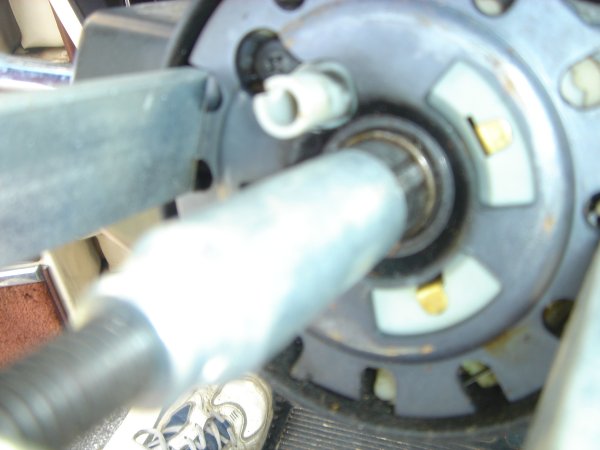
using a small flat blade screwdriver and a small pick to remove the locking ring.
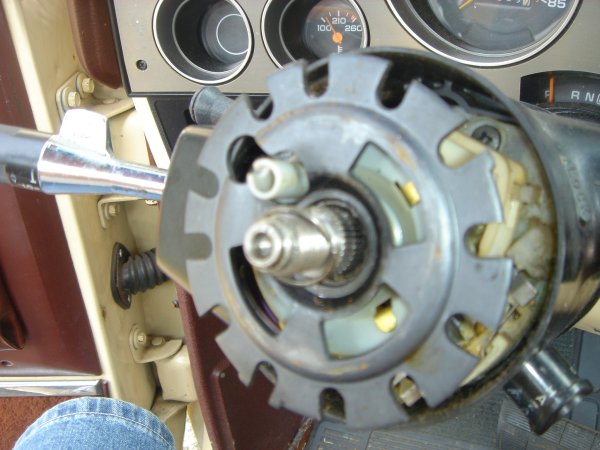
Remove the turn signal canceling cam
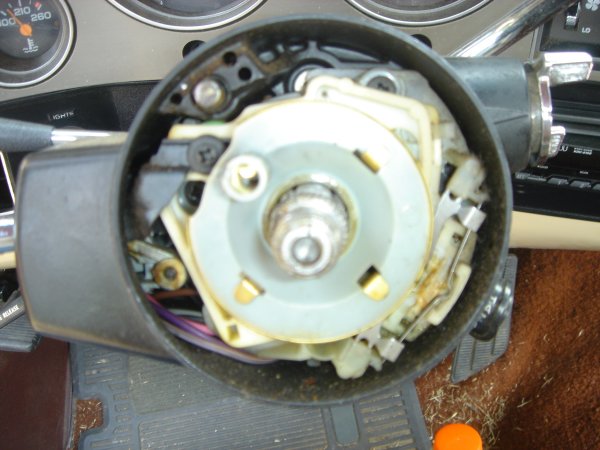
Remove upper steering column shaft bearing spring
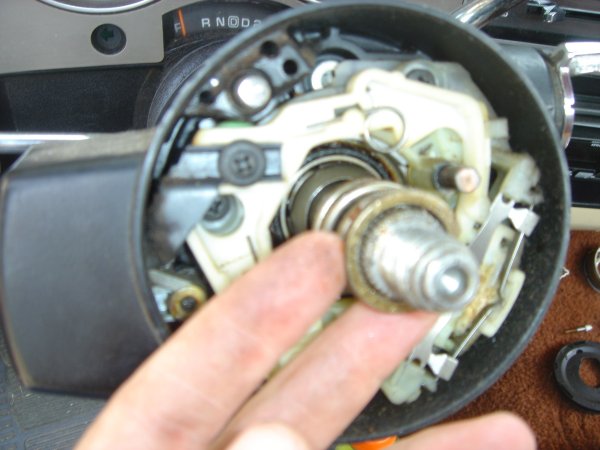
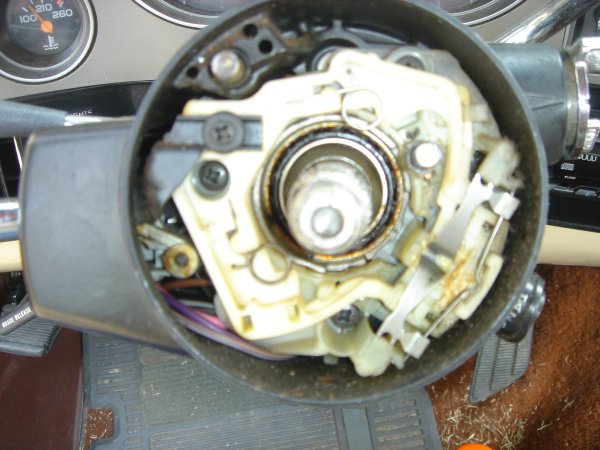
Remove the turn signal switch actuating arm
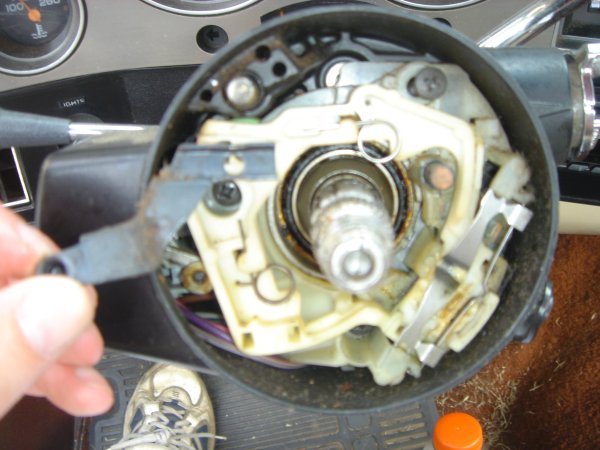
Remove the three screws securing the turn signal switch to the upper bowl assembly.
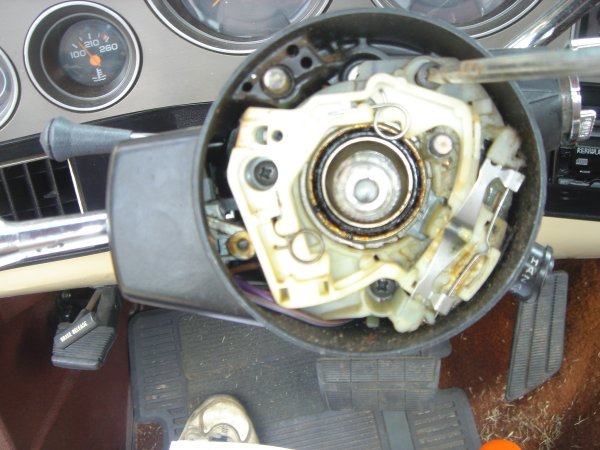
Remove hazard warning switch button
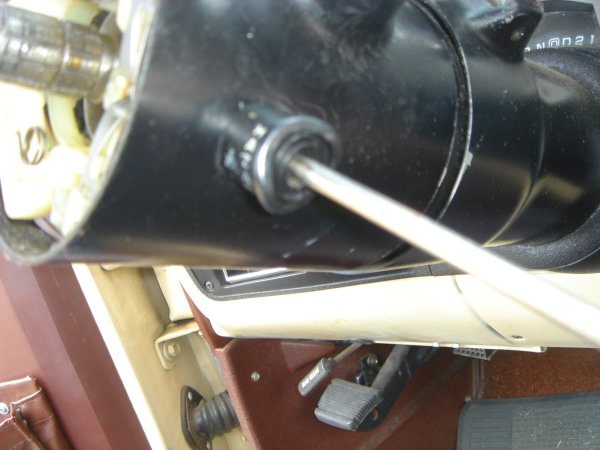
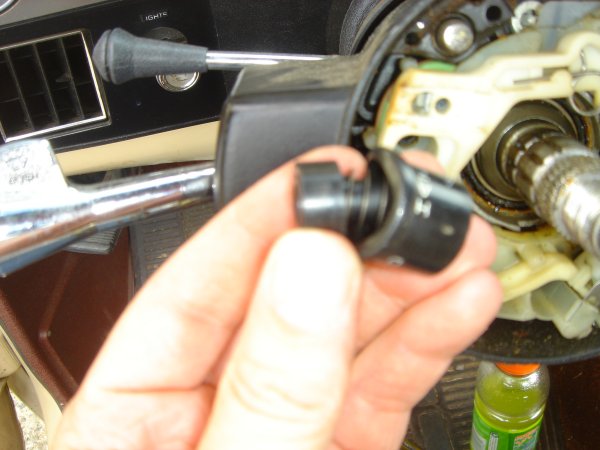
Remove Wiper arm stalk (just grab it and pull it straight out
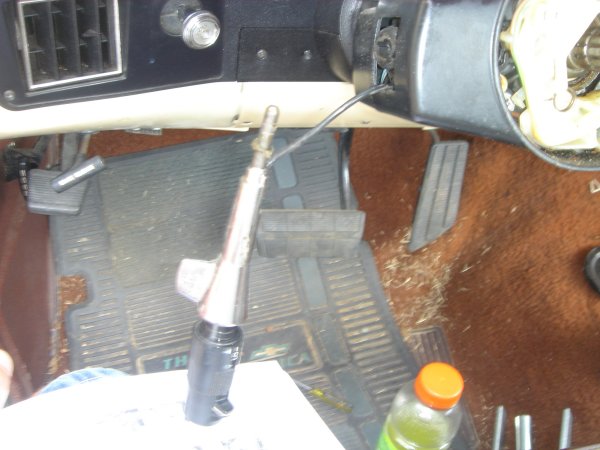
remove the plastic lower column cover
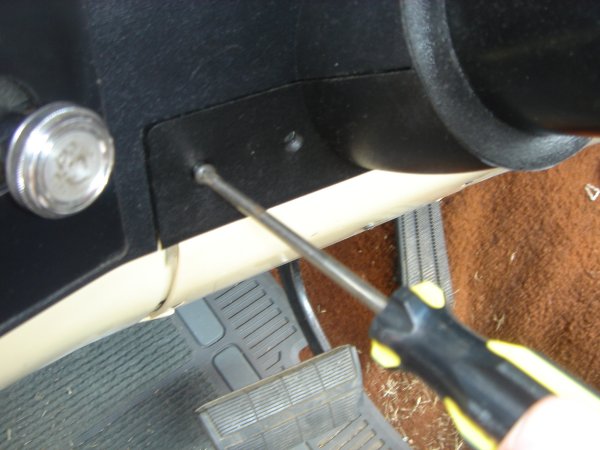
once the screws are loose just lift it straight up
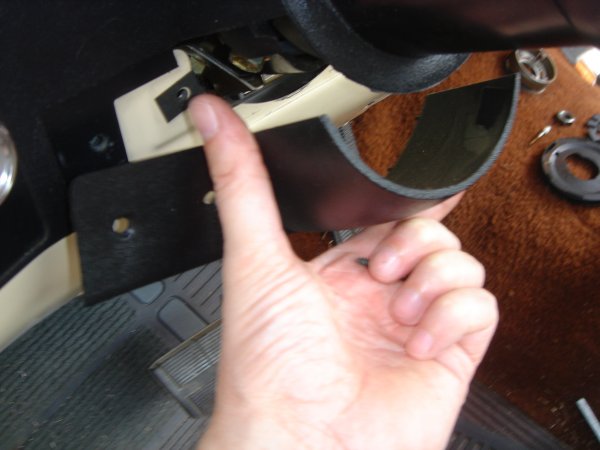
Remove the metal lower steering column cover
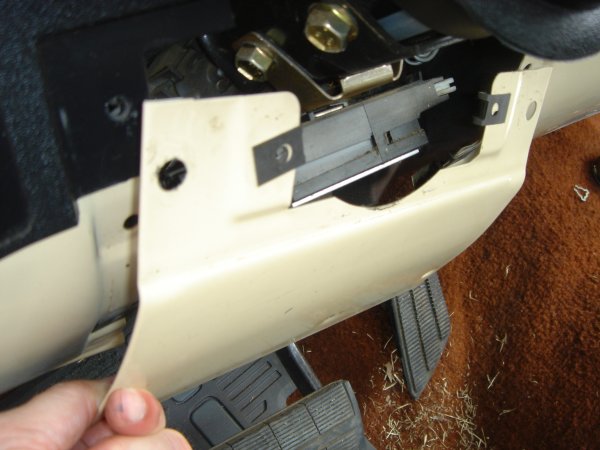
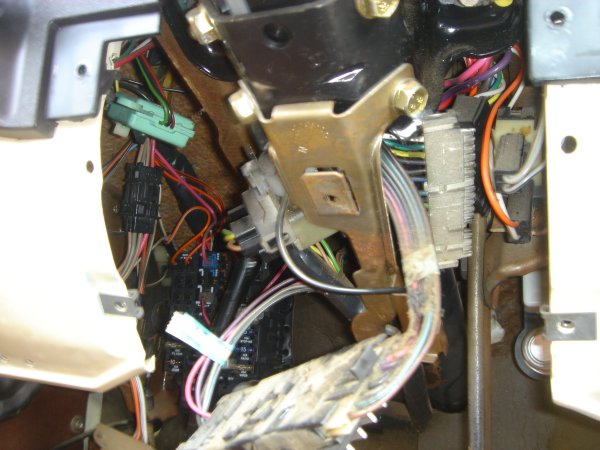
Locate and unplug the turn signal switch and wiper switch electrical connectors
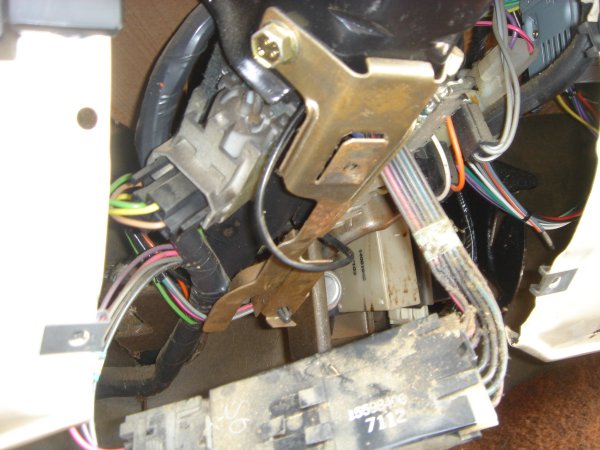
Pull the turn signal switch and wiring towards the back of the car as far as it will go
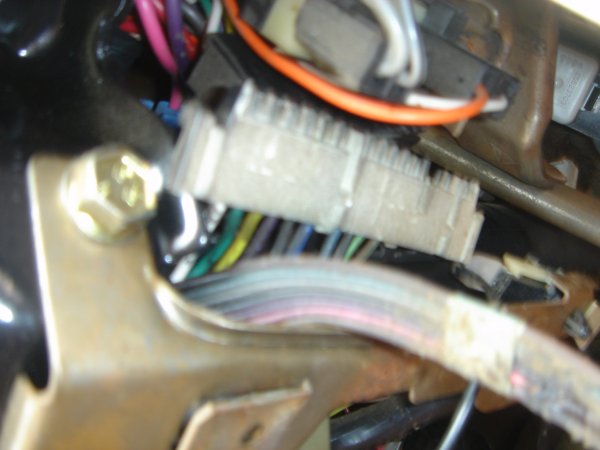
removing the lower steering column support bracket is NOT required. Let the switch hang free.
With the cam assembly removed you can see the the three screws securing the turn signal switch to the upper bowl assembly
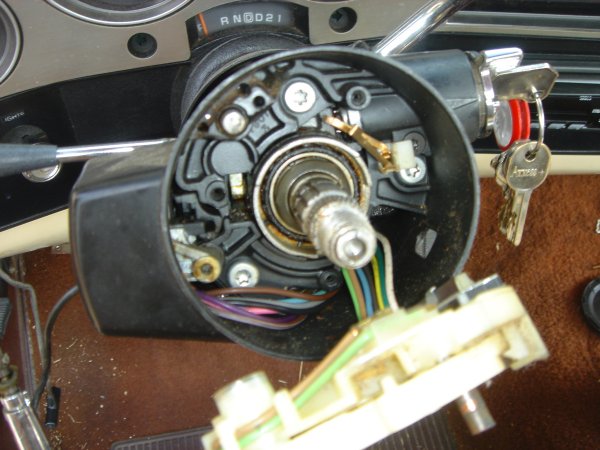
Remove the key-in ignition warning buzzer switch and spring.
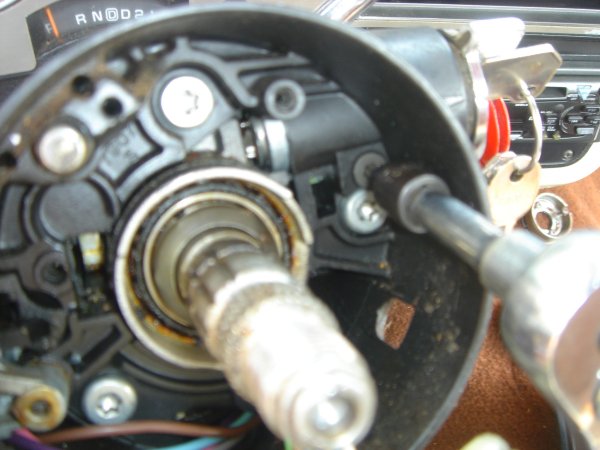
Remove the lock cylinder retaining screw using #20 Torx bit
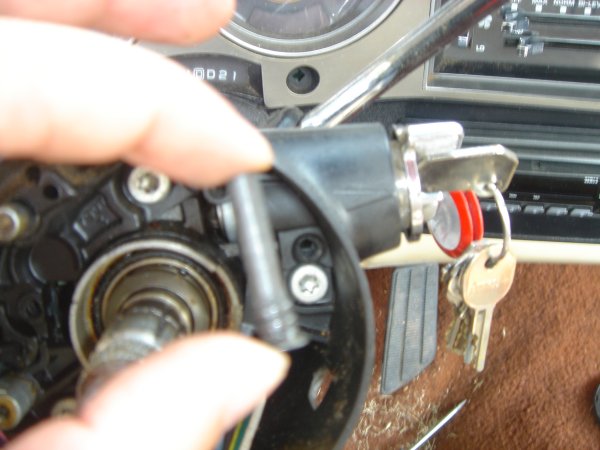
Pull the lock cylinder straight out
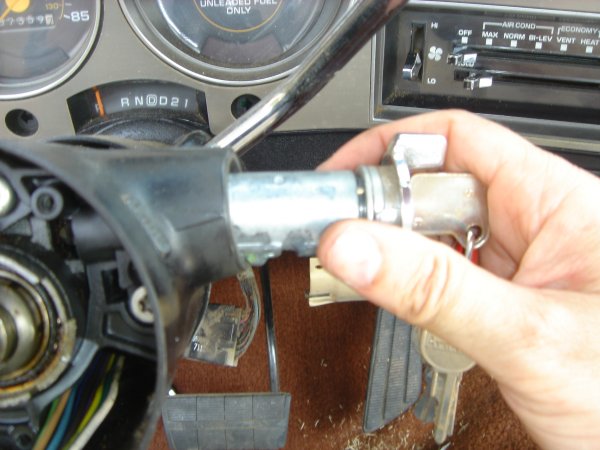
Remove the three screws securing the lock cylinder upper bowl assembly using a #30 Torx bit.
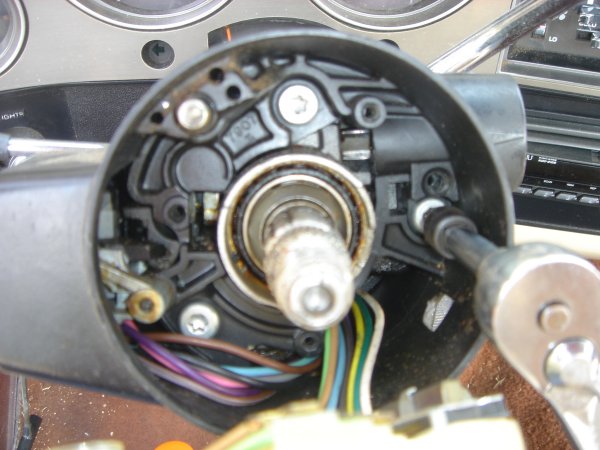
Seperate the upper bowl assembly from the lower
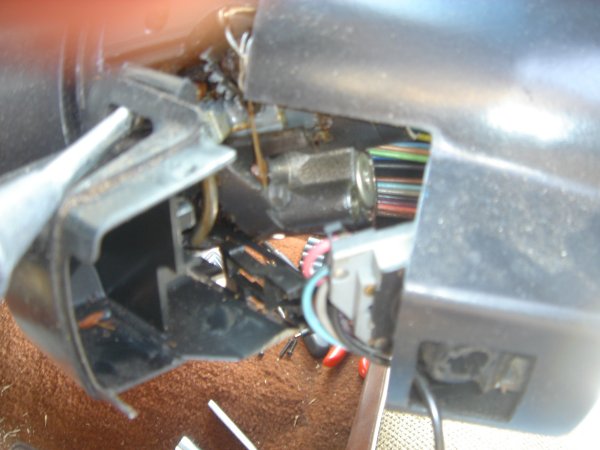
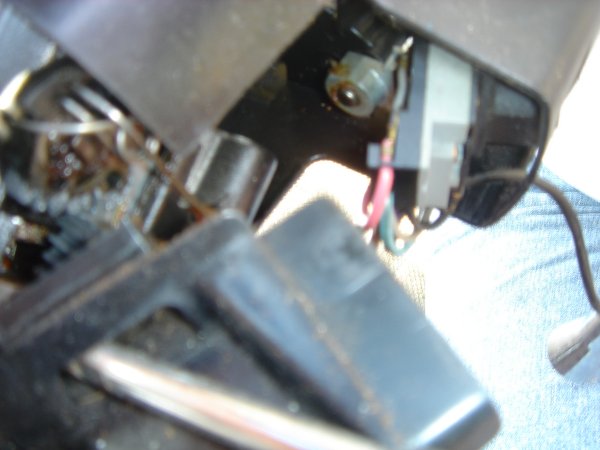
Pull the upper bowl assembly back while pulling on the wiper switch wiring and let hang free
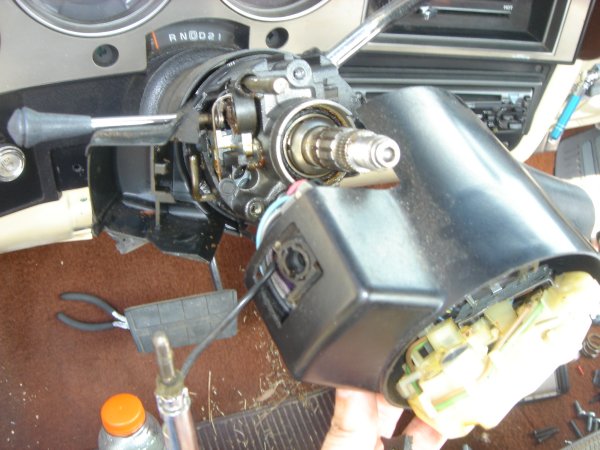
Pull the upper bowl assembly back while pulling on the wiper switch wiring and let hang free.
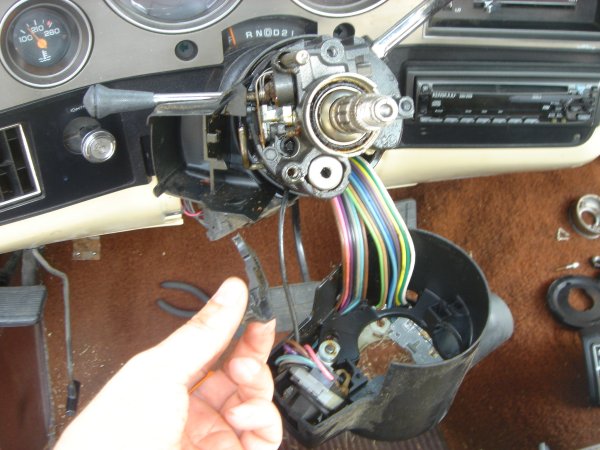
Remove the tilt lever
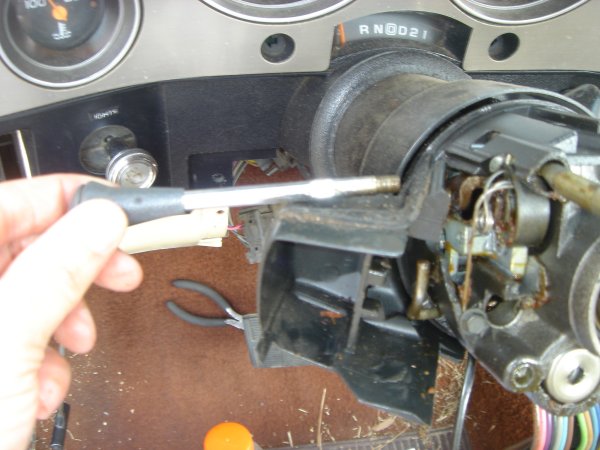
remove the dimmer switch actuator rod and sector cover housing
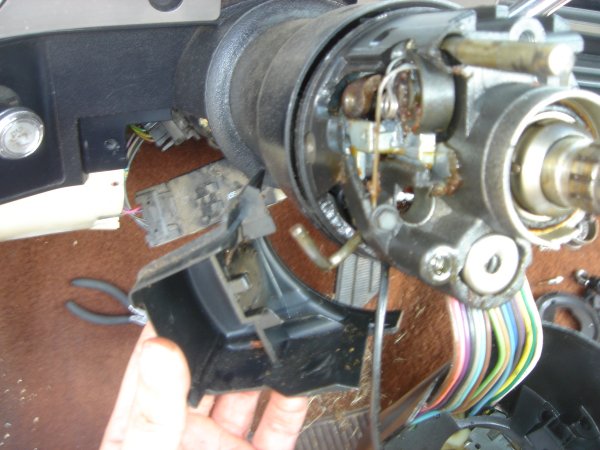
Remove the screw securing the shaft lock bolt spring using a 1/4 socket
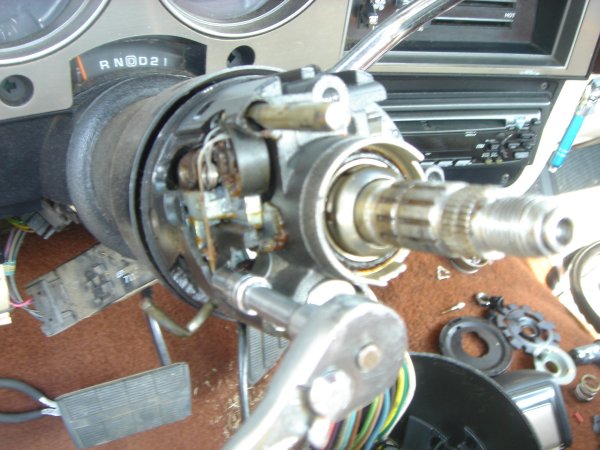
Unhook the spring from the shaft lock bolt
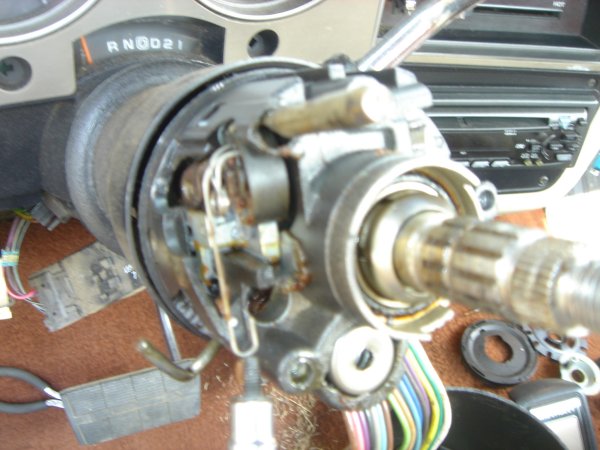
Remove the spring
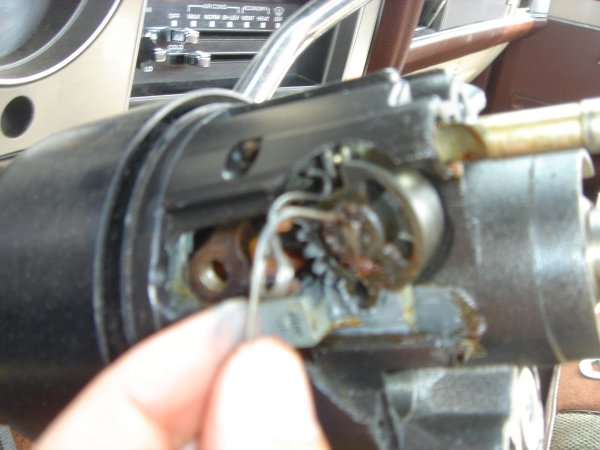
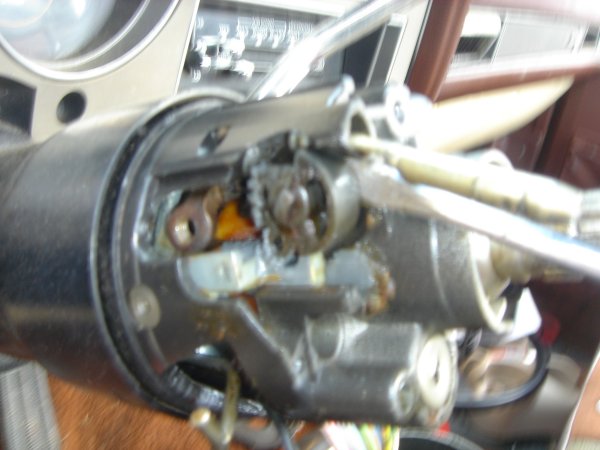
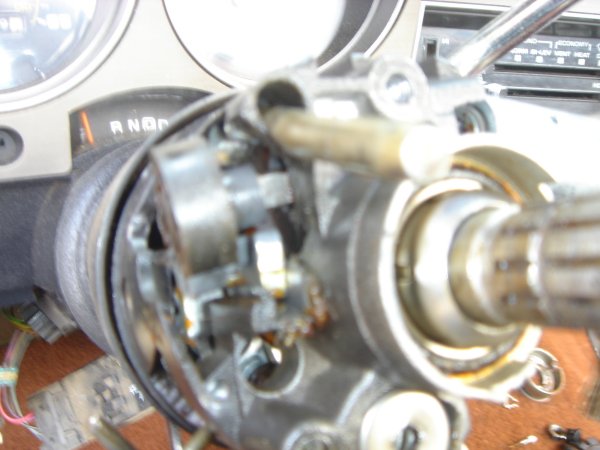
Remove the bolt.
Pay particularly close attention to the lock bolt, spring, ignition rack and sector positions for re-assembly.
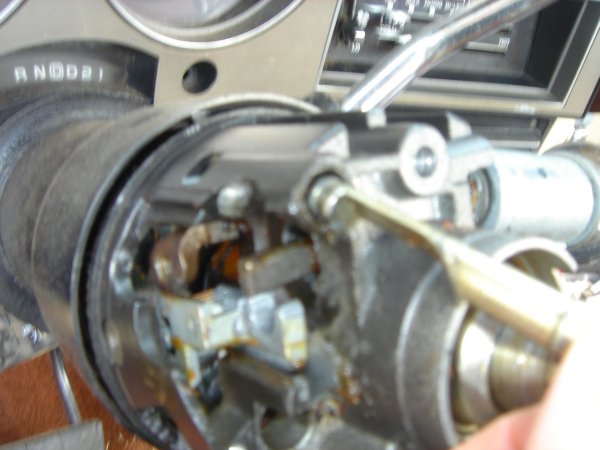
Push the tilt wheel spring retainer in with a #3 Phillips screwdriver and turn counter-clockwise and remove spring, retainer and spring guide.
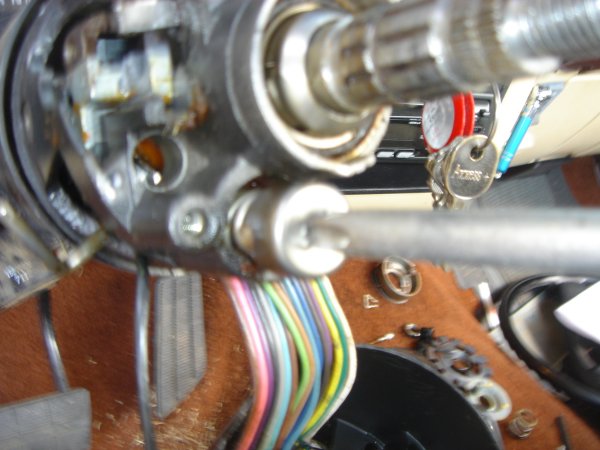
remove the column housing by removing the two pivot pins using the pivot pin removal tool
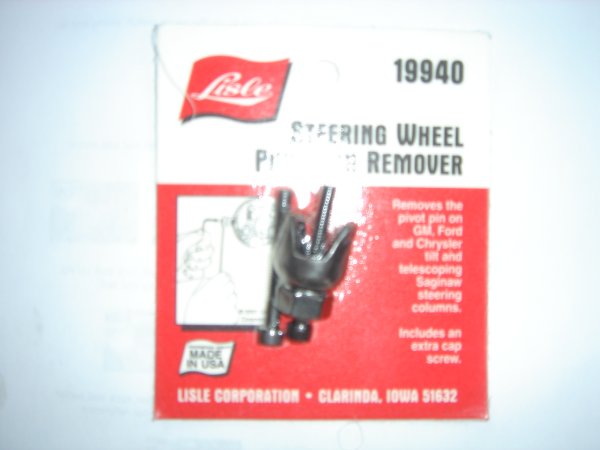
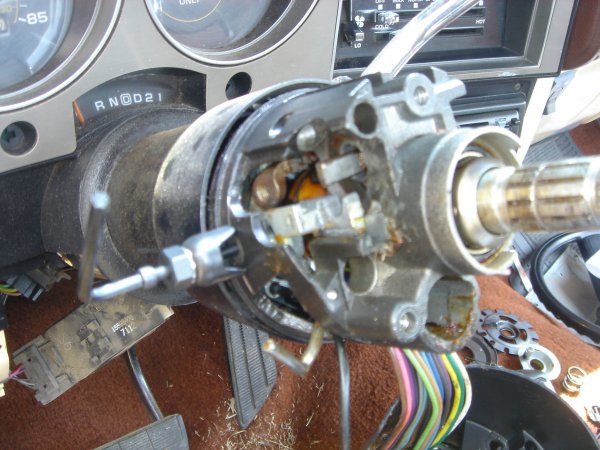
Remove the pins from BOTH sides
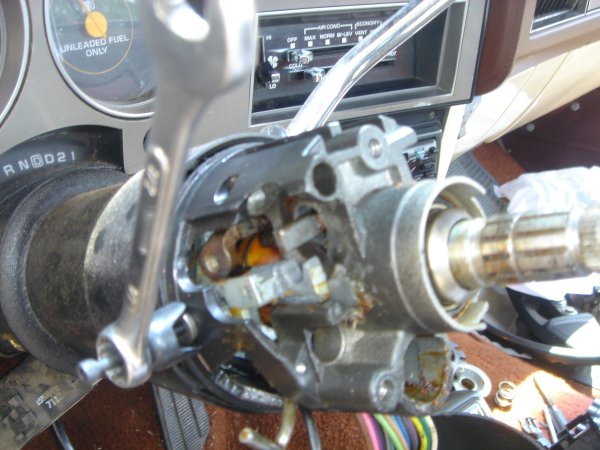
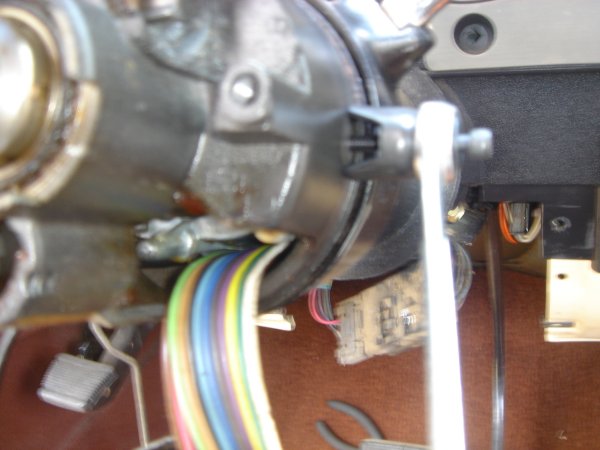
remove the upper steering shaft bearing retainer.
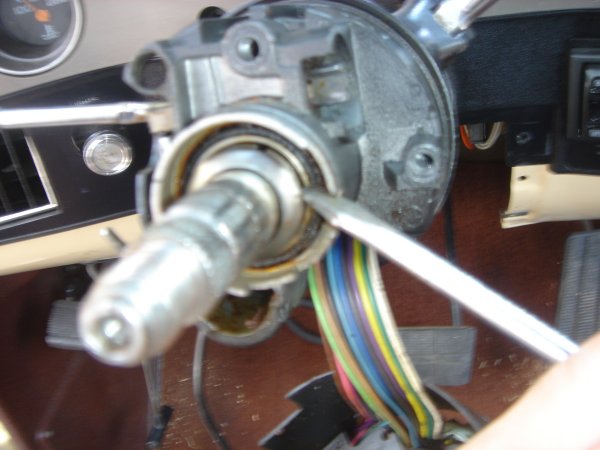
remove the upper steering shaft bearing race.
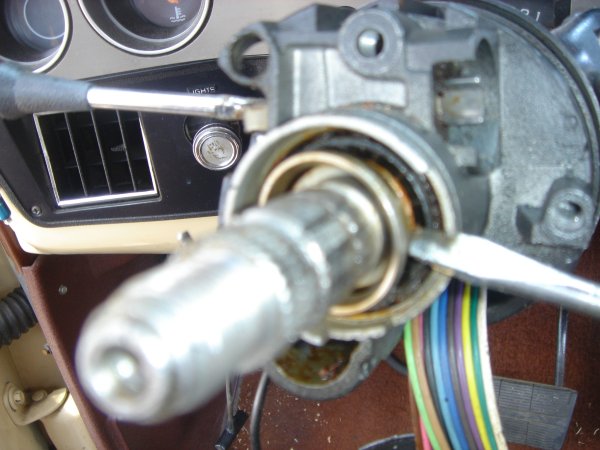
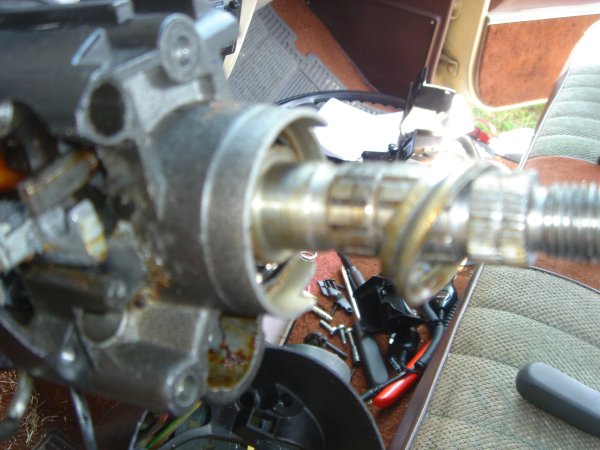
Reinsert the tilt lever and pull toward you to unlock the housing assembly from the shoe assembly and pull the housing back and away. Remove the tilt lever again.
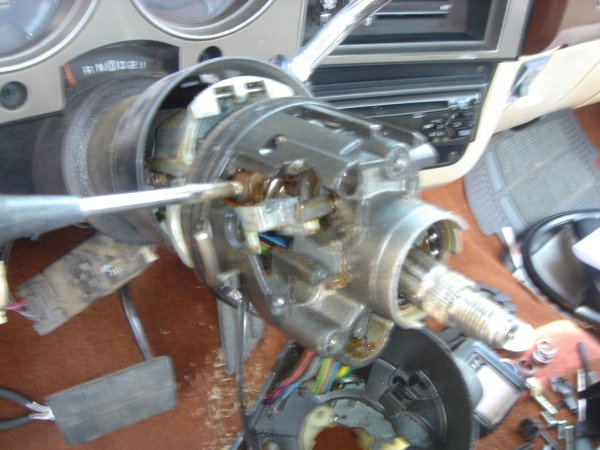
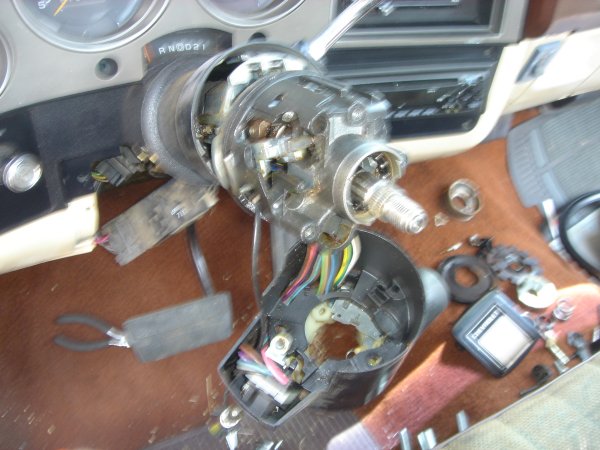
The four screws that causing the problem are now accessible.
Remove each screw one at a time, clean the threads, apply a dab of threadlocker and reinstall and tighten
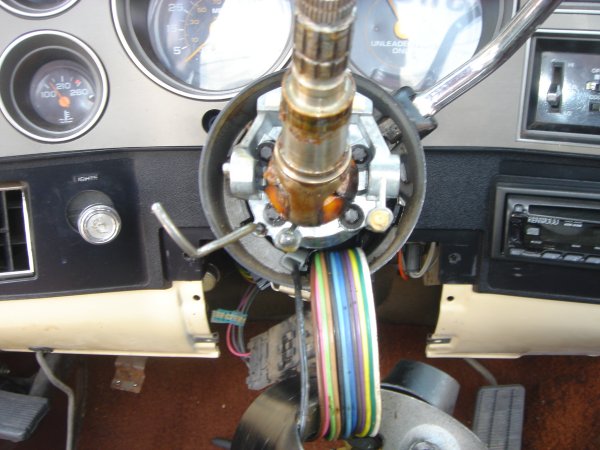
At this point you have a this assortment of parts to reinstall. It is a good idea to clean them up before reassembly. clean the parts brake-clean and a rag.
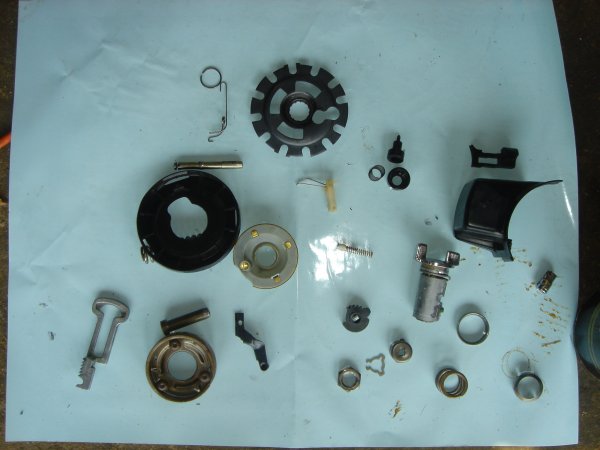
It is a good idea to coat the parts and surfaces with bearing grease for lubrication and retention
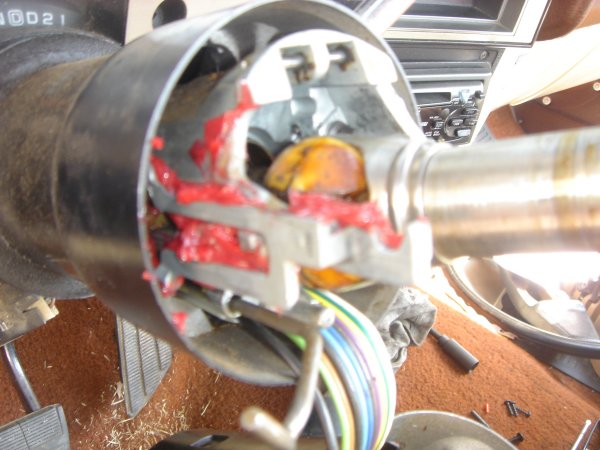
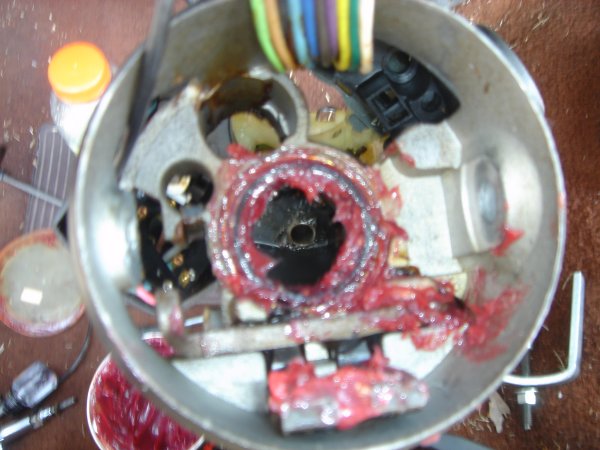
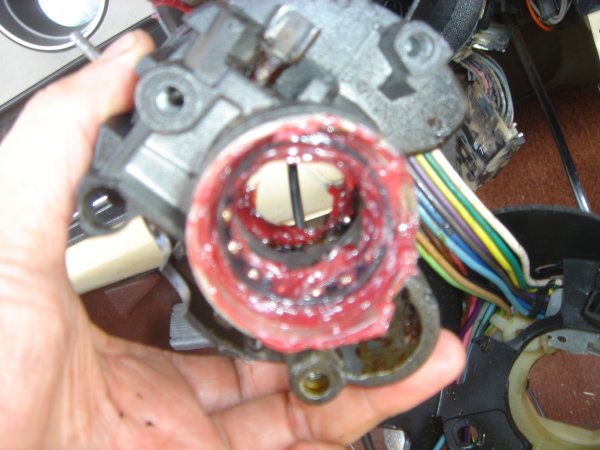
Install the ignition rack, (making sure that you have attached it back to the ignition switch actuator rod)
reinstall the tilt lever and work the column housing back into place.
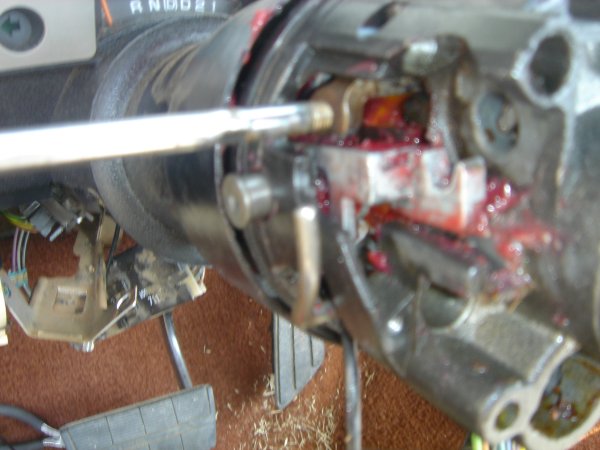
Line up the pivot pin holes and reinsert the pins using a small brass hammer
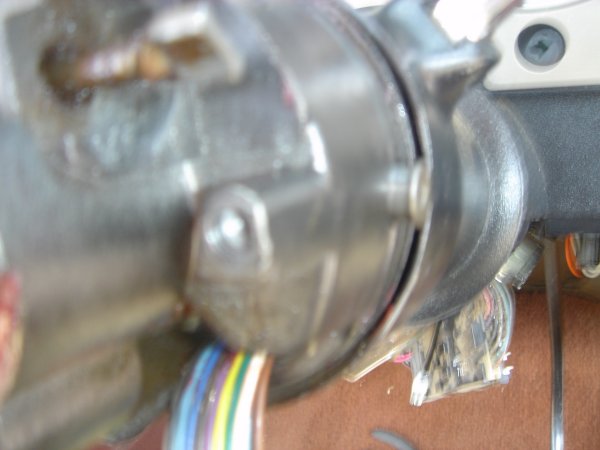
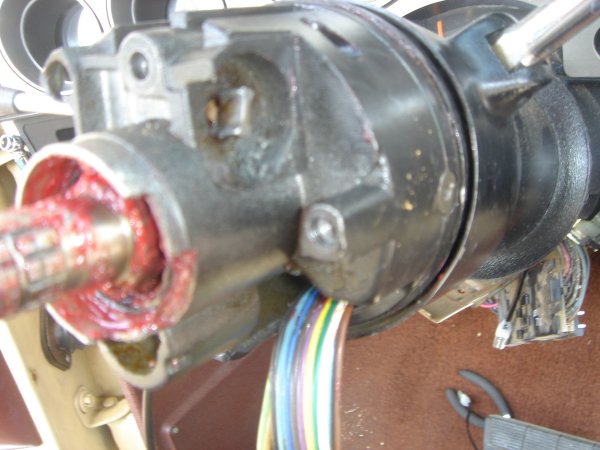
The dimmer switch may need realigning with actuating rod
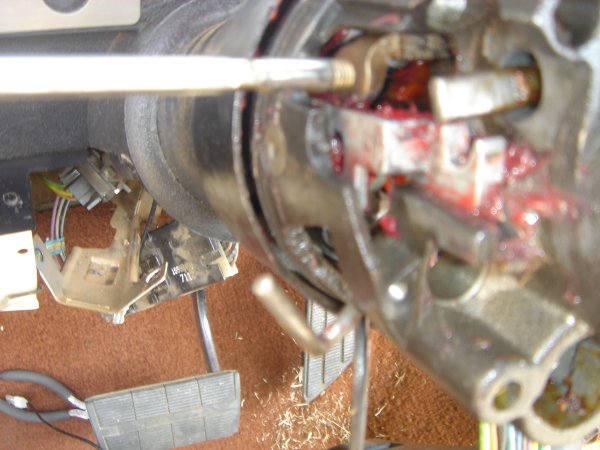
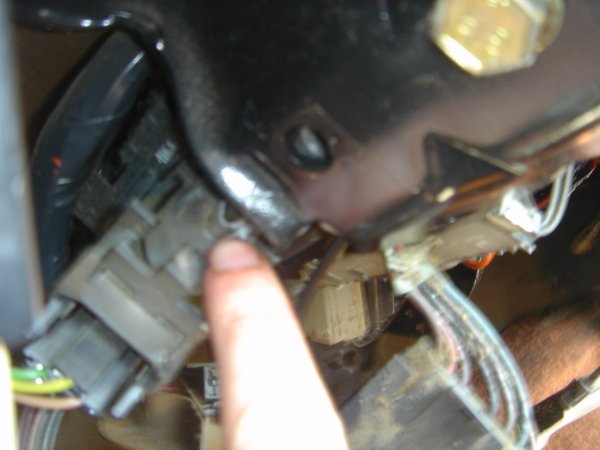
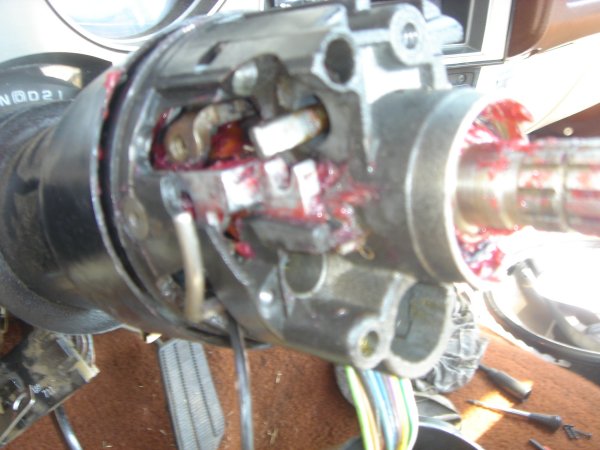
reinstall the tilt wheel spring guide, spring and retainer using your #3 Phllips screwdriver and depress and turn clock-wise.
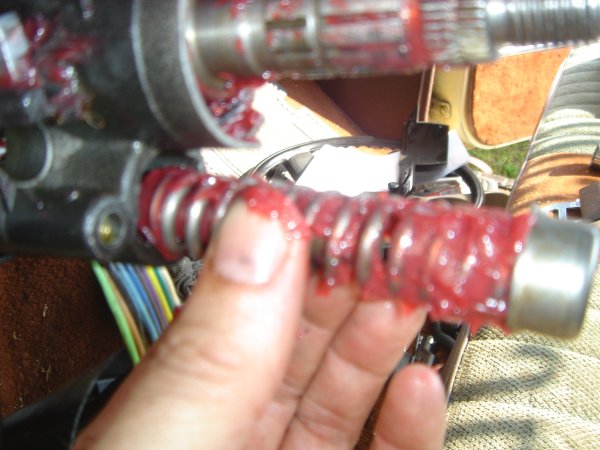
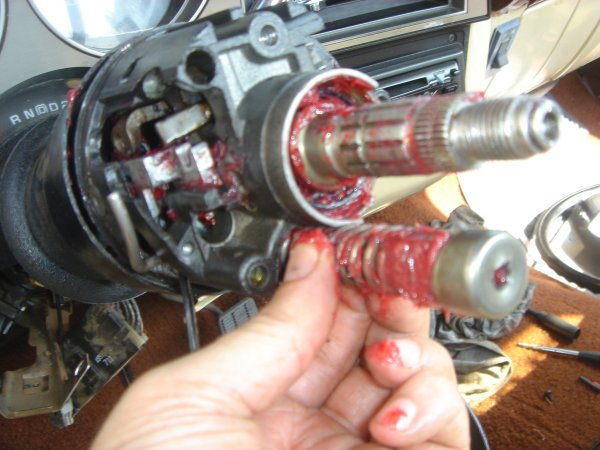
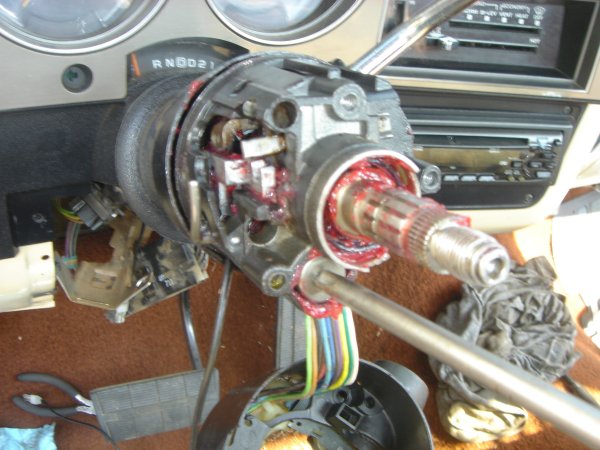
reinstall the ignition switch sector, lock plate bolt and spring.
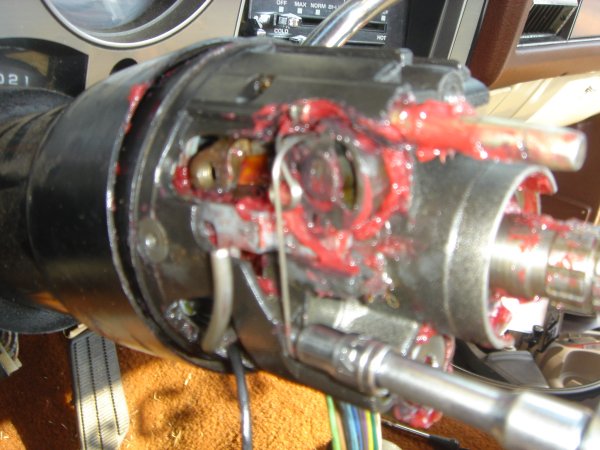
Reinstall the upper shaft bearing race and retainer.
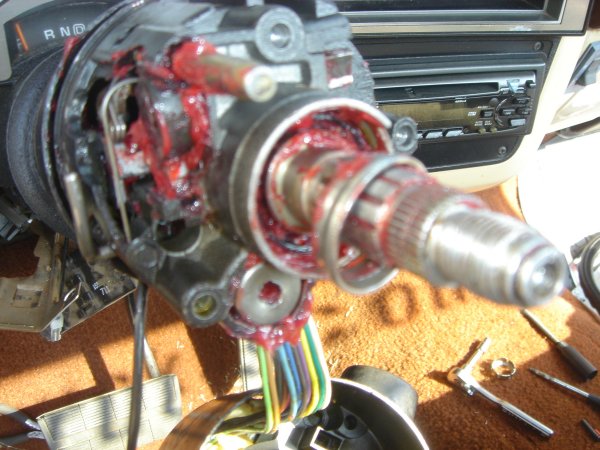
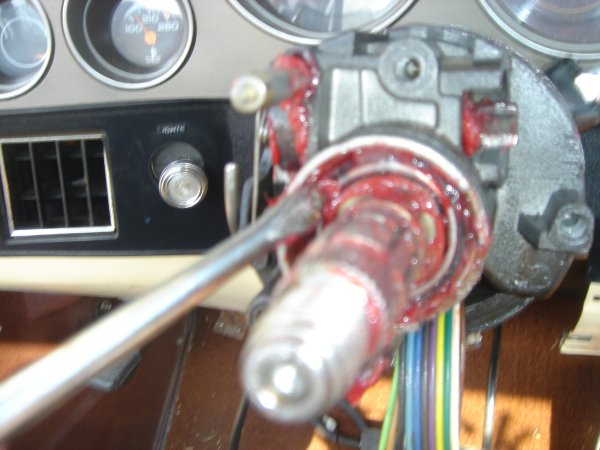
Reinstall the dimmer switch actuator rod cover housing making sure the rod and actuator are aligned.
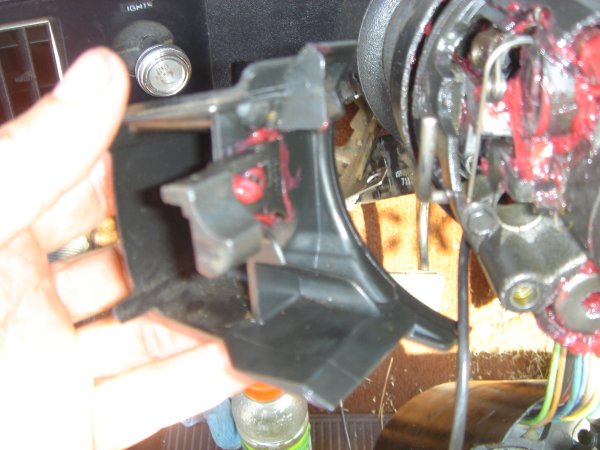
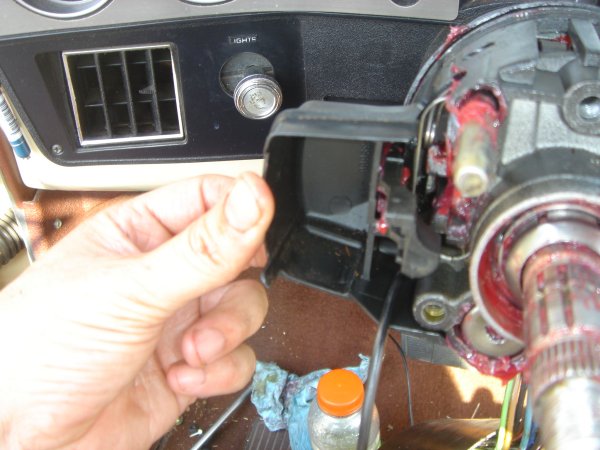
Reinstall the upper column housing and tighten the three screws.
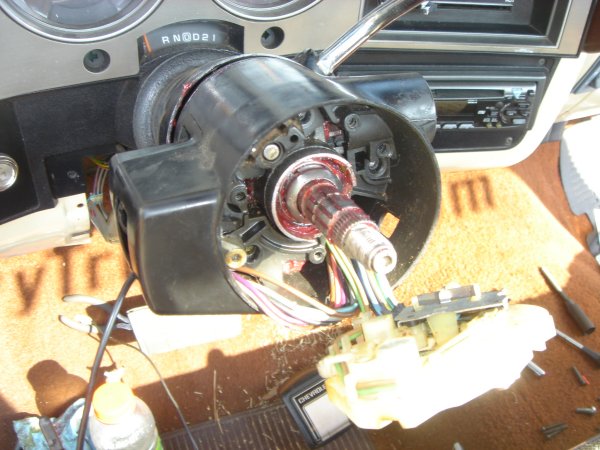
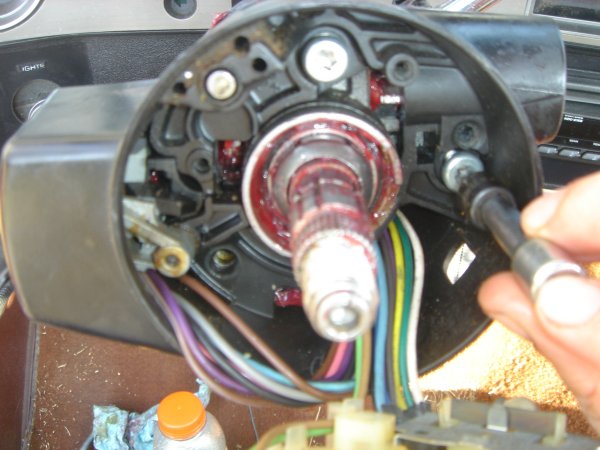
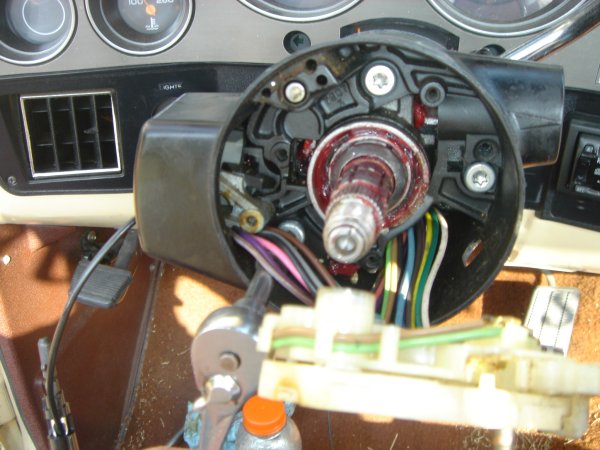
Insert the ignition lock cylinder and confirm that it is installed and working properly before proceeding.
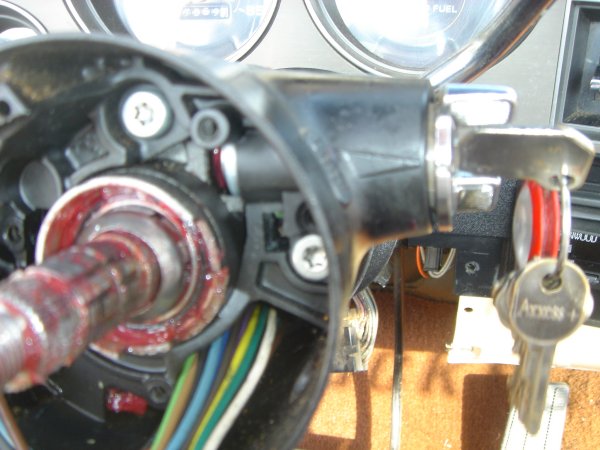
If it works, install the retaining screw.
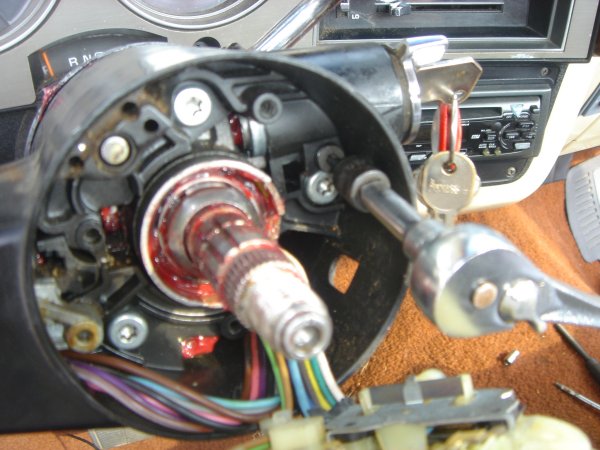
using a small pick or screwdriver, locate the little plastic tab on the bottom of the lock cylinder and push it upward to install the key-in ignition warning buzzer switch and spring
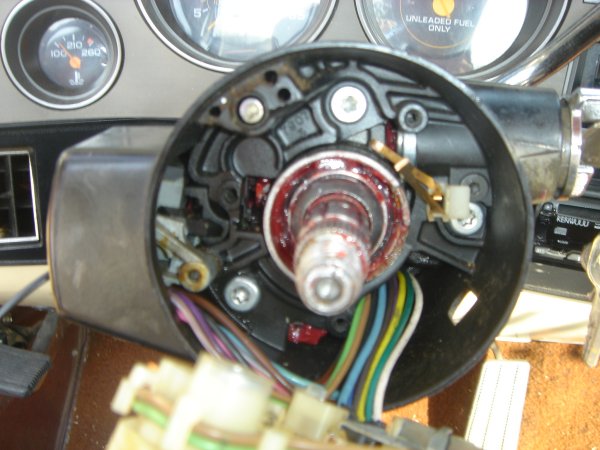
Install the turn signal switch, switch actuator and hazard button
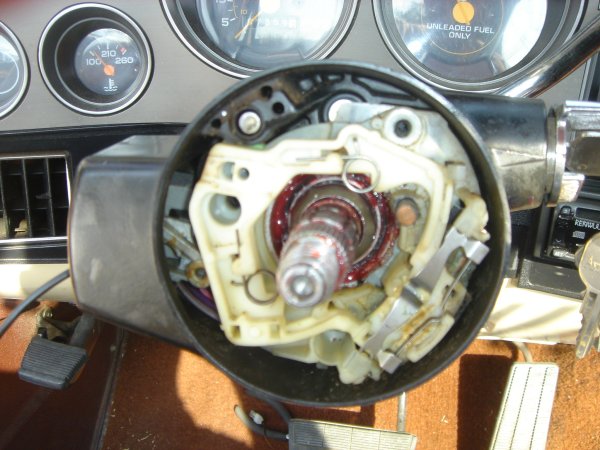
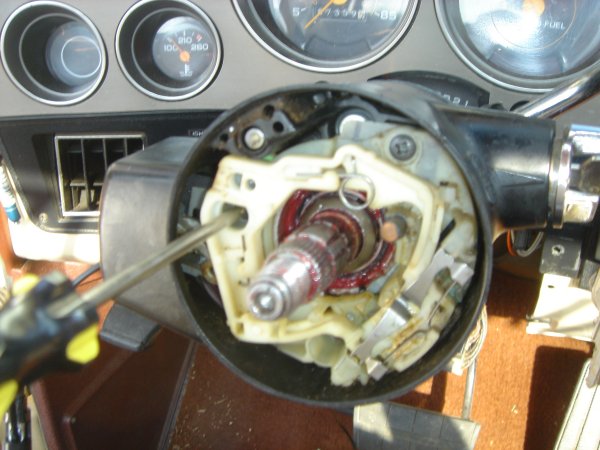
Install the cruise switch lever
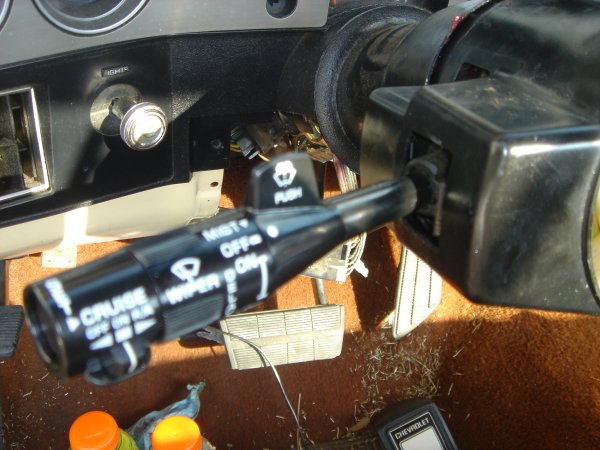
Reinstall turn signal switch actuating arm and upper steering column shaft bearing spring
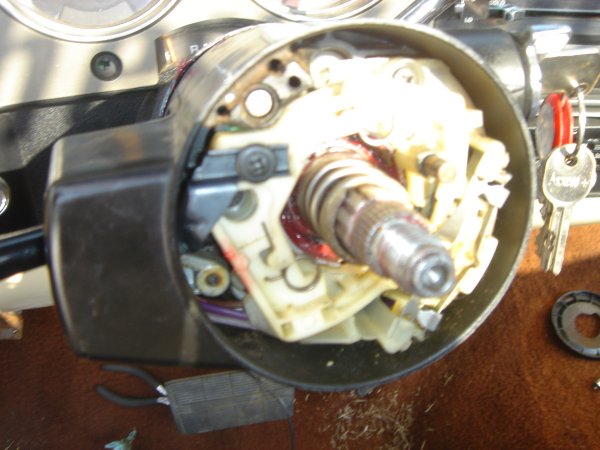
Reinstall turn signal canceling cam
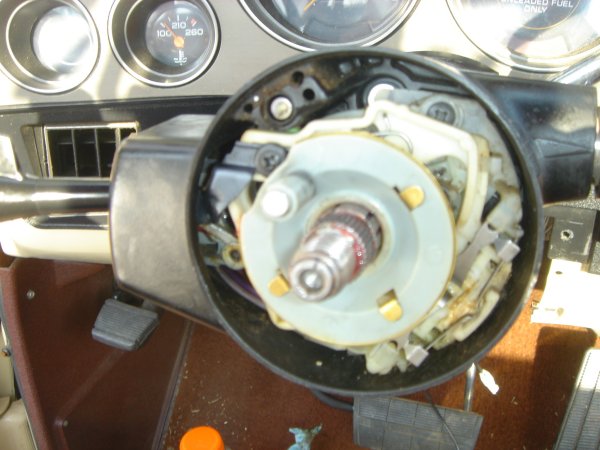
Reinstall the lock plate
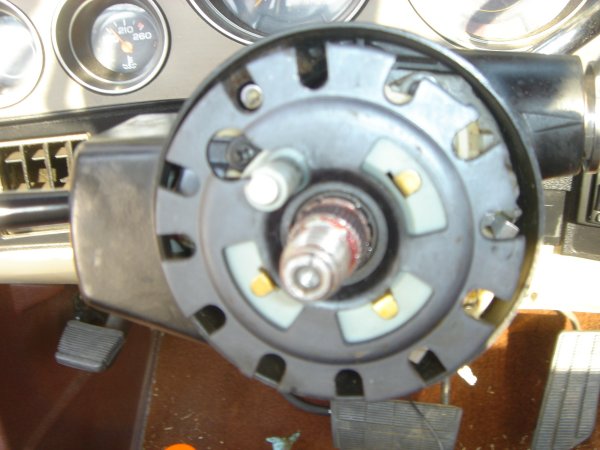
Using the lock plate tool and replace the retaining ring
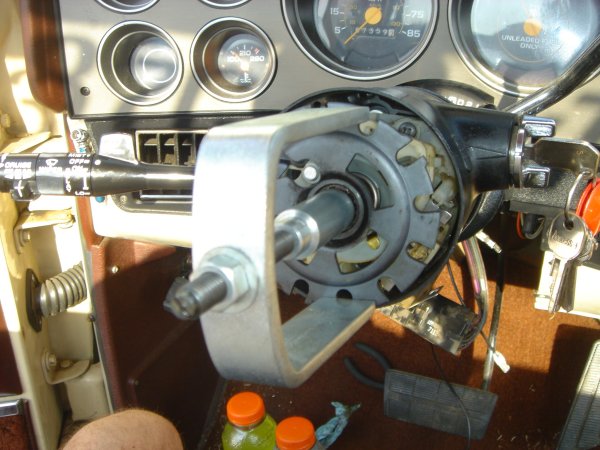
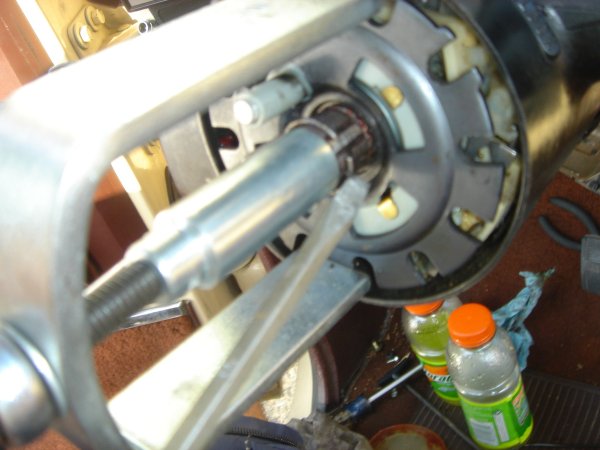
Install the dust cover.
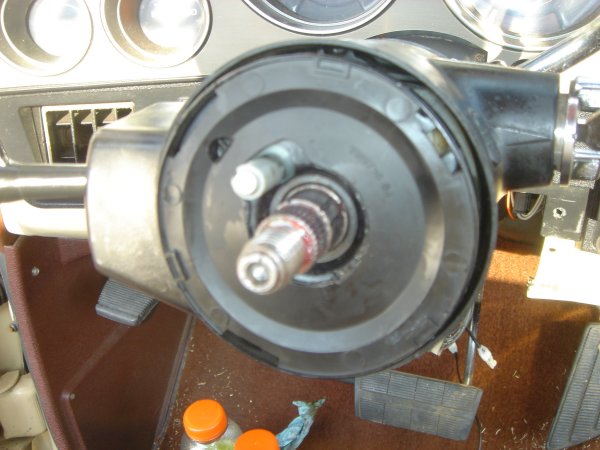
reinstalling the steering wheel, nut, ring and button.
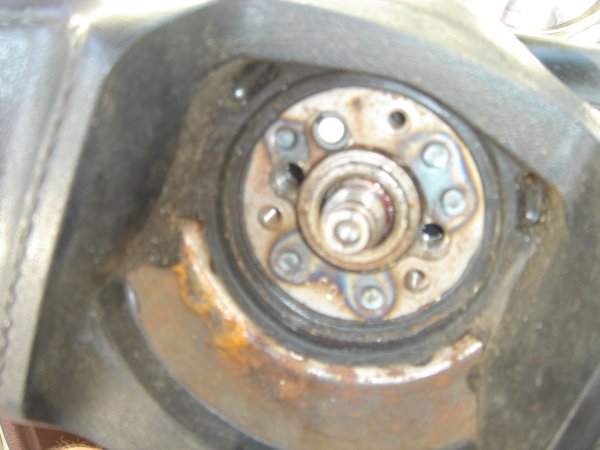
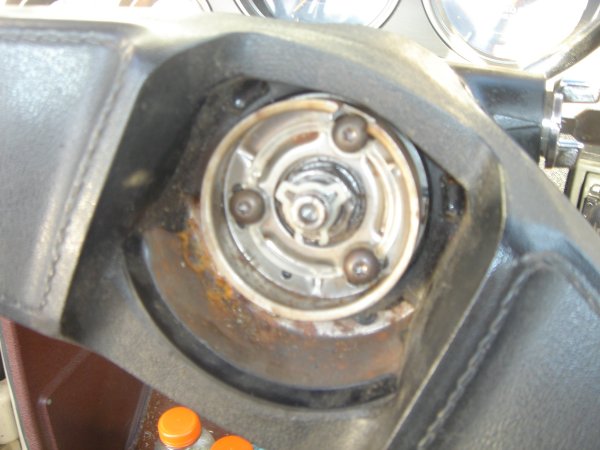
Reconnect the turn signal switch and wiper switch electrical connectors


Reinstall the metal lower steering column cover


Reinstall the plastic lower column cover


 1
1
