Author Topic: Son and Dad rust experience  (Read 27215 times)

Offline frogman68

  • Junior Member
  • ***
  • Posts: 773
Son and Dad rust experience
« on: January 05, 2009, 07:44:43 pm »
Question on installing a new tailpan I dont have any reference and just got the tailgate posts the flange at the bottom of the tailgate post is that to sit on the inside or outside of the tailpan?

« Last Edit: April 18, 2010, 03:05:59 pm by frogman68 »

Offline chevyh20

  • Newbie
  • Posts: 97
Re: Tailpan
« Reply #1 on: January 06, 2009, 10:29:56 am »
brian ,
here's a pic for you. Mine was the same , no reference points. Heres what i came up with. i made a couple of brackets front and rear to attach the pillar to the tailpan.

« Last Edit: January 06, 2009, 10:33:07 am by chevyh20 »

Offline frogman68

  • Junior Member
  • ***
  • Posts: 773
Re: Tailpan
« Reply #2 on: January 06, 2009, 10:41:38 am »
Great thanks it goes on top glad I asked I was thinking it would go inside for added strength

Offline Captkaos

  • OWNER and Administrator
  • Administrator
  • Senior Member
  • *****
  • Posts: 18454
    • http://www.73-87chevytrucks.com
Re: Tailpan
« Reply #3 on: January 06, 2009, 04:45:37 pm »
FYI- you got the LAST one of these I will ever get from one supplier.

Offline frogman68

  • Junior Member
  • ***
  • Posts: 773
Re: Tailpan
« Reply #4 on: January 06, 2009, 05:48:39 pm »
FYI- you got the LAST one of these I will ever get from one supplier.

It wasnt anything I did or asked for ?

Offline Captkaos

  • OWNER and Administrator
  • Administrator
  • Senior Member
  • *****
  • Posts: 18454
    • http://www.73-87chevytrucks.com
Re: Tailpan
« Reply #5 on: January 07, 2009, 04:29:53 pm »
No ;) , they manufacturer wants them to order 100 of them and they said they it would take 25 years to sell that many..

Offline frogman68

  • Junior Member
  • ***
  • Posts: 773
Re: Tailpan
« Reply #6 on: January 07, 2009, 04:36:44 pm »
No ;) , they manufacturer wants them to order 100 of them and they said they it would take 25 years to sell that many..

Swee scared me for a minute :) I am hoping to get them in this weekend just have to fix the one hinge

Offline frogman68

  • Junior Member
  • ***
  • Posts: 773
Re: Tailpan
« Reply #7 on: March 22, 2010, 06:52:21 pm »
Been awhile with my shoulder surgery, putting the garage up and life in general I didnt have the dr's ok but had the wifes :)

Went to work on the tailpan got it lined up pretty good but the rust is killing me .. Lucky for me Chris has the back of the bed part that has the tabs to hold the tail light in so that will be getting cut out. With the tail pan in I saw a piece I think should be there I have fabbed it up hope fully it will add strength from the body to the tail pan.


If any one has the measurement from the wheel well to the ground I would appreciate it this thing was sagging so not sure if I have lifted enough before I put the posts in to the tail pan.

Offline frogman68

  • Junior Member
  • ***
  • Posts: 773
Re: Tailpan
« Reply #8 on: March 28, 2010, 01:37:09 pm »
Got half the tailpan welded in :)


Just have to finish blending it. Took forever since I welded the C-clamp to the post and couldnt get anything in there to cut the weld lucky I had a ton of cut off wheels for the dremel.

Was going to weld the other side in but stopped (one thing I have learned here is patience lol) . I have a 4X4 across the bed hooked to the engine hoist the 4X4 is level put when I measure and the center of the rear wheels I am off by 1/2 inch not sure if I should keep jacking the other 4X4 I put in with the floor jack or just leave it. I have verified the floor is level and the 1/2 inch is also at the rear bumper but my eye cant see it.


Offline frogman68

  • Junior Member
  • ***
  • Posts: 773
Re: Tailpan
« Reply #9 on: April 03, 2010, 09:05:02 pm »
stupid me I found the 1/2 inch. I have yet to change the front cab mounts need to do that before too long :) . Today I had him cut the rest of the floor out after I finished welding the tailpan in.


Here it is with the floor and wheel wells out. I did weld in some 1 inch square tubing across the front (of the rear section of the Blazer) then two supports to the tail pan it was 1/16 tube but it seems to flex too much I didnt get pics of that was tired. I am thinking of welding in some legs from the front tube to the support that comes back to the rear.


Offline frogman68

  • Junior Member
  • ***
  • Posts: 773
Re: Tailpan
« Reply #10 on: April 04, 2010, 06:09:08 pm »
Took it easy today since its Easter. Just welding in some supports and had my son grind off the rear body to frame mounts (hope Chris can get them ) .
For the supports I added a piece of 1/8 2X2 angle iron then some legs seems alot stronger now. hopefully the floor will add some more going to add supports to the side wall put going to wait till I get the wheel wells in.


Offline frogman68

  • Junior Member
  • ***
  • Posts: 773
Re: Son and Dad rust experience
« Reply #11 on: April 18, 2010, 04:43:45 pm »
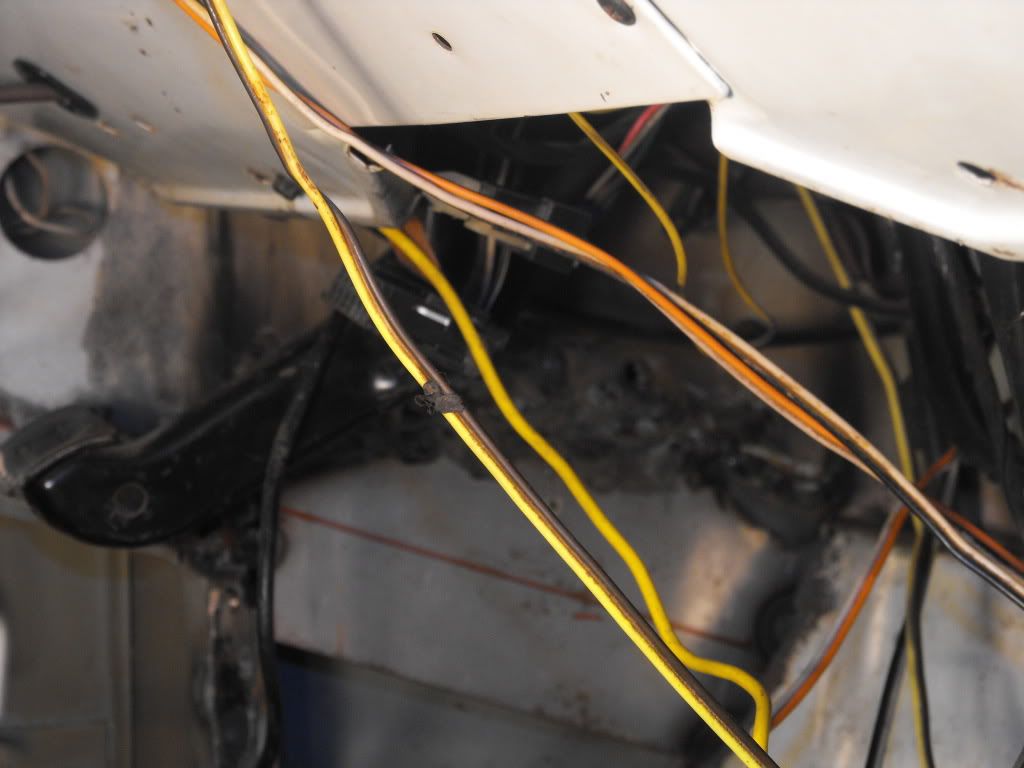
We got alot done this weekend was going to weld together but I figured since its only screwed/clamped in if some one tells me something is wrong I can still change it.
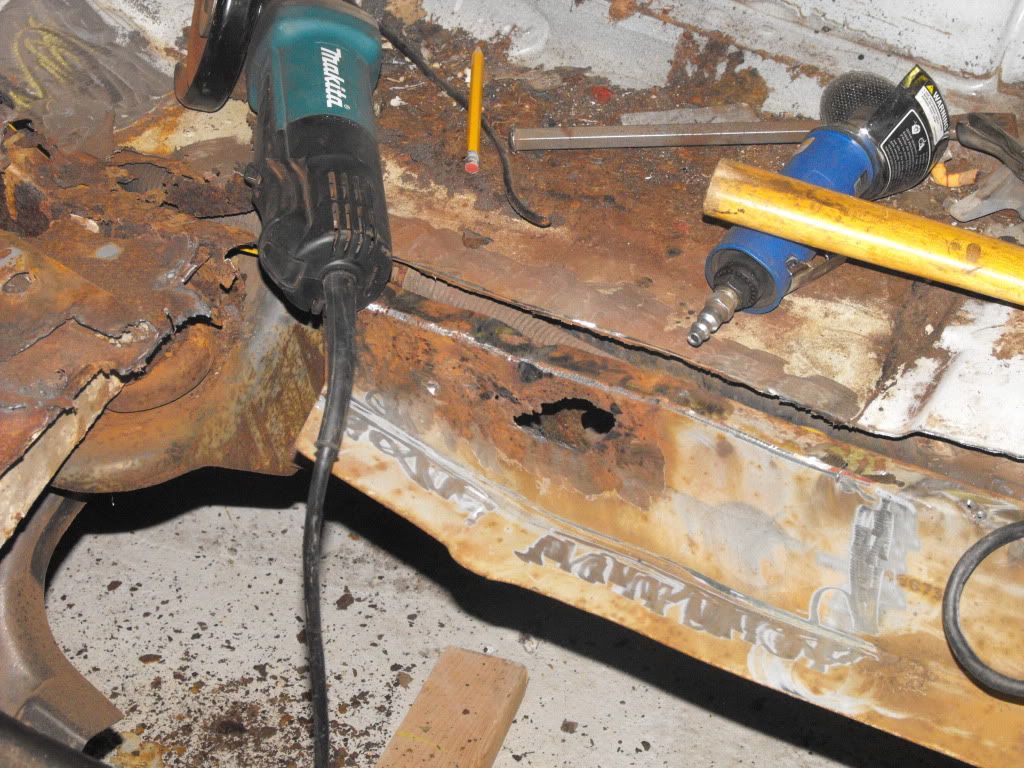
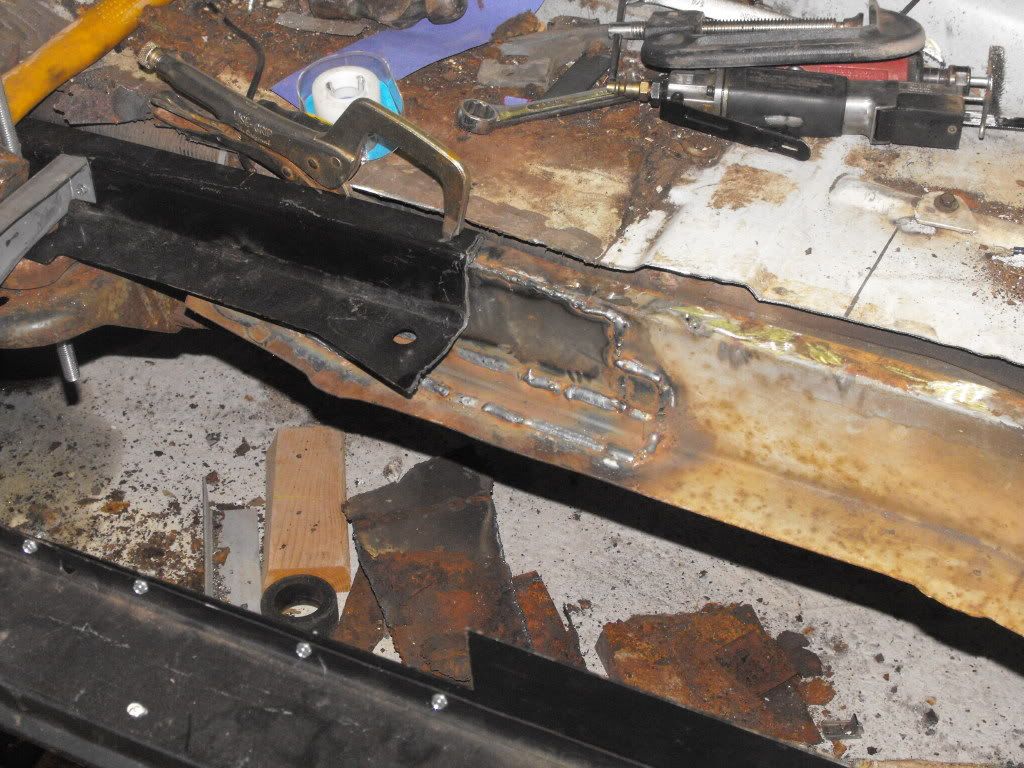
Most of the rust has been cut out of the drivers side but if its not one thing its another when I removed the front cab floor support where it attaches to the  rear cab support it was rusty pretty bad


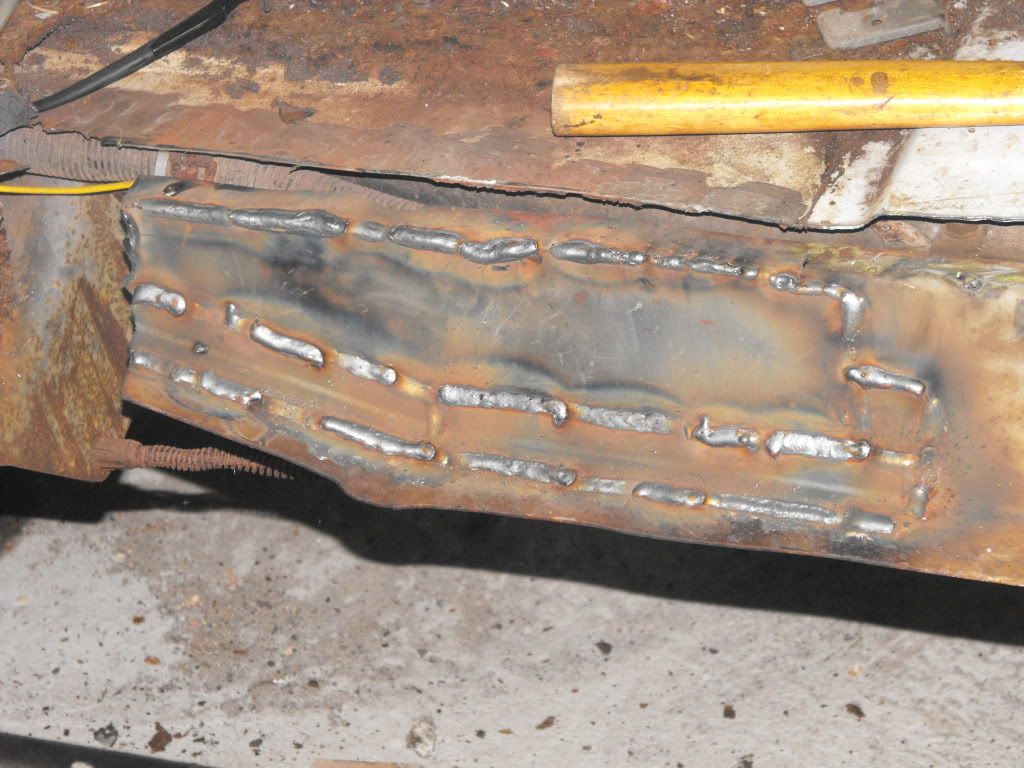
So I cut a patch from some sheet metal.


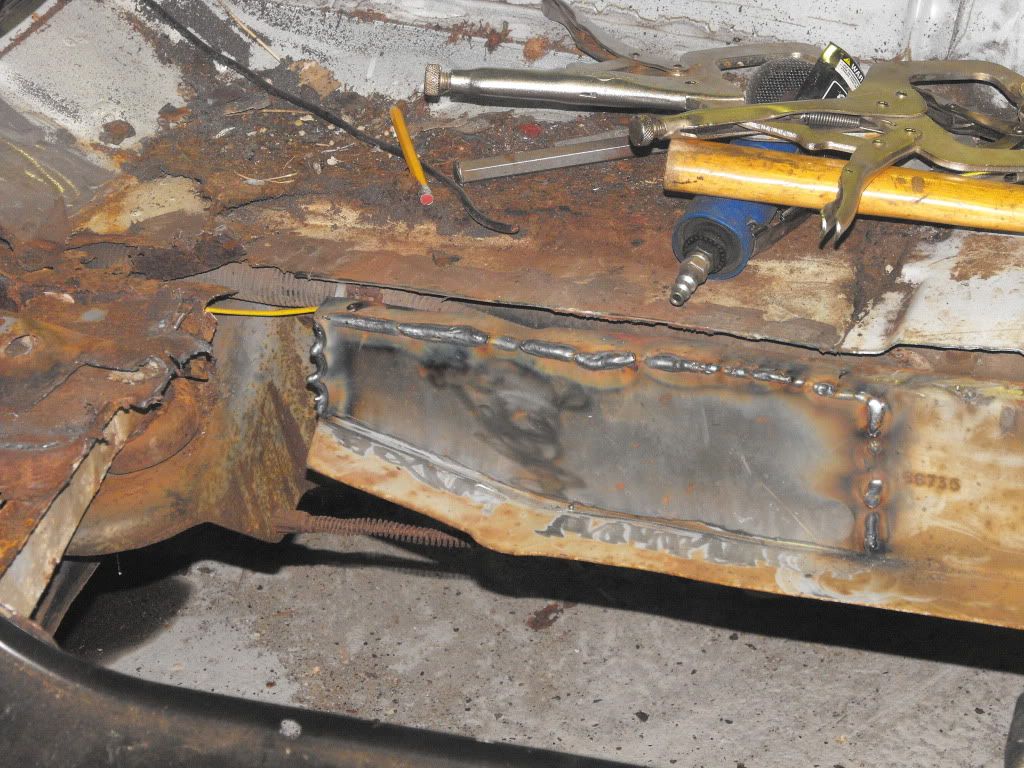
I added some angle iron to the bottom to add strength


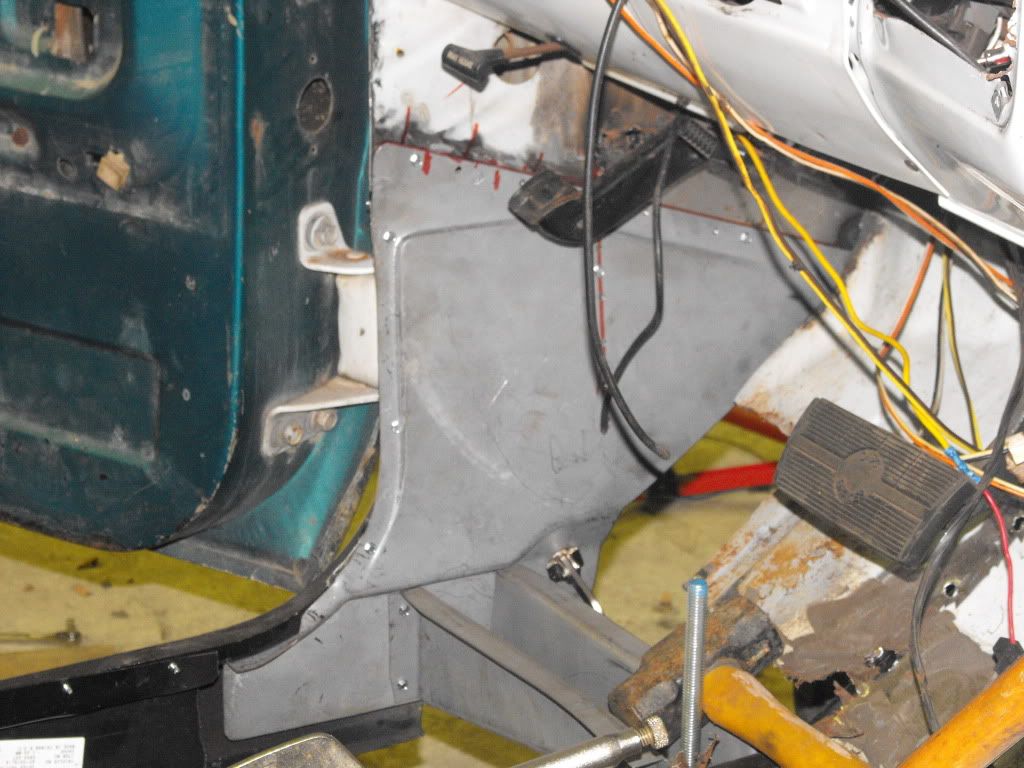
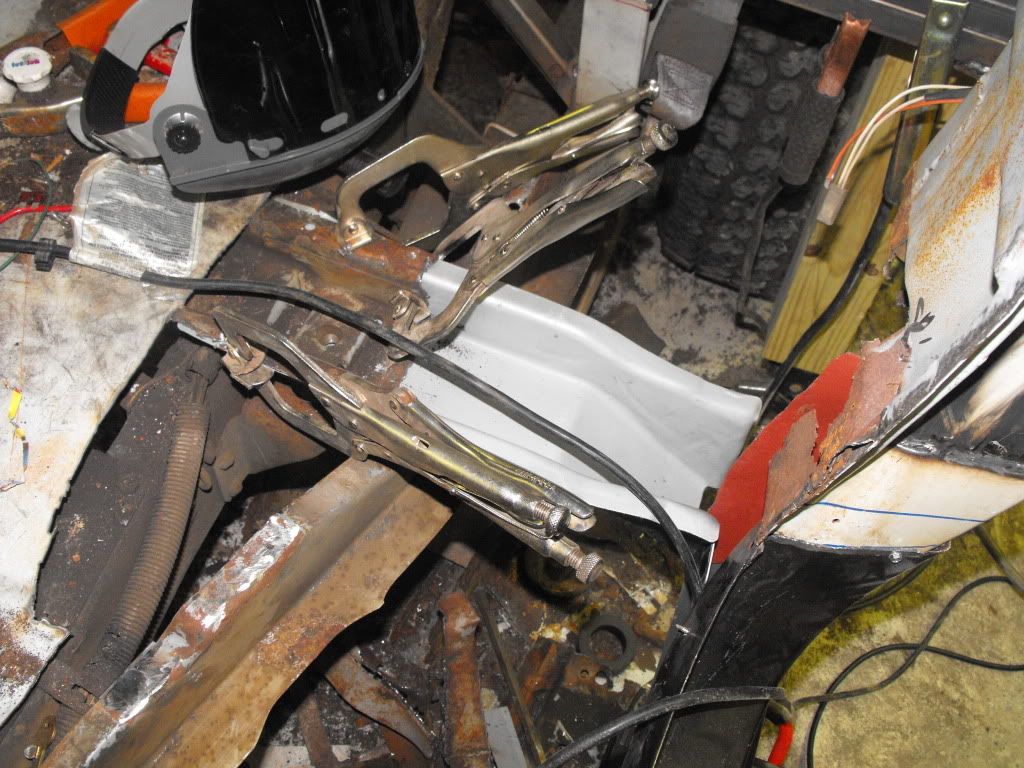
I then moved onto the footwell

Again nothing easy it was actually rotted above that so I had to patch it


with patch


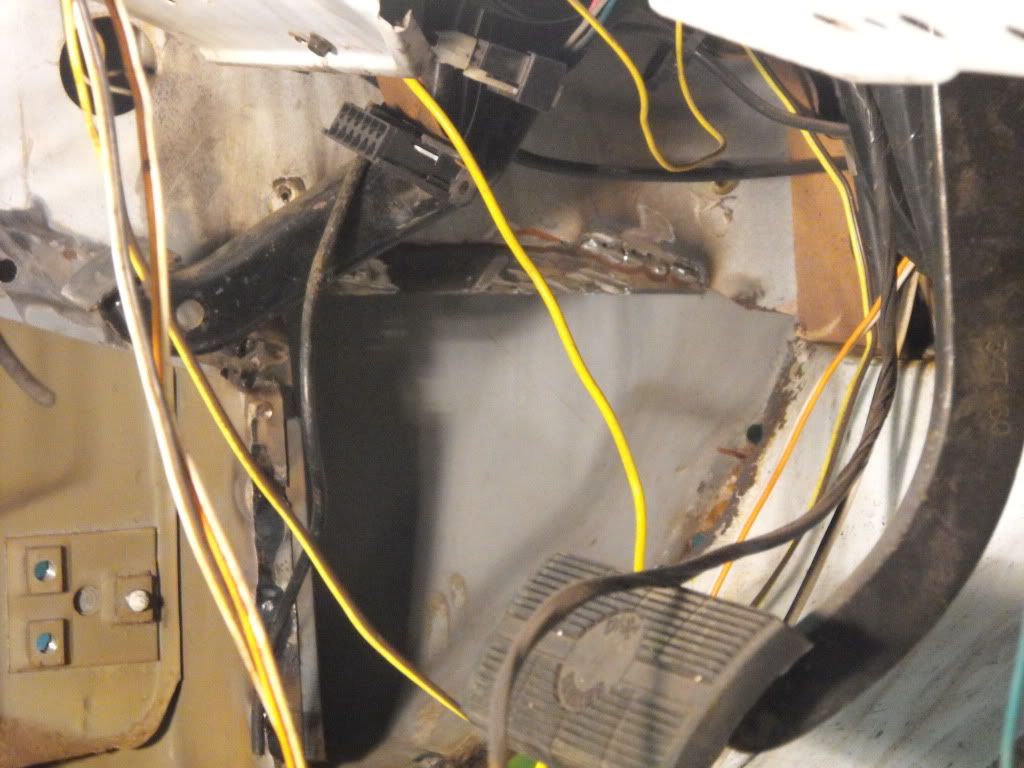
So now I have the cab floor brace , cab support and the foot well in.


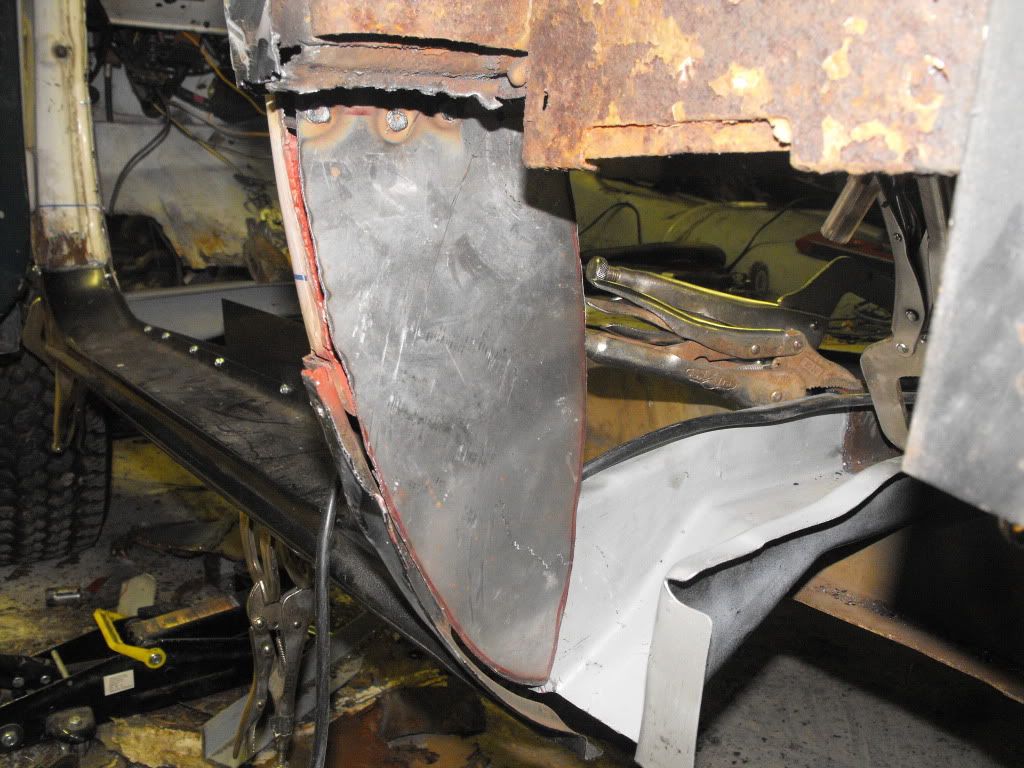
Finally I moved on to the rear cab support

Of course there is issues the "B" pillar is in pretty bad shape I will fix that after the floor is in.


There is a piece like a inner cab support that isnt made and of course its shot

So I made one will add some angle iron or flat bar to connect the body and rocker to it once I am at that stage.


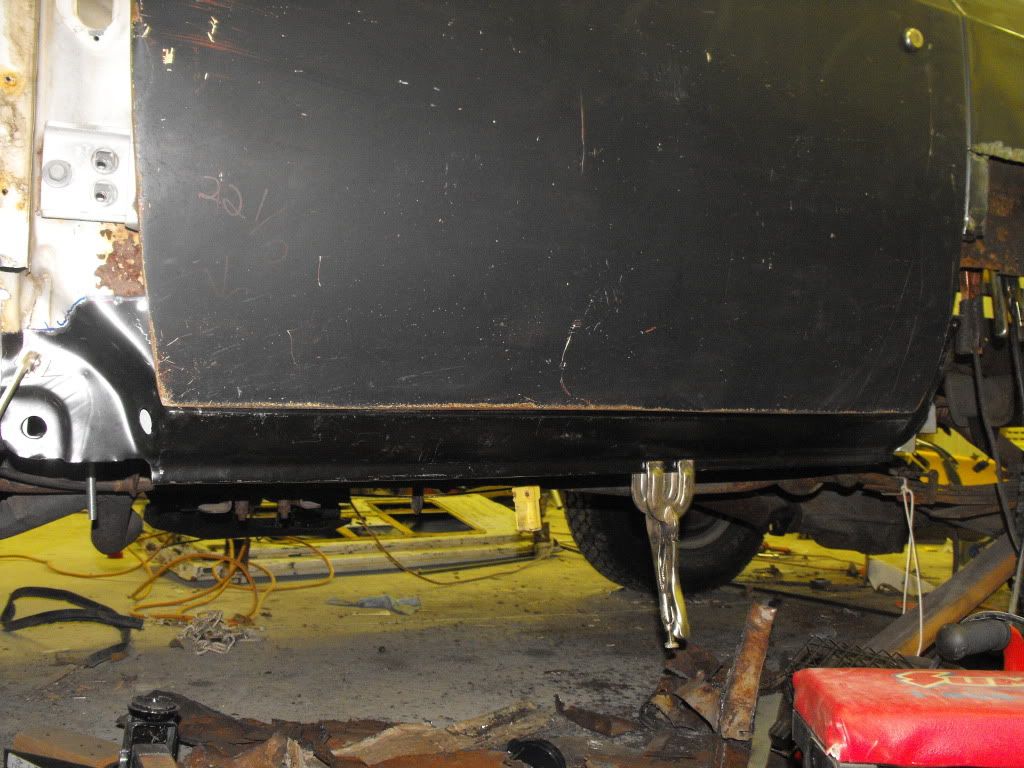
Here is a shot with the door closed with the rocker.


Offline overthepond

  • Frequent Member
  • **
  • Posts: 291
Re: Son and Dad rust experience
« Reply #12 on: April 19, 2010, 03:30:51 am »
Your both doing a great job... ;)
Fantastic to see skills of old being passed on to another generation in a world full of throw away/recycable cars that we are living with now,my son is taking interest in my truck so he'll be taught the same way by getting his hands dirty.
Keep on it.
Dave
When all else fails...try again.

Offline frogman68

  • Junior Member
  • ***
  • Posts: 773
Re: Son and Dad rust experience
« Reply #13 on: April 19, 2010, 05:57:35 am »
Your both doing a great job... ;)
Fantastic to see skills of old being passed on to another generation in a world full of throw away/recycable cars that we are living with now,my son is taking interest in my truck so he'll be taught the same way by getting his hands dirty.
Keep on it.

Thanks , actually its a learning experience for us both. I never did any work like this.

Offline howlinwolf

  • Registered Users
  • *
  • Posts: 220
Re: Son and Dad rust experience
« Reply #14 on: April 19, 2010, 07:01:16 am »
its similar for me and my dad, but the first car we did together was a sixty nine gto judge.
78 Chevy Custom Deluxe flatbed, PROPANE POWERED