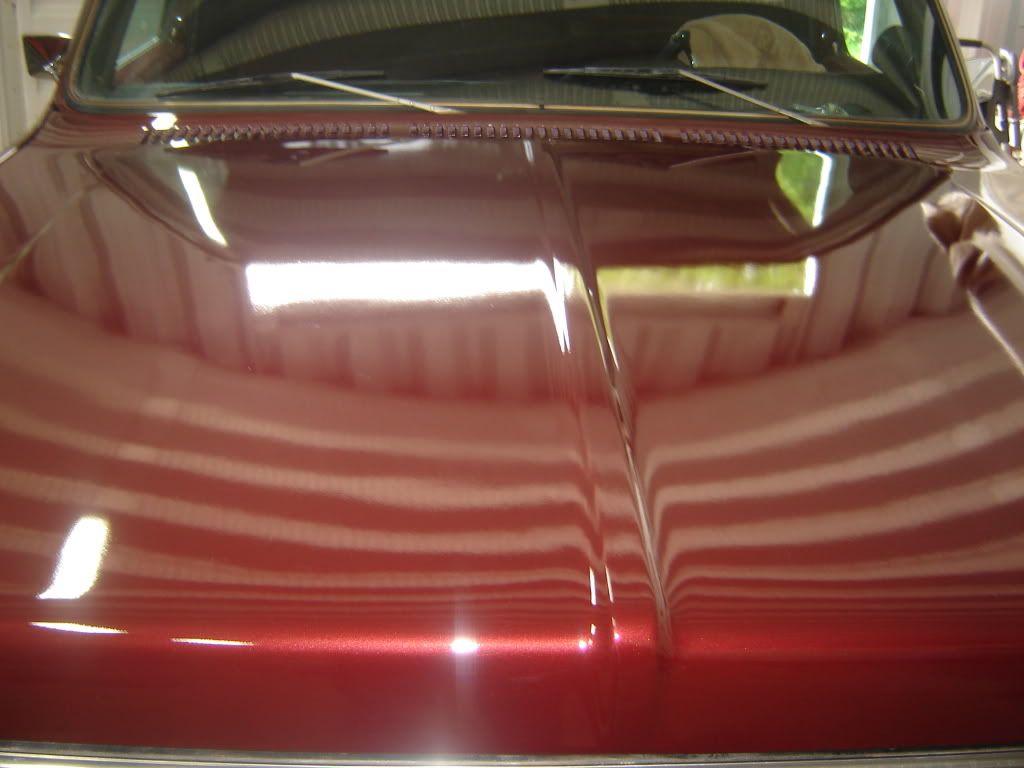
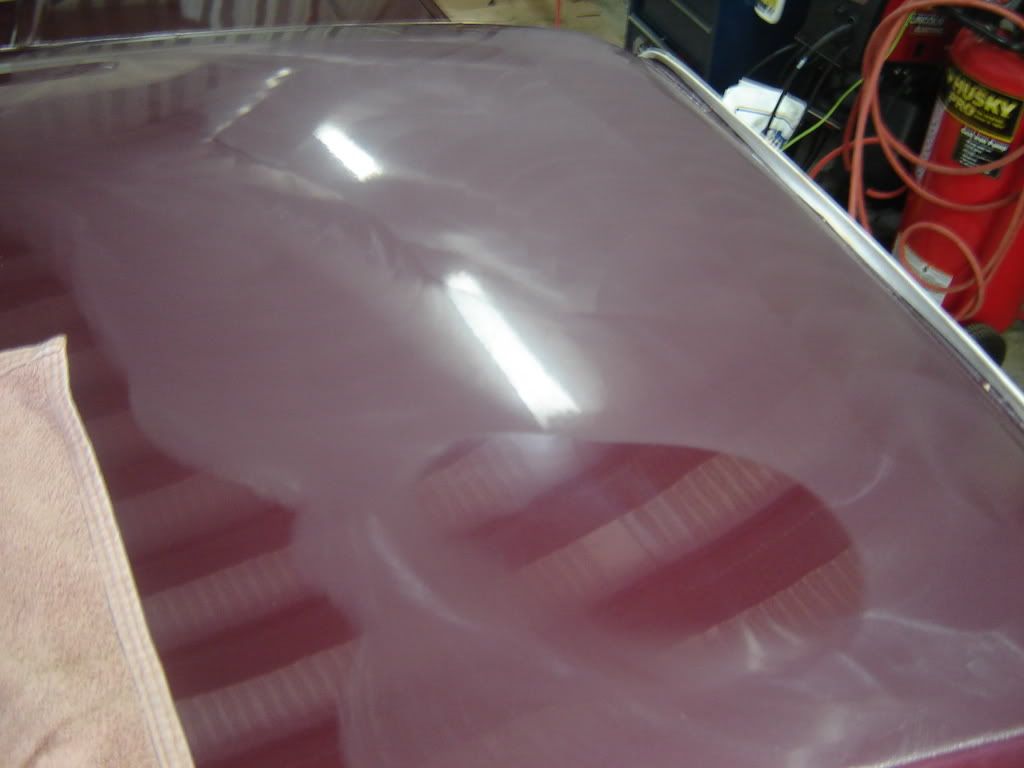
ok so its been a while. i got my truck back from the paint shop and every square inch was covered in orange peel. not only did it look bad up close but it completely changed the color of the paint. you can see here the paint looks ok but it didnt have the deep color i was expecting
i had no experience with this sort of thing at all, so i did some research and found wetsanding was the only way to resolve the problem. so even though i knew just buffing wouldnt work i tried it anyways.
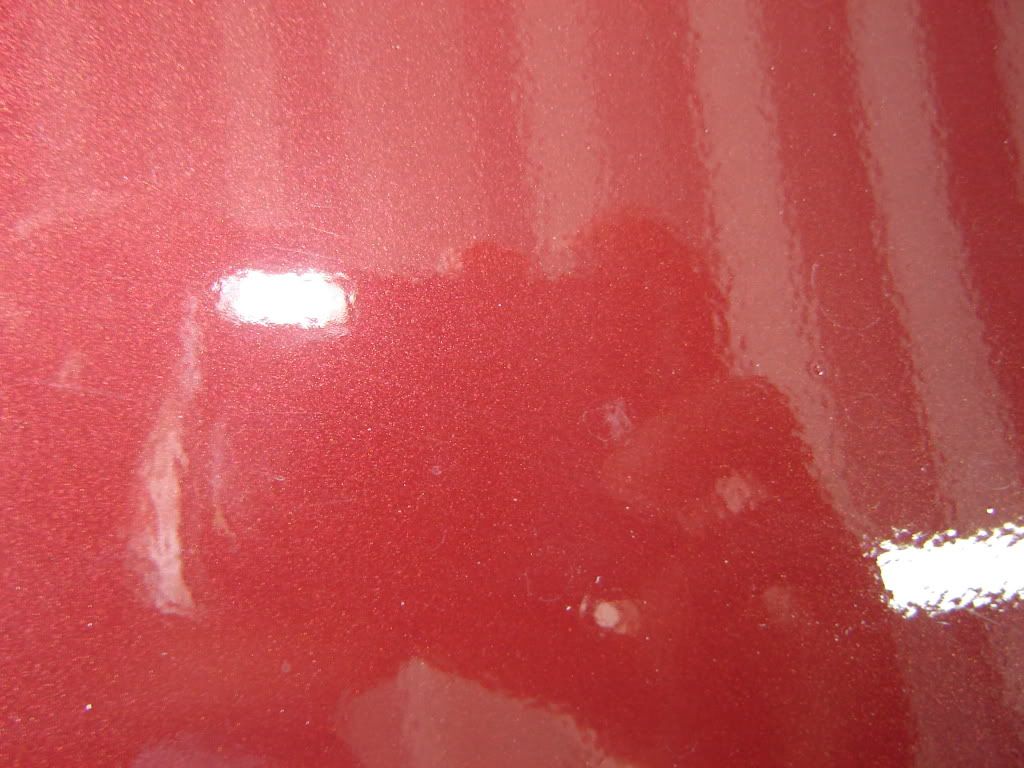
here was the result of trying to buff out orange peel.

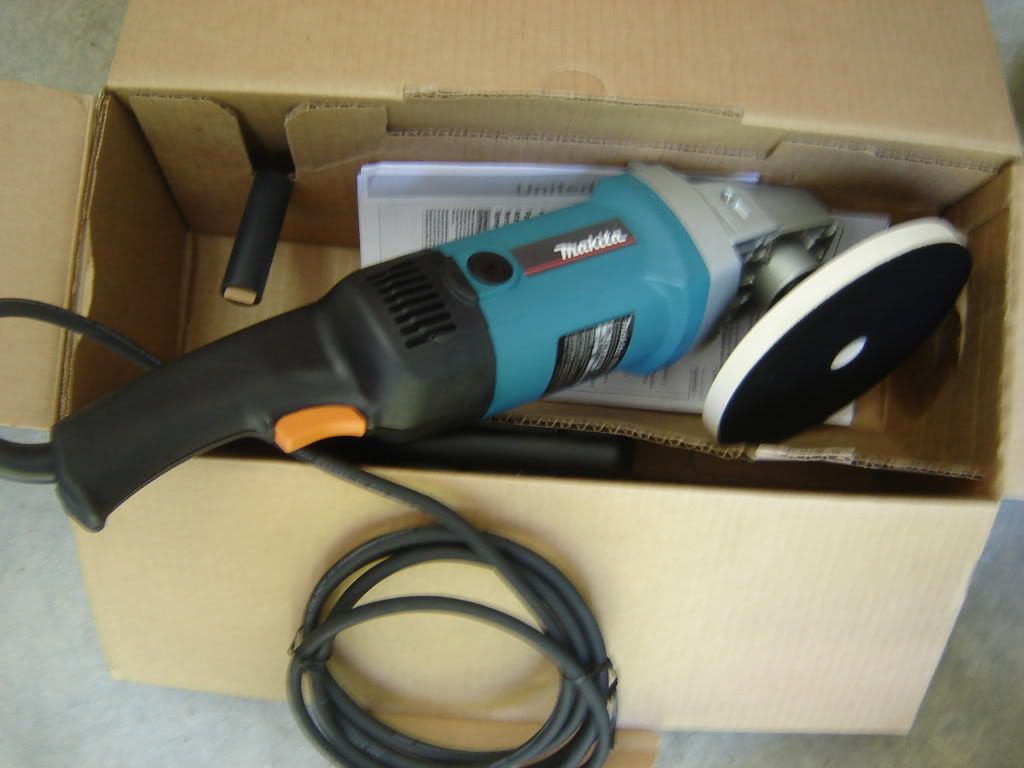
so once the panel was ruined and i knew i was looking at getting it repainted, i figured why not just dig in and try the wetsanding. so i went out and bought a few different buffing compounds, basically just guessing at what i needed. but this is what i bought and it worked out pretty well.

also i grabbed one of these about half way through the project cuz my buddy needed his back
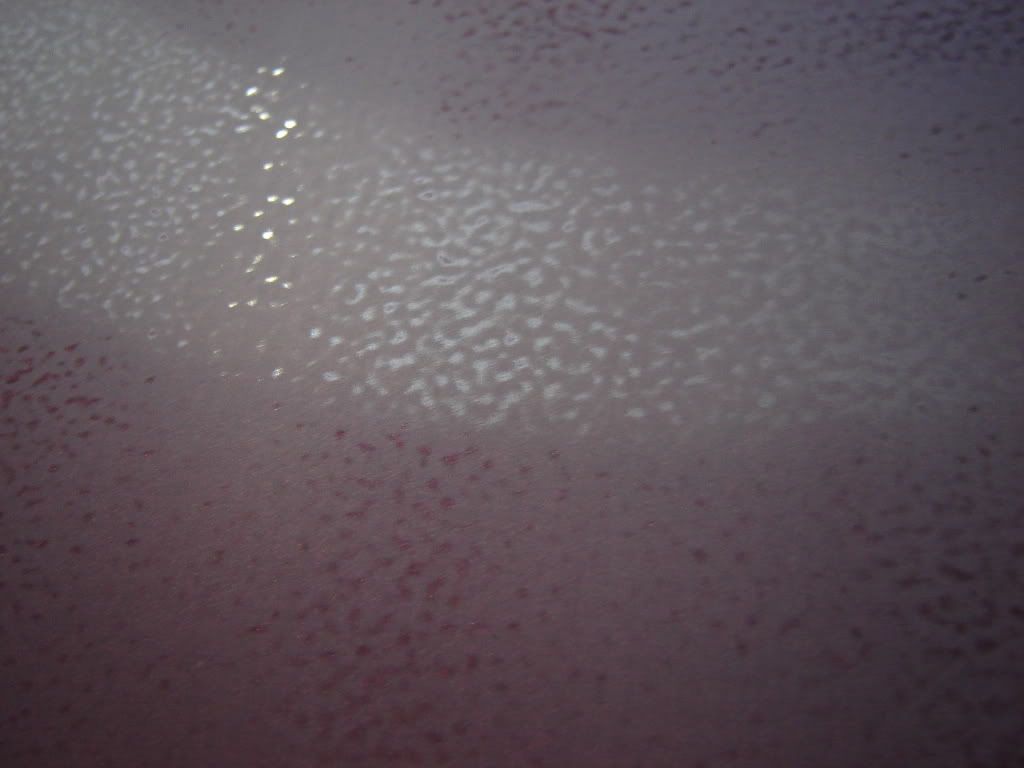
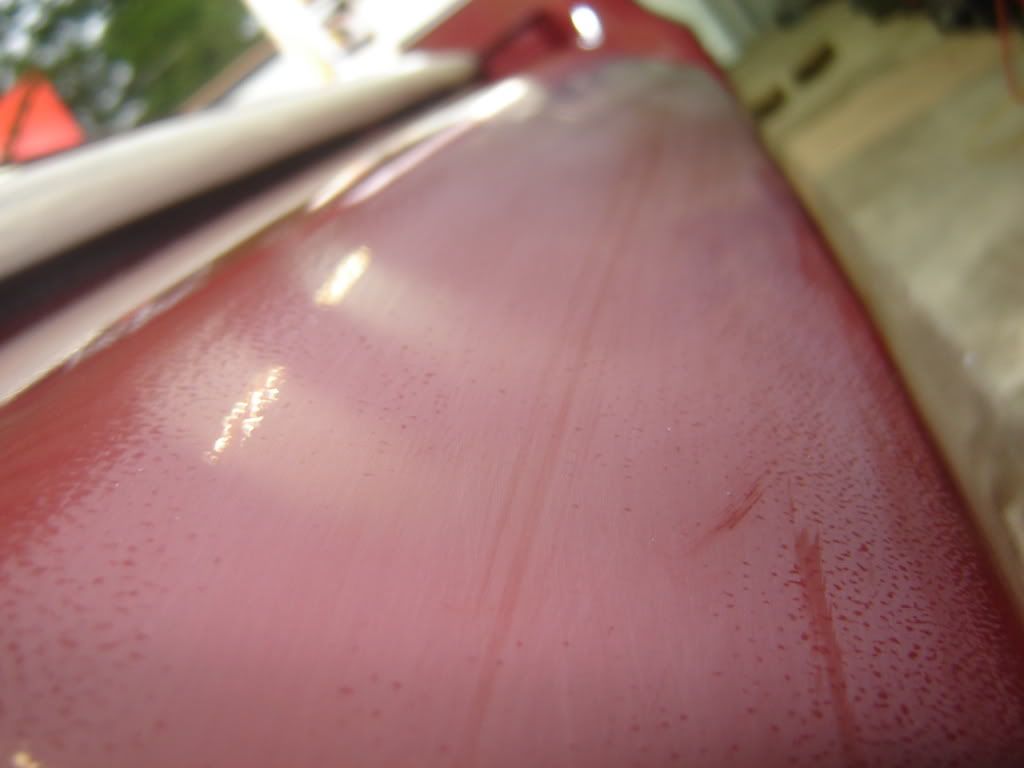
you can see how bad the peel was from just a few passes of 1500
some really important things i learned in my research were stay away from the edges and dont sand where your not gunna be able to buff.
for instance on my bed the fenders are overlapped by the top bed rail. so i put the buffer on the fender and looked at where i should put some tape so i didnt sand where the buffer wasnt going to reach.
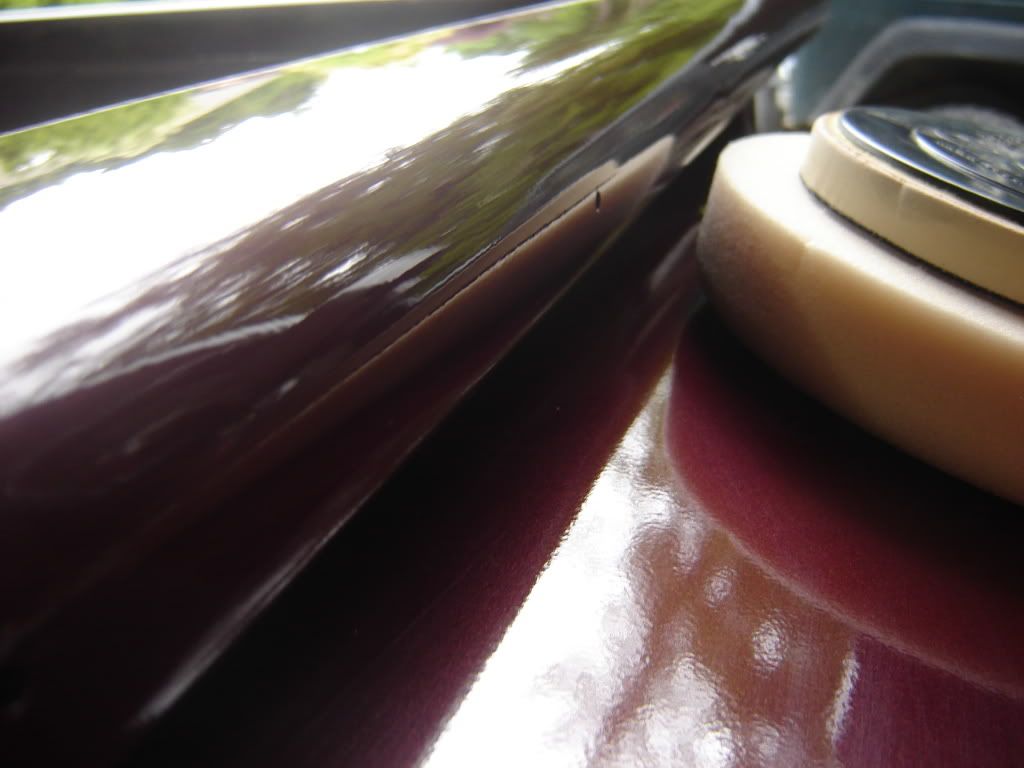
this spot is especially tricky because the part that would be hitting the bed rail is the side of the buffer pad and it creates friction a lot quicker then the bottom surface. so i also threw some tape on the rail just to be safe
so i started sanding and was a little nervous about going too far into the clear so i didnt go deep enough at first
you can see on the sides there is still a little bumpyness, and with the set up i was using those stayed even after some aggressive buffing
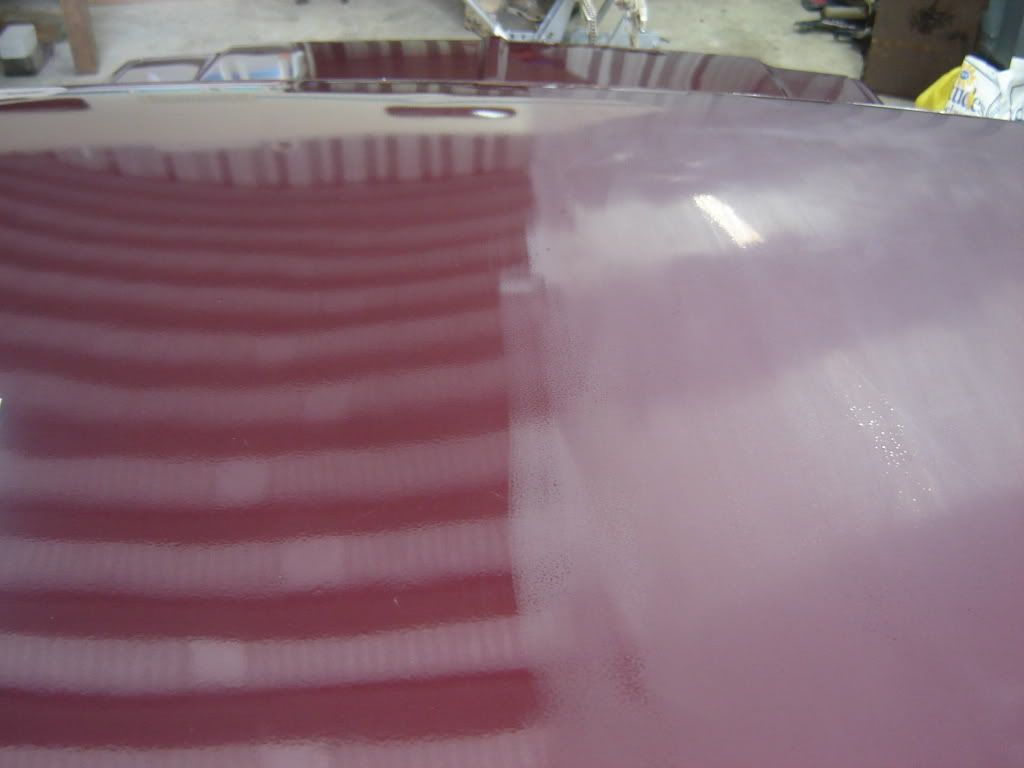
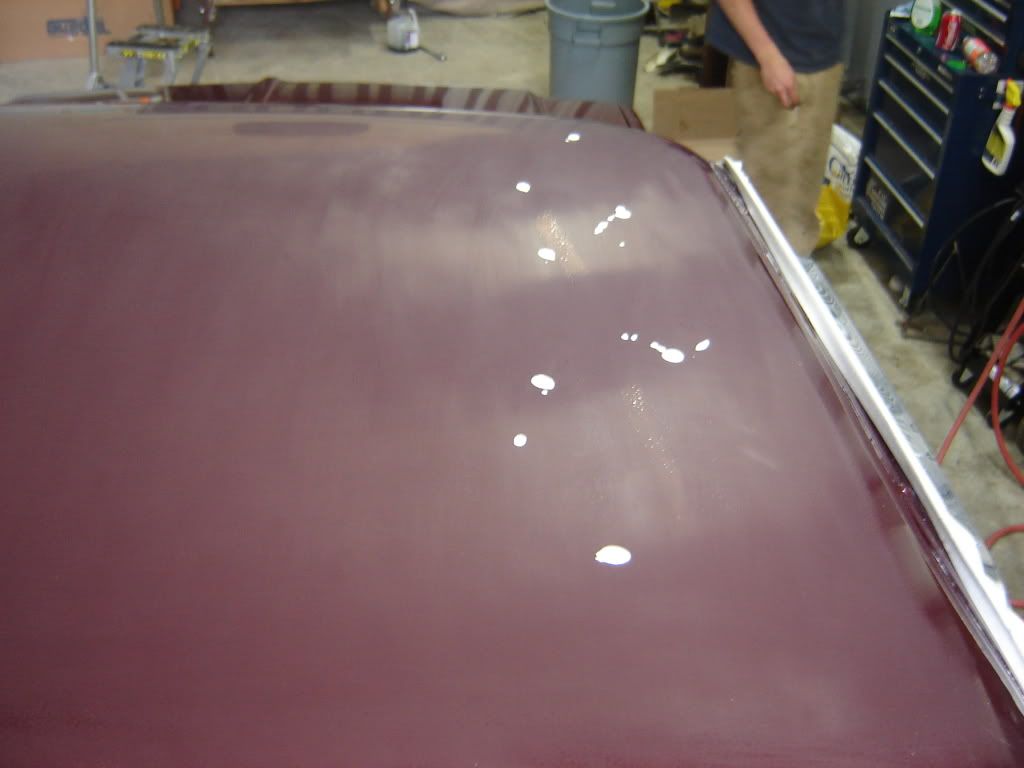
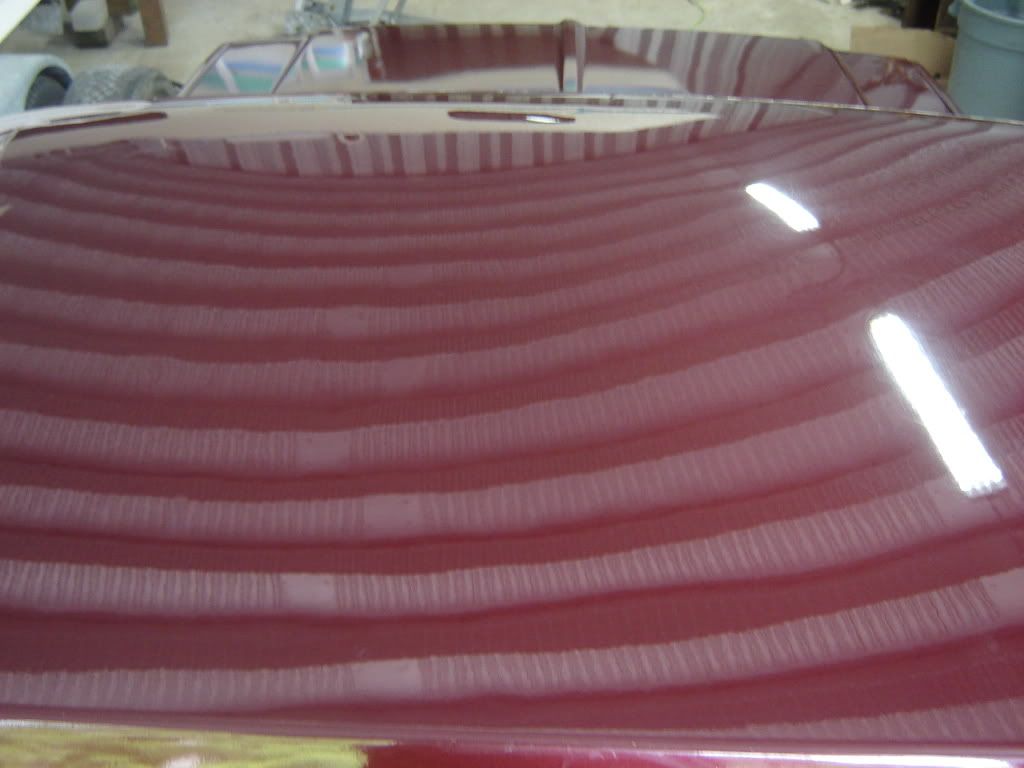
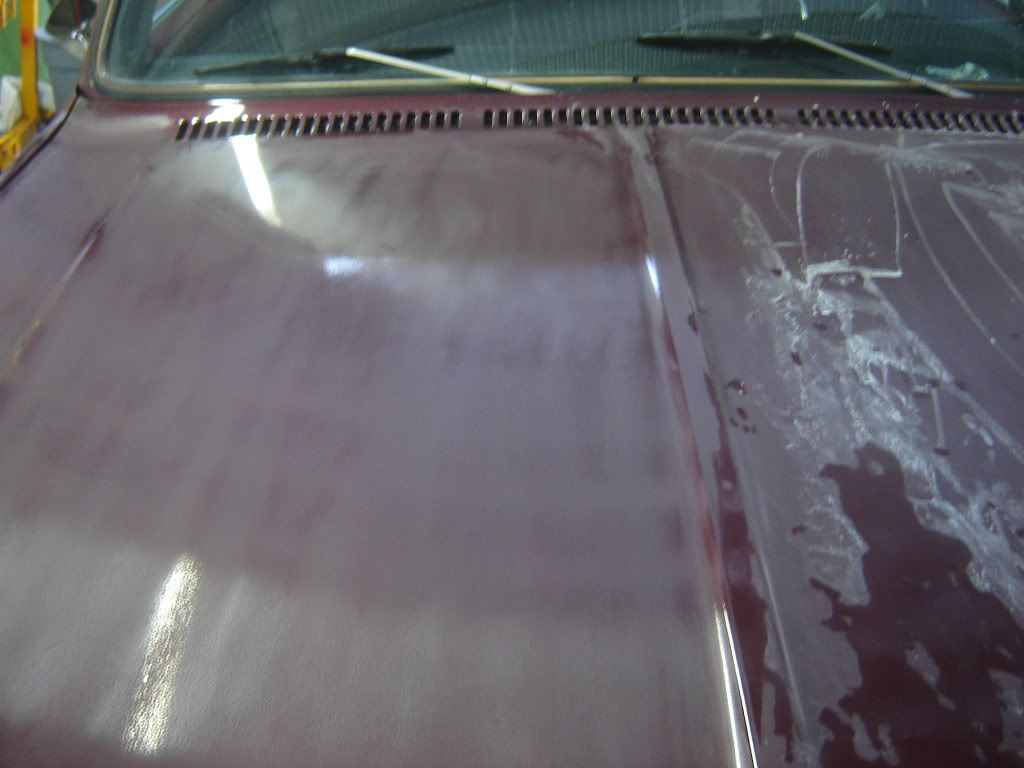
so heres a pic of the roof. the left is obviously where i havent touched and the right is where i have done the 1500 wetsanding, i was not brave enough to use anything more coarse then that. also i put soap in my sanding water to help lubricate the paper a little.
after i got it so that there were only tiny pin hole sized dots of unsanded clear i would switch to 2000 and get it as close to flat as possible. so once i was happy with how flat it was (the roof is a bad example, i rushed because you dont really see it) i would put some of the coarse buffing compound on. then i would buff in small sections until you could no longer see scratches running in the direction i was sanding, but swirls were ok.
so after the coarse compound you can notice the clear is shiny, but still a little foggy
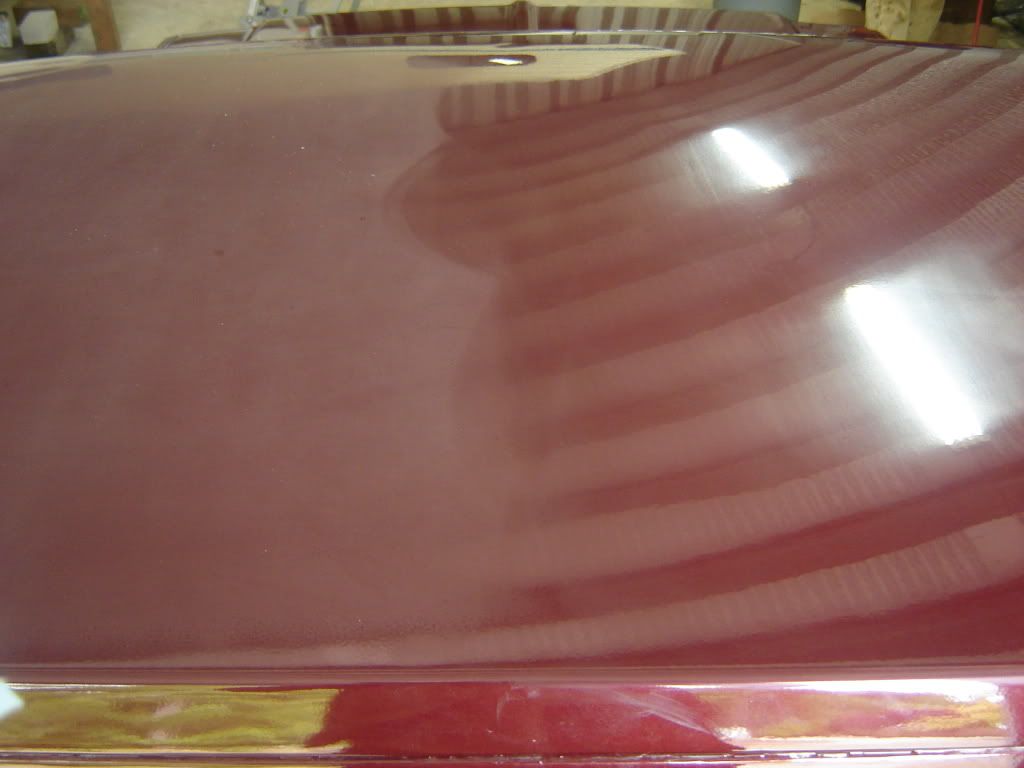
so then i switch to the medium compound, same process
if you look at the reflection of the lights you can see it already a lot sharper
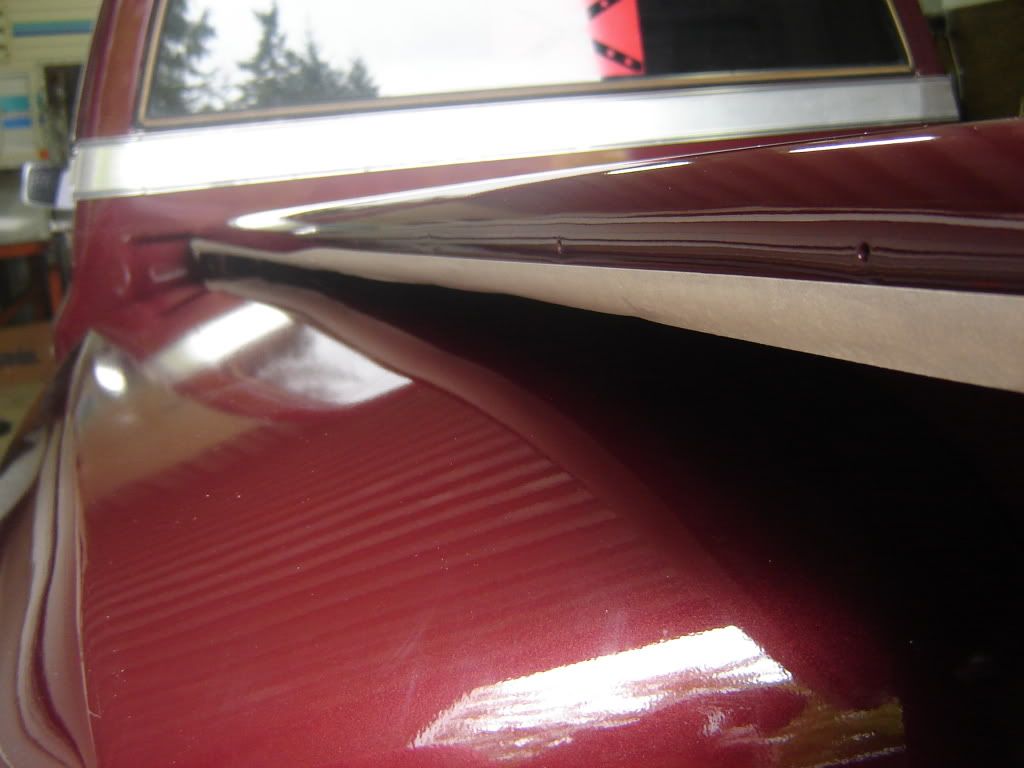
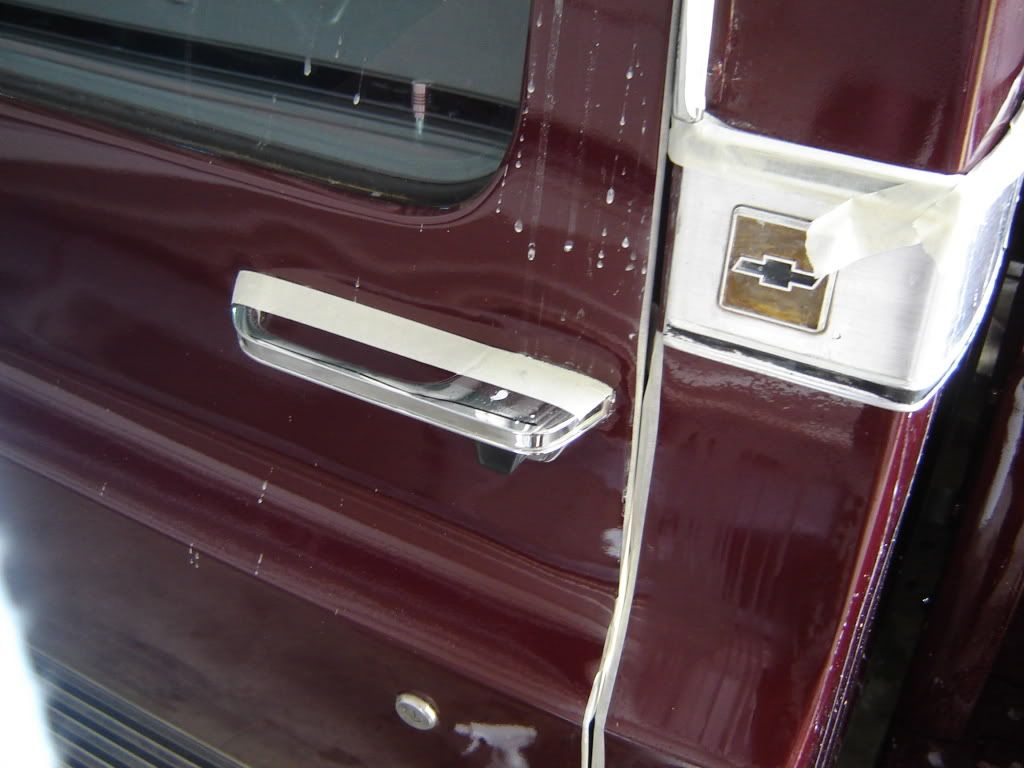
so once i got the roof looking alright i went ahead and sanded the rest of the truck through, taping off chrome trim and danger spots


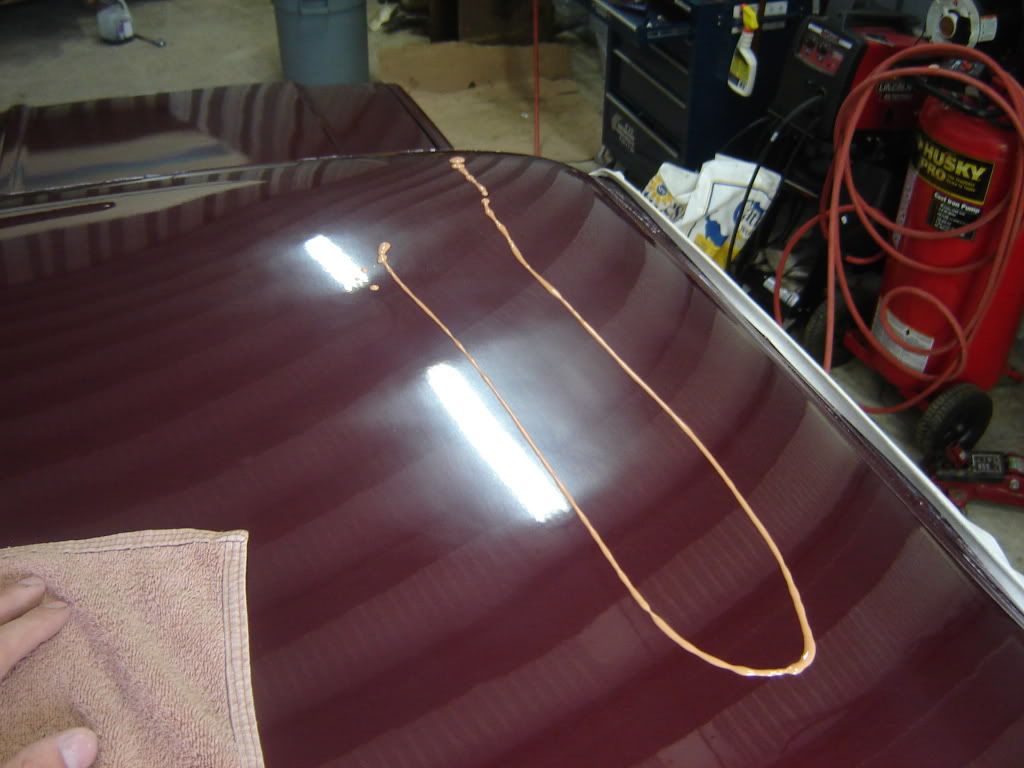
then i buffed the whole thing with coarse then medium. and finally i used some swirl remover and it really sets it off, the right side of the hood is where ive used swirl remover

a little amount of swirl remover goes a long way

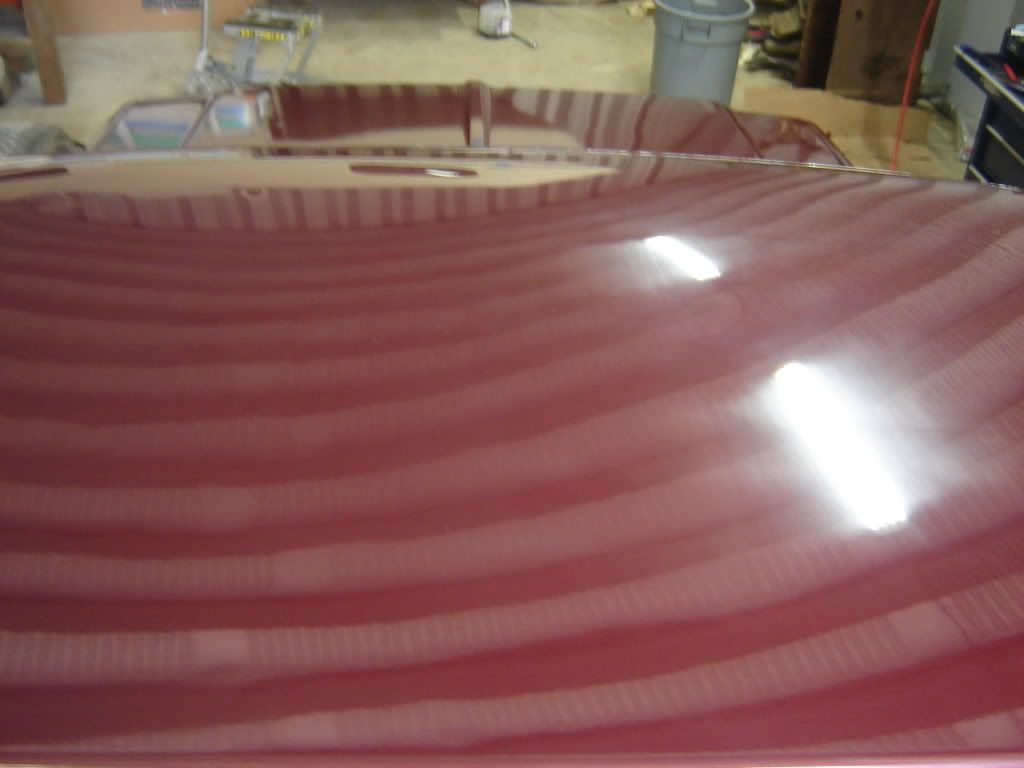
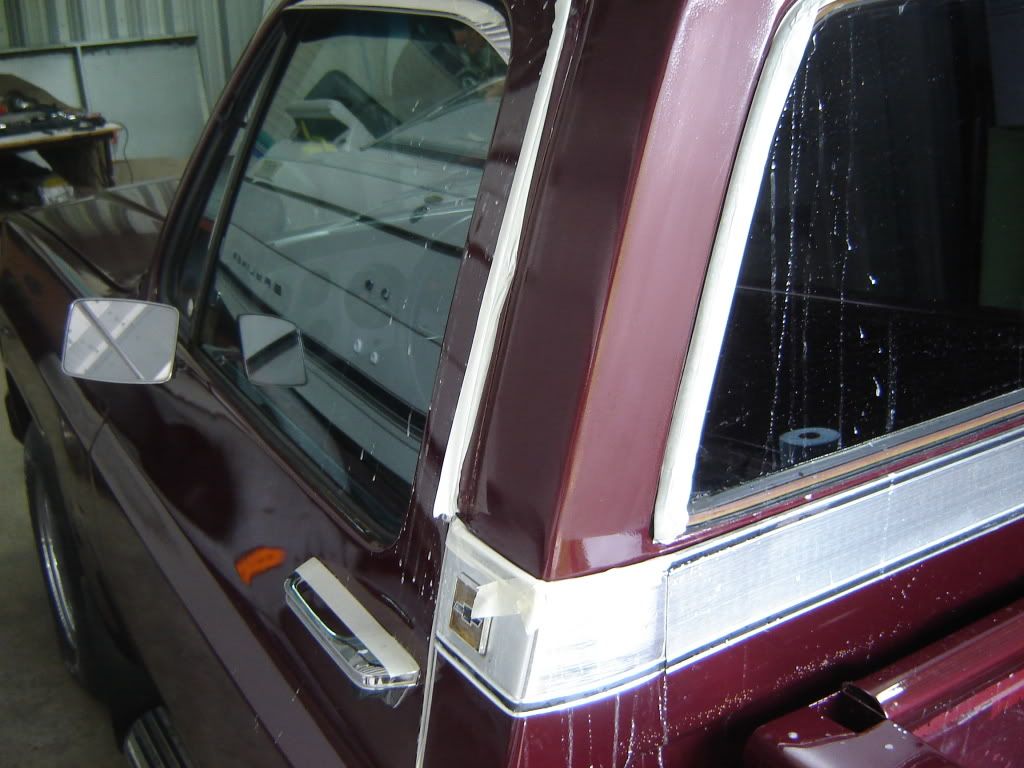
heres some shots of the final product, im still gunna polish it when i get the fender i ruined back from paint
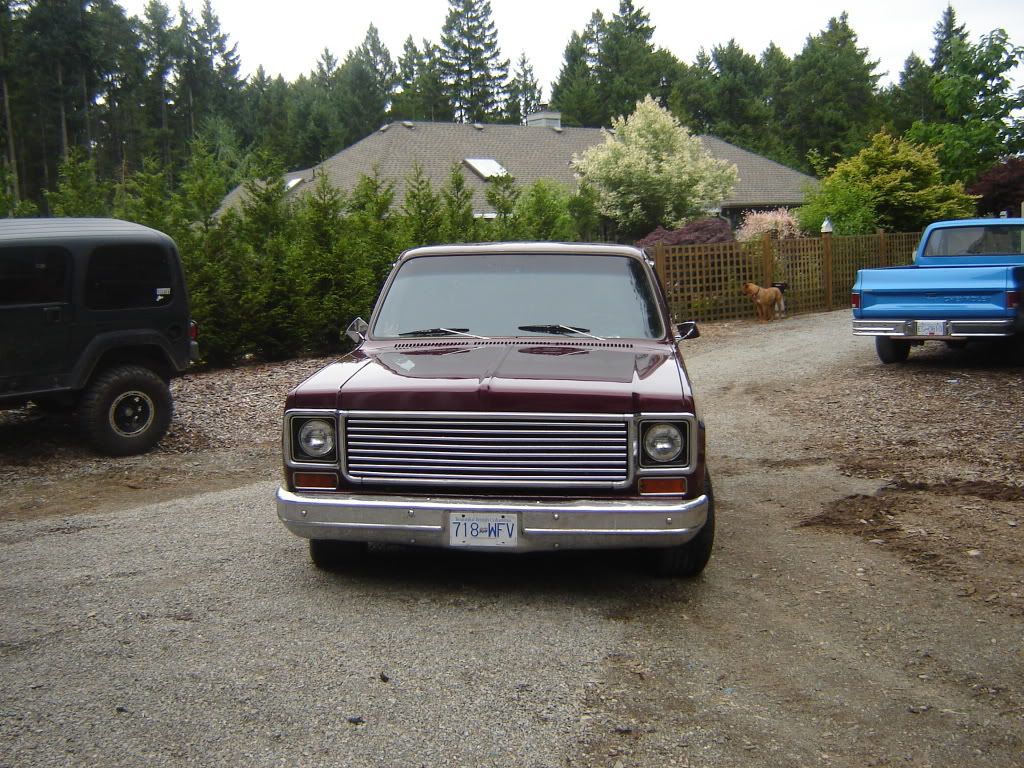
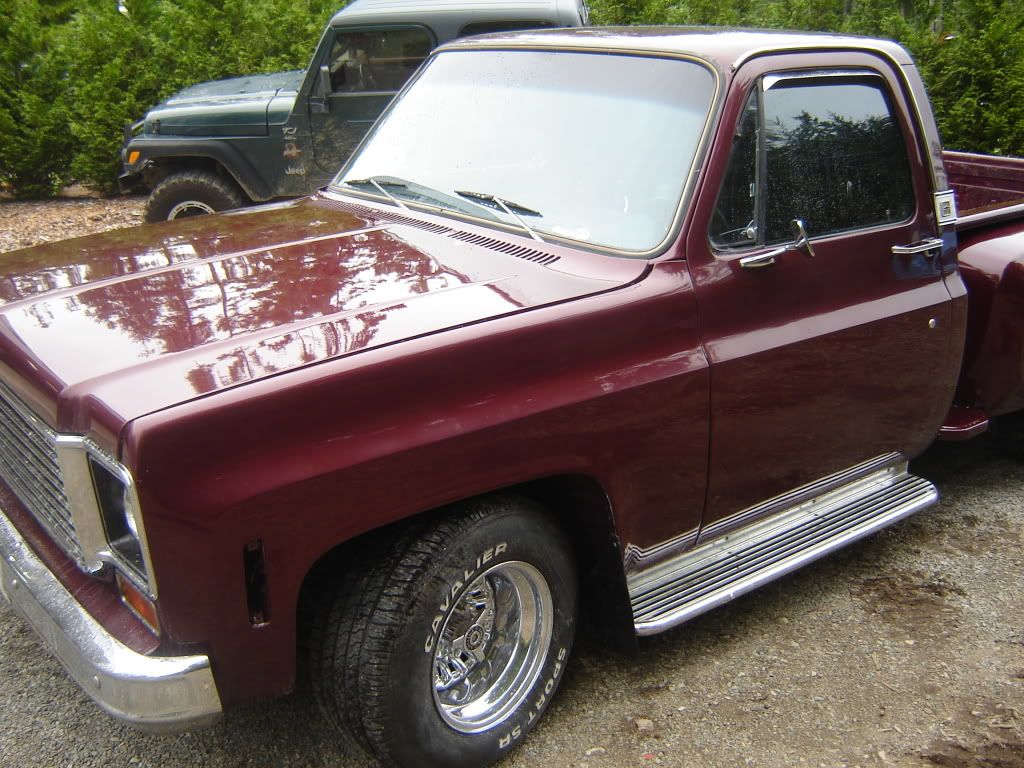
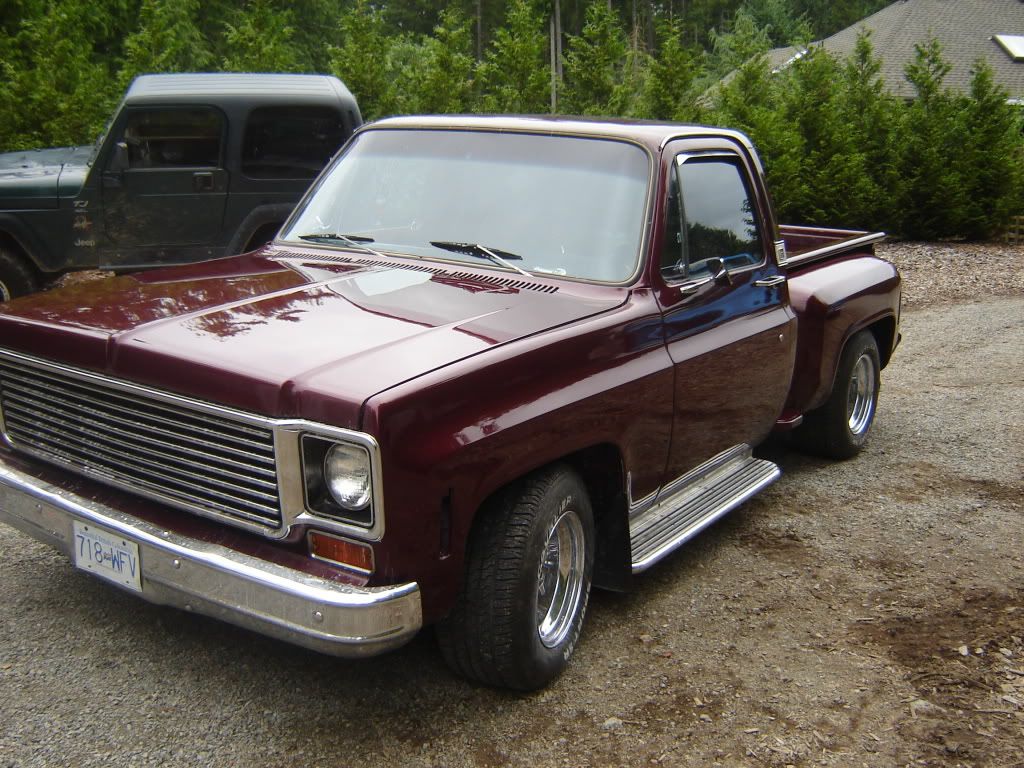
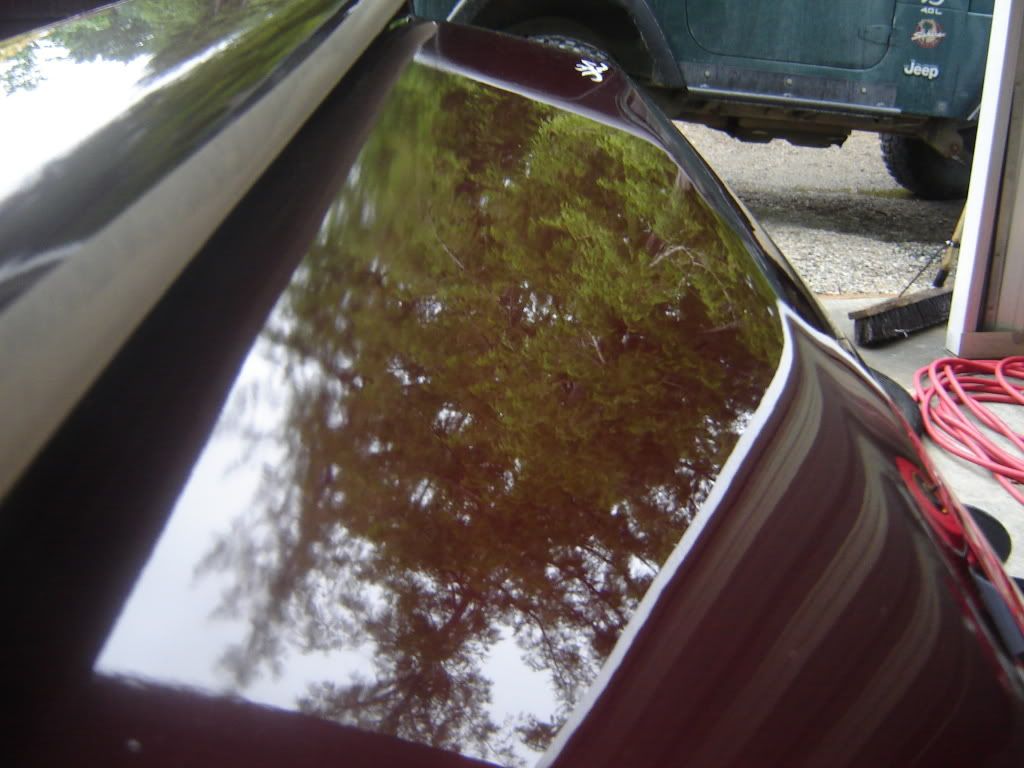
you can see how crystal clear the reflection is
all in all im happy with the results, although it took a really long time and lots of after work hours. im just glad to be finally driving this thing this weekend

 1
1
