Author Topic: 1974 stepside "the burg"  (Read 29277 times)

Offline travh123

  • Newbie
  • Posts: 47
Re: 1974 stepside "the burg"
« Reply #15 on: March 23, 2012, 07:07:12 pm »
no, but i just bought it almost a year ago so it could have been from the previous owner but he lived in the victoria area so it could have been a case of mistaken identity haha, plus it was an alberta truck before that so it coulda been a look-alike

Offline travh123

  • Newbie
  • Posts: 47
Re: 1974 stepside "the burg"
« Reply #16 on: March 24, 2012, 12:18:57 am »
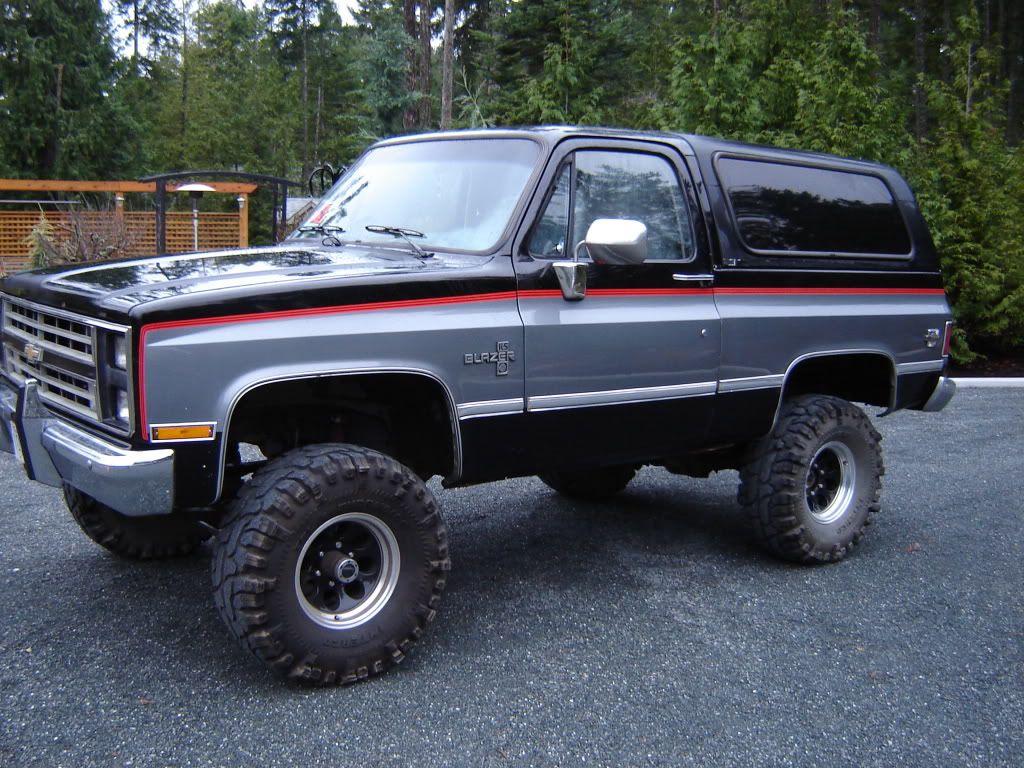
so i was going through all my camera pics to delete some cuz it was full i came across a picture of my old blazer i thought i would share with you guys. i had to sell it because at the time i was commuting about 50 km a day, and it was costing me almost $600 a month in gas. but man was it bad


anyways back on the subject of my engine. Its coming along slowly but steadily. in the last couple days ive got a few things done but ive been waiting for some parts.

so first thing was to gap the piston rings, the rings i bought were pre gapped and all were within the tolerances but i still when through every one and i found it a very tedious task


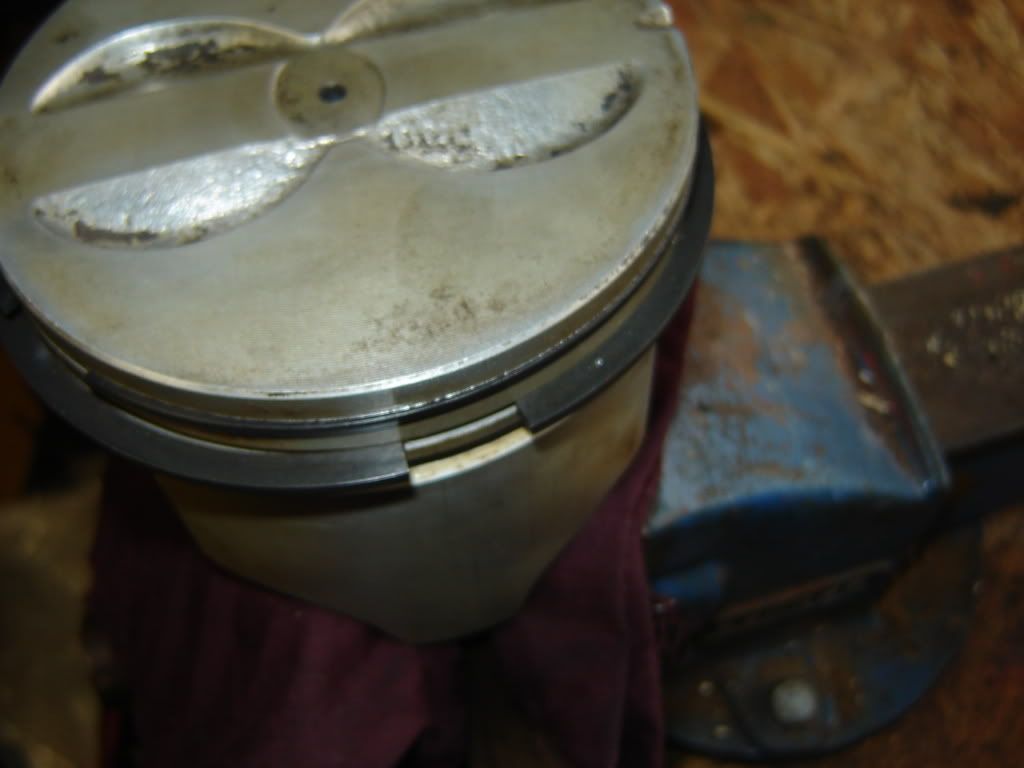
to get the rings square in the bore for measuring i pushed them down with an oiled up piston


instead of gaping all the rings at once i just gap two rings in the bore then put them on the respective piston


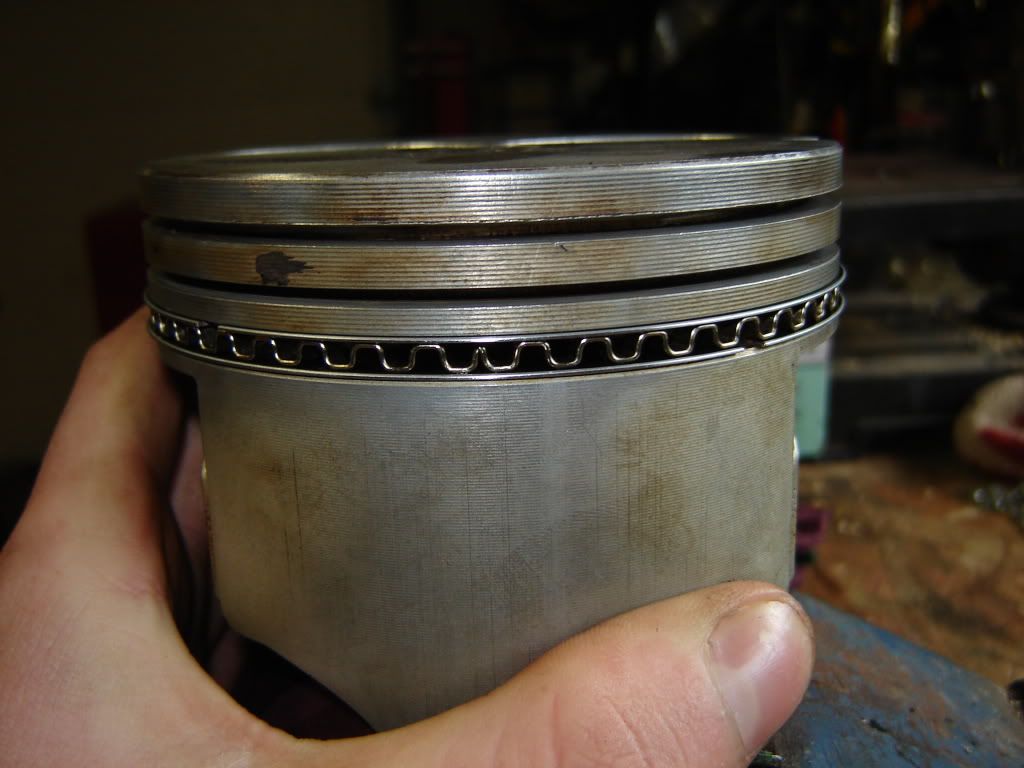
made sure all the dots were in the second row facing up


cheaped out on buying a ring expander and decided to use my thumbs. i will not make this mistake again because my thumbs were quite sore by the end of the 16th ring
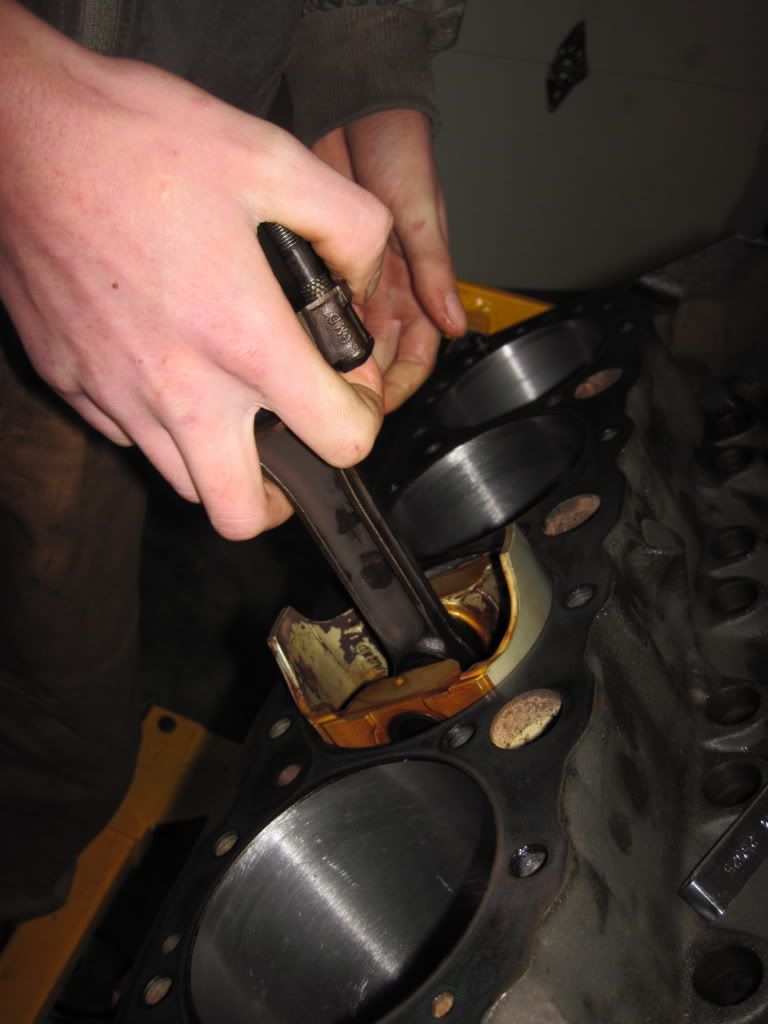
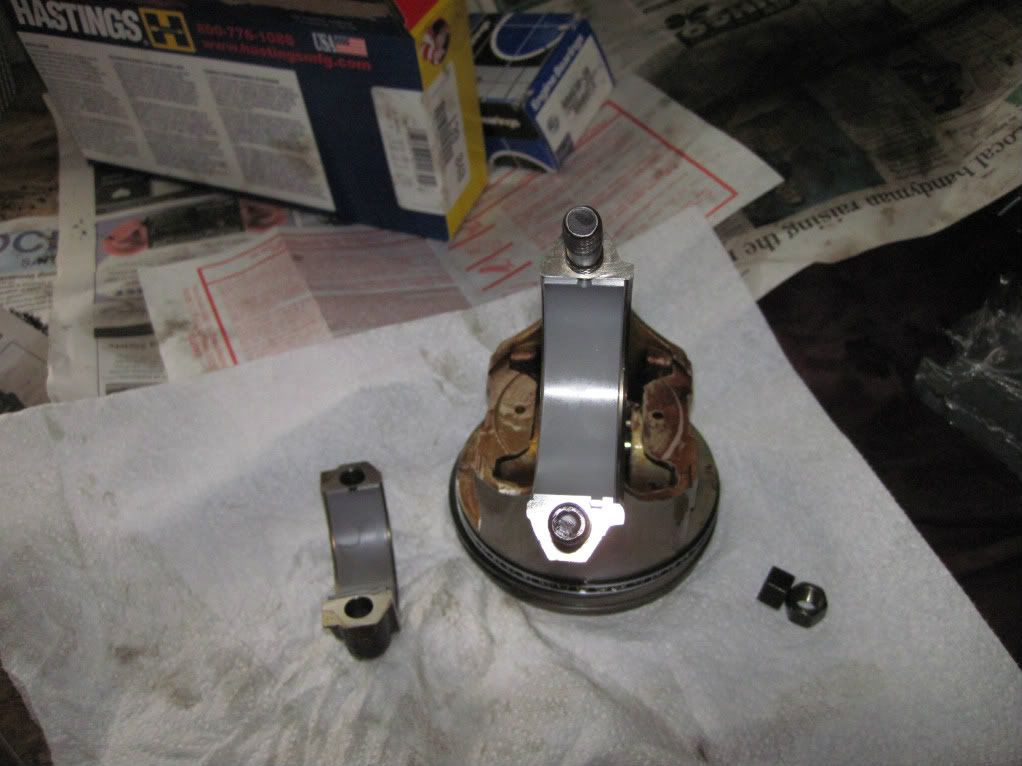
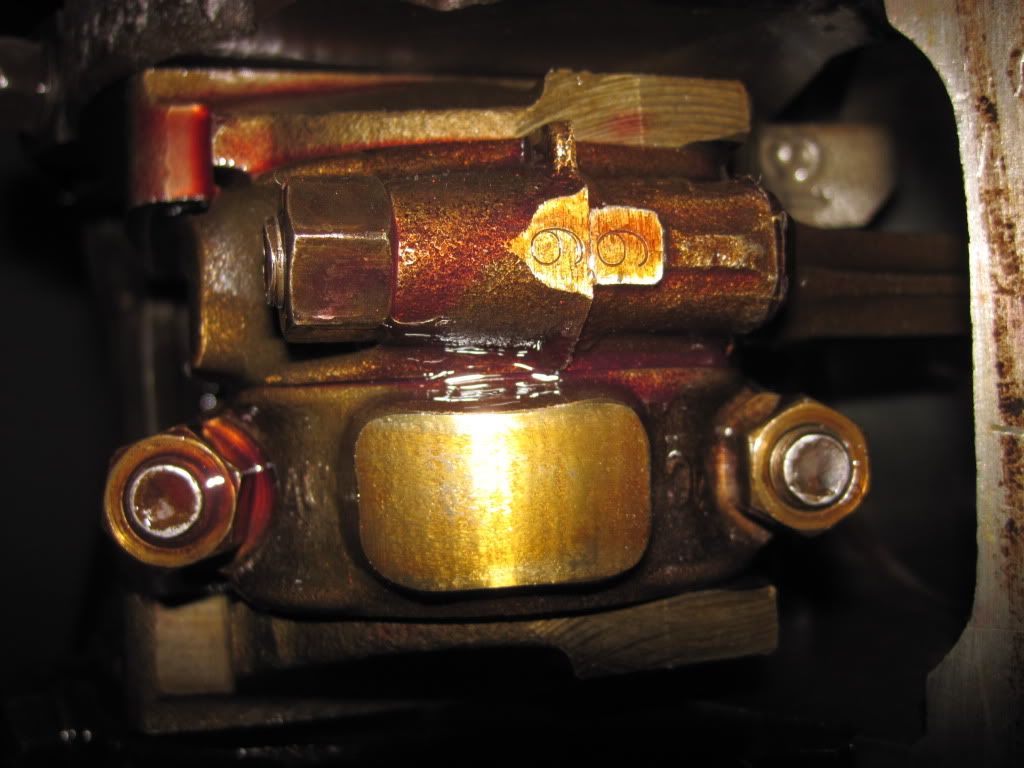
fresh bearings


the guy at the machine shop gave me a set of these fancy blue piston socks for free ;D and i picked up this ring compressor for like 10 bucks at the part store which was nice


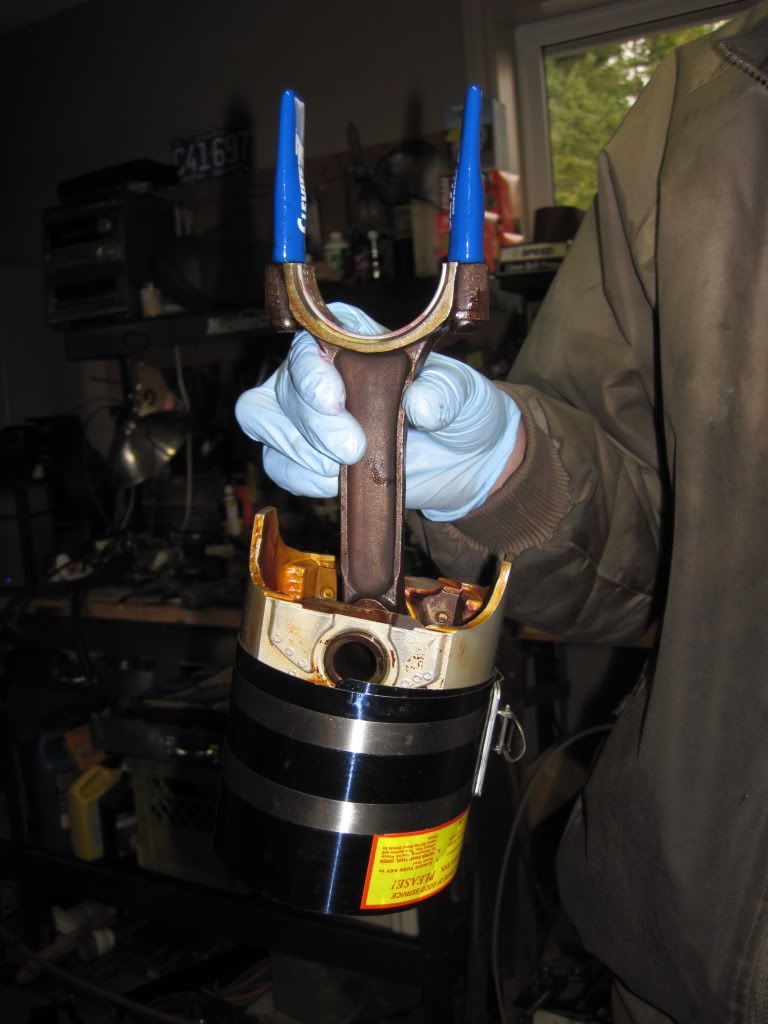
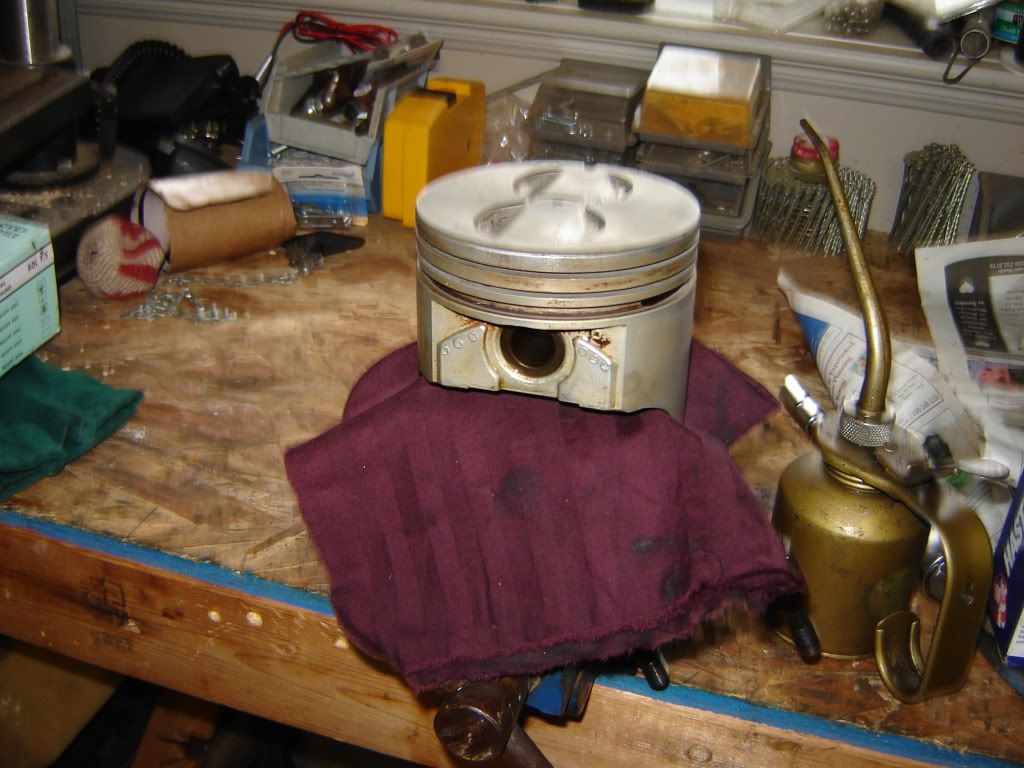
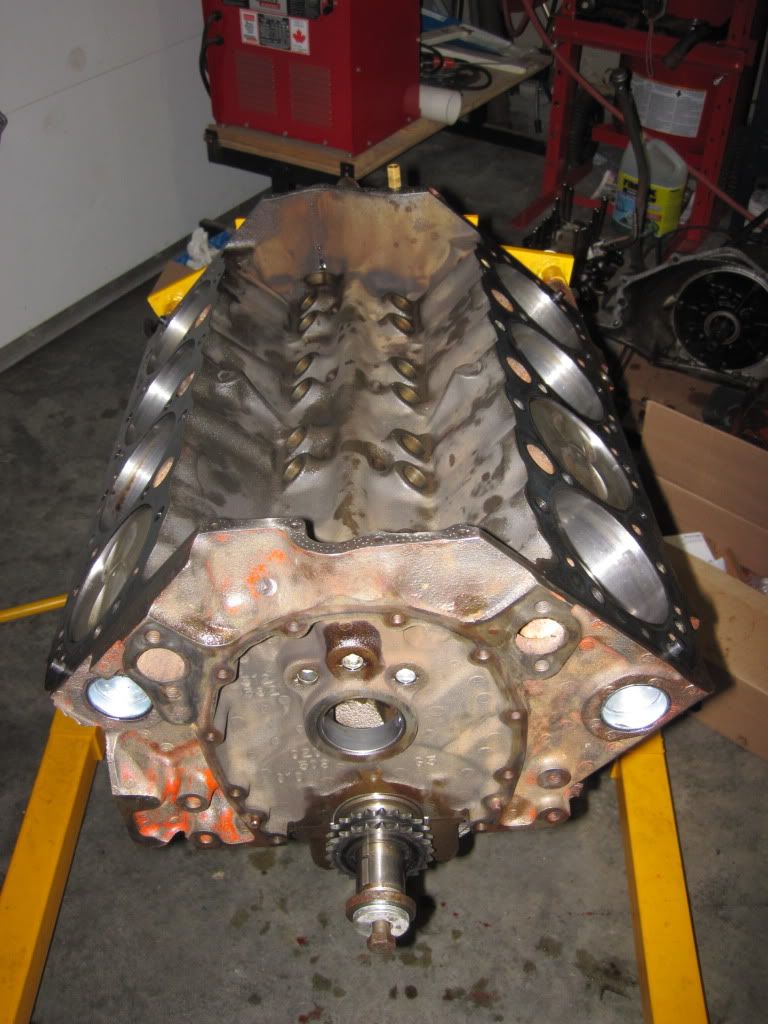
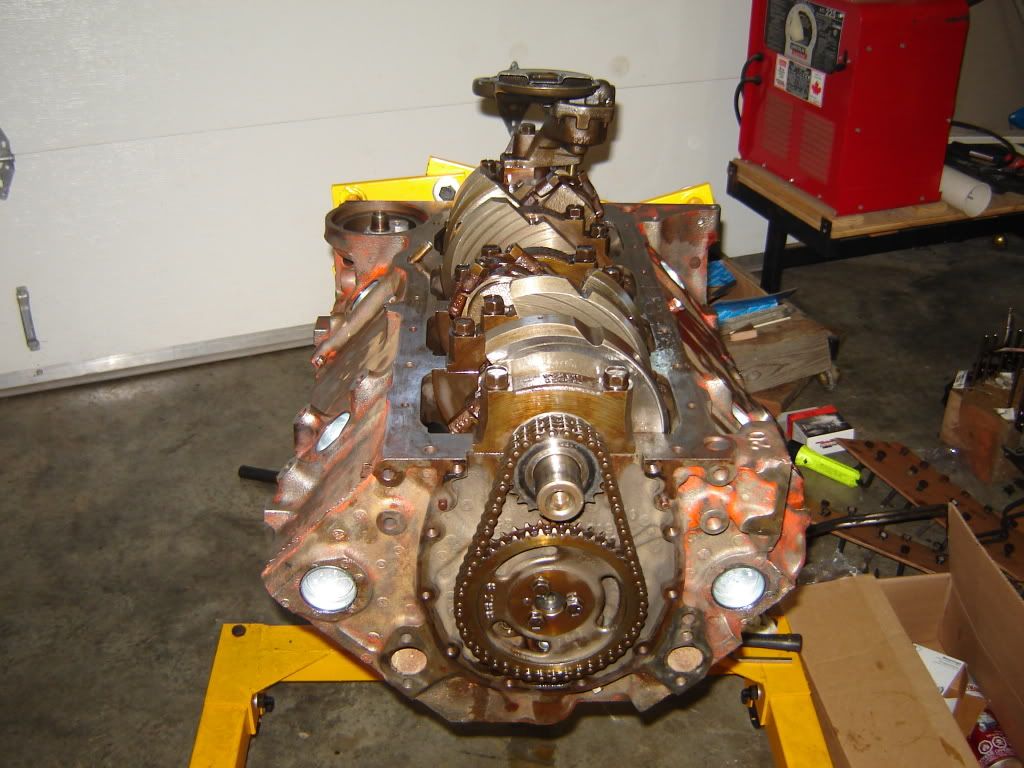
got all the pistons in


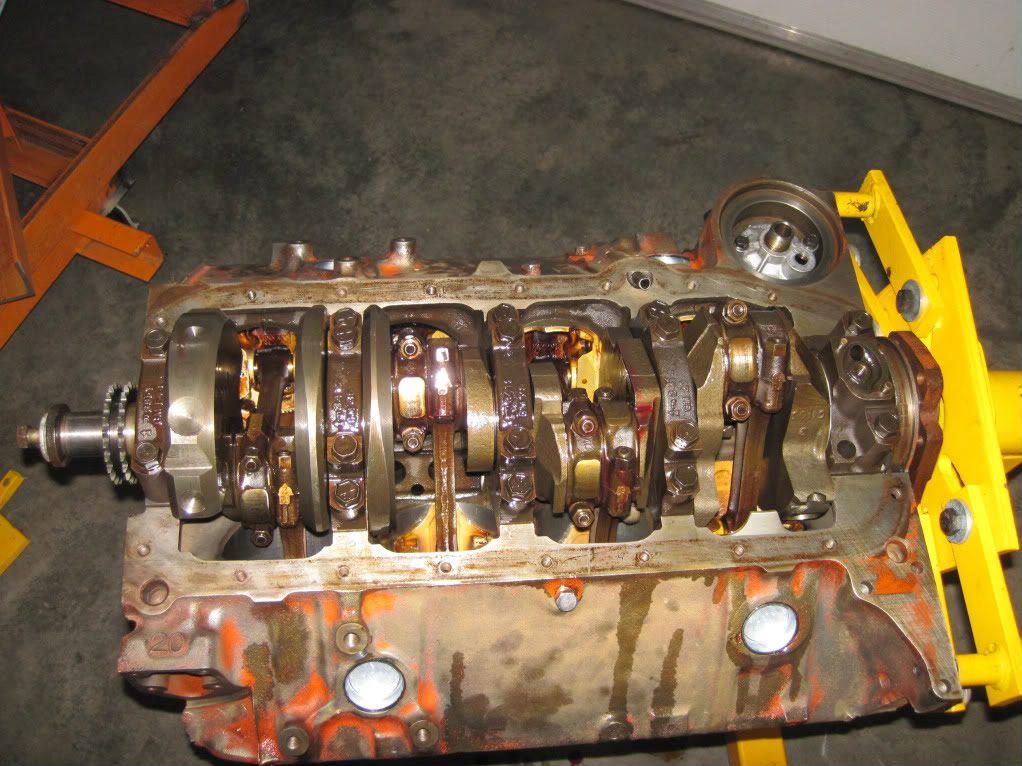
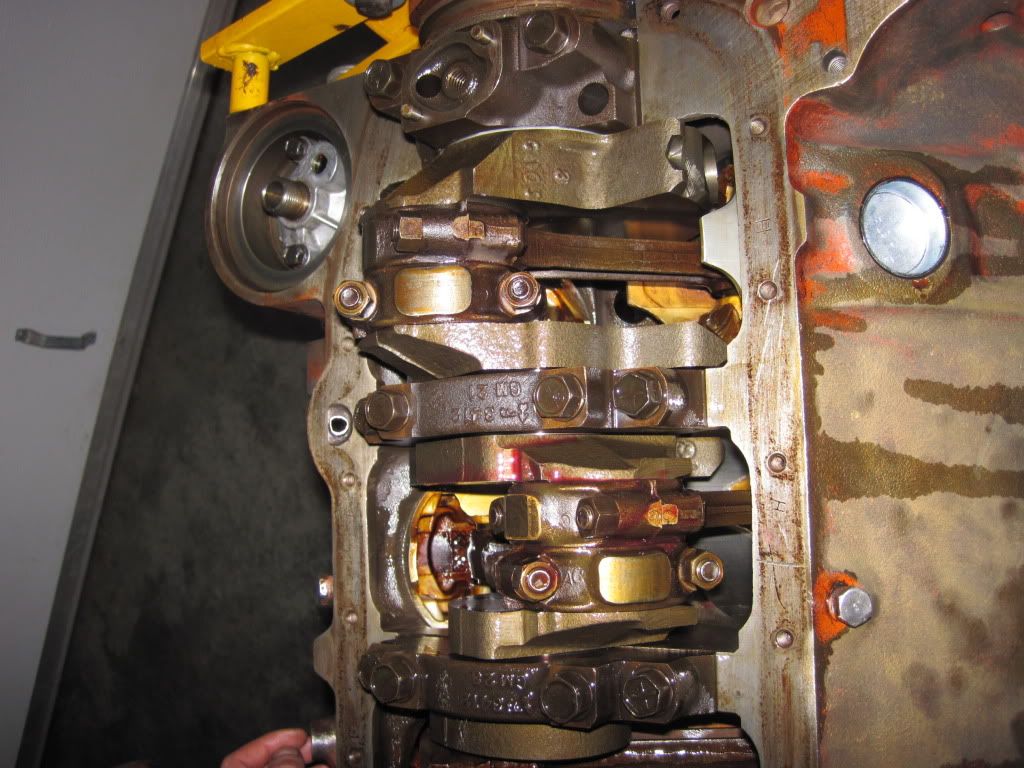
conveniently stamped so i knew exactly which way the caps go back on


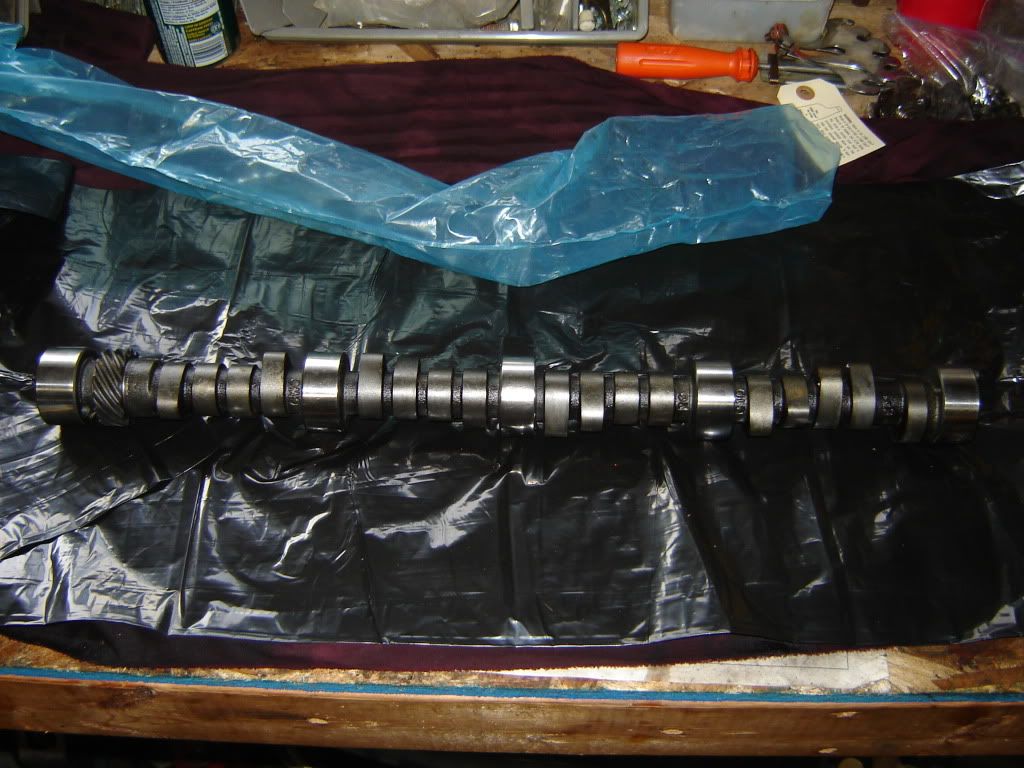
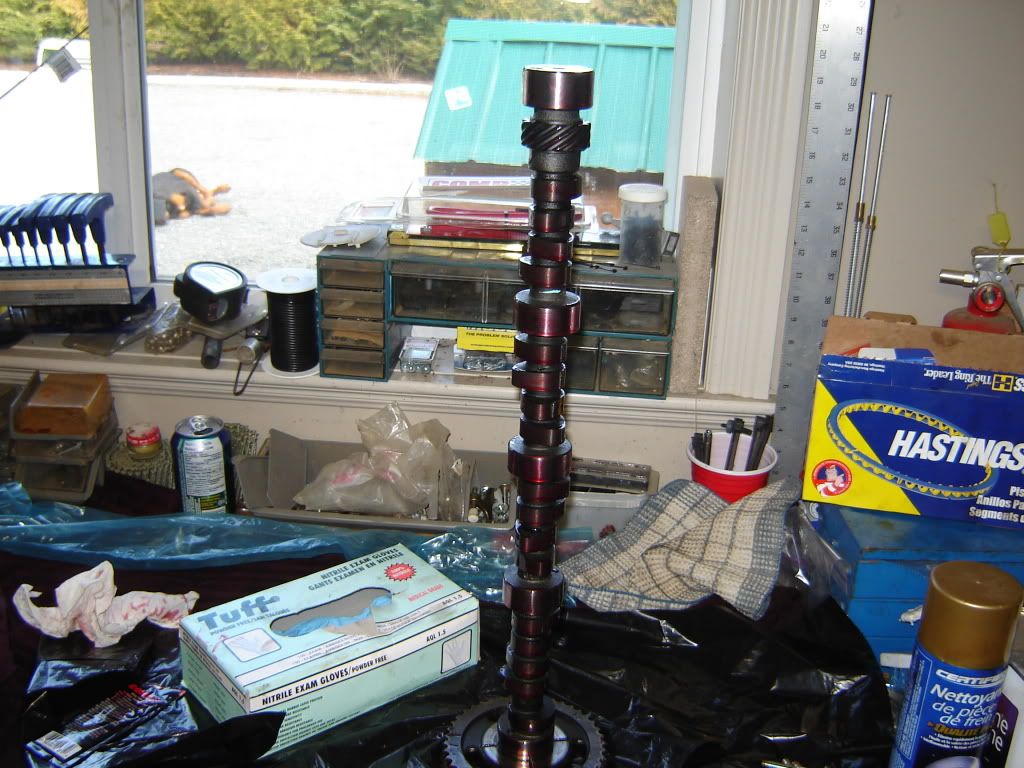
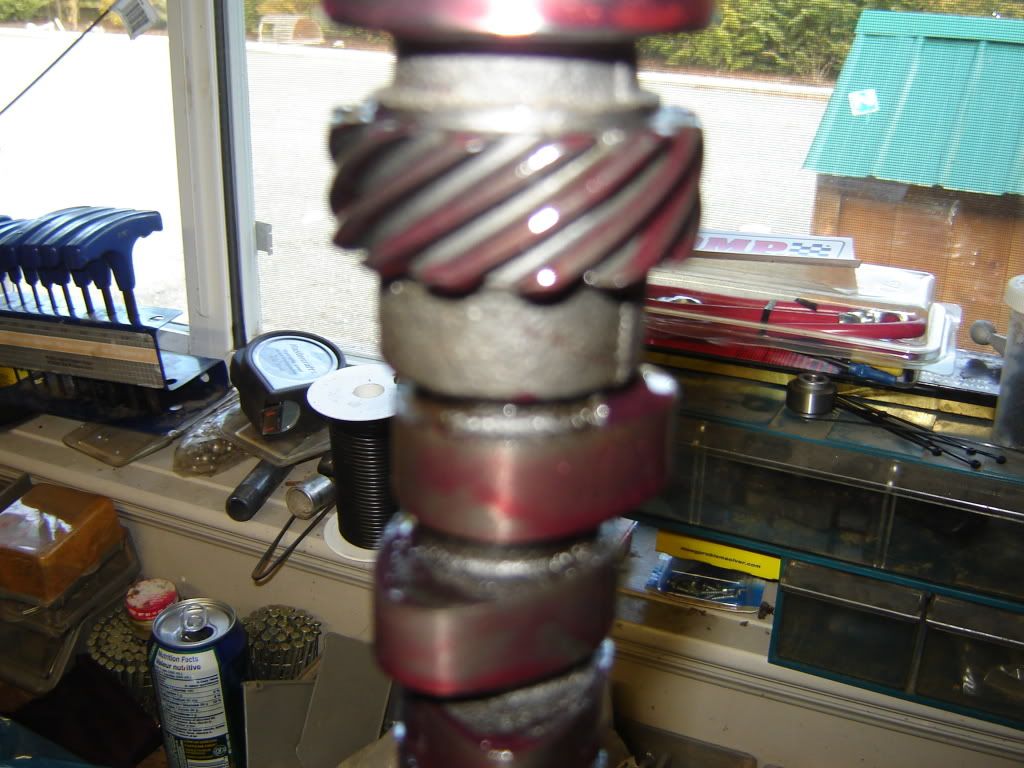
the beast is finally out of the bag, i think the new cam is probably the most exciting part of this build for me


when i looked at it close there was some fuzz stuck the the factory grease in some spots so i gave it a wipe down, it was mostly in the distributor gears. then i got 'er all lubed up with the special comp lube that came with the cam.


i put the gear back on to help ease the cam in, it was pretty stressful i really didnt wana ding any of my bearings


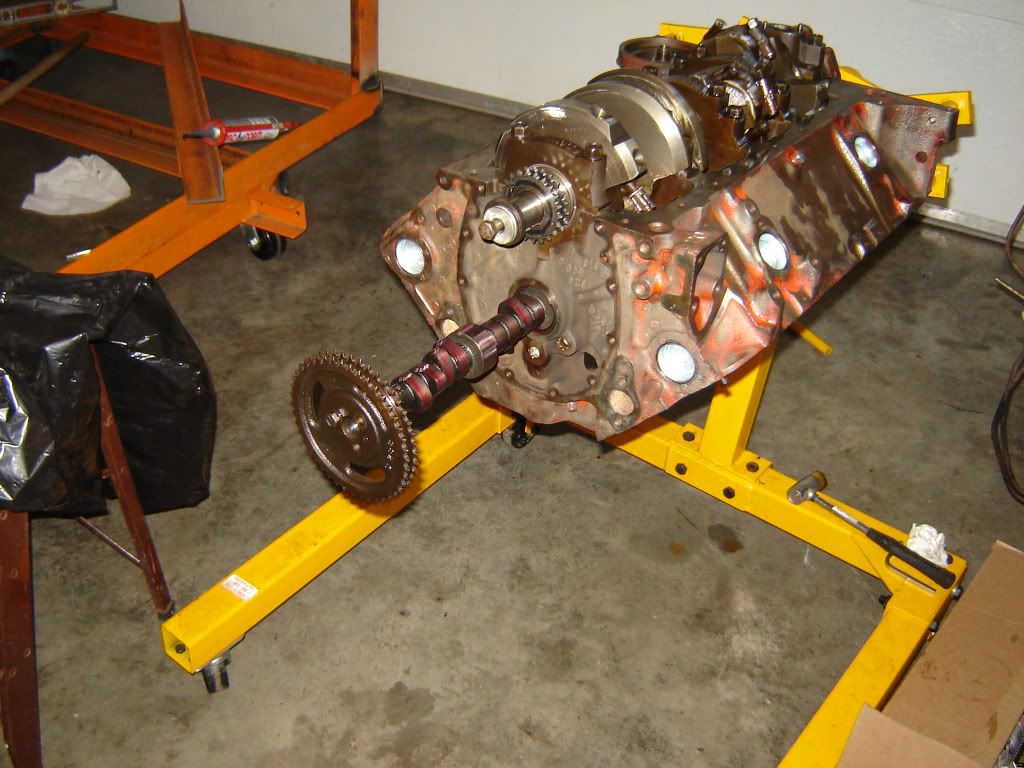
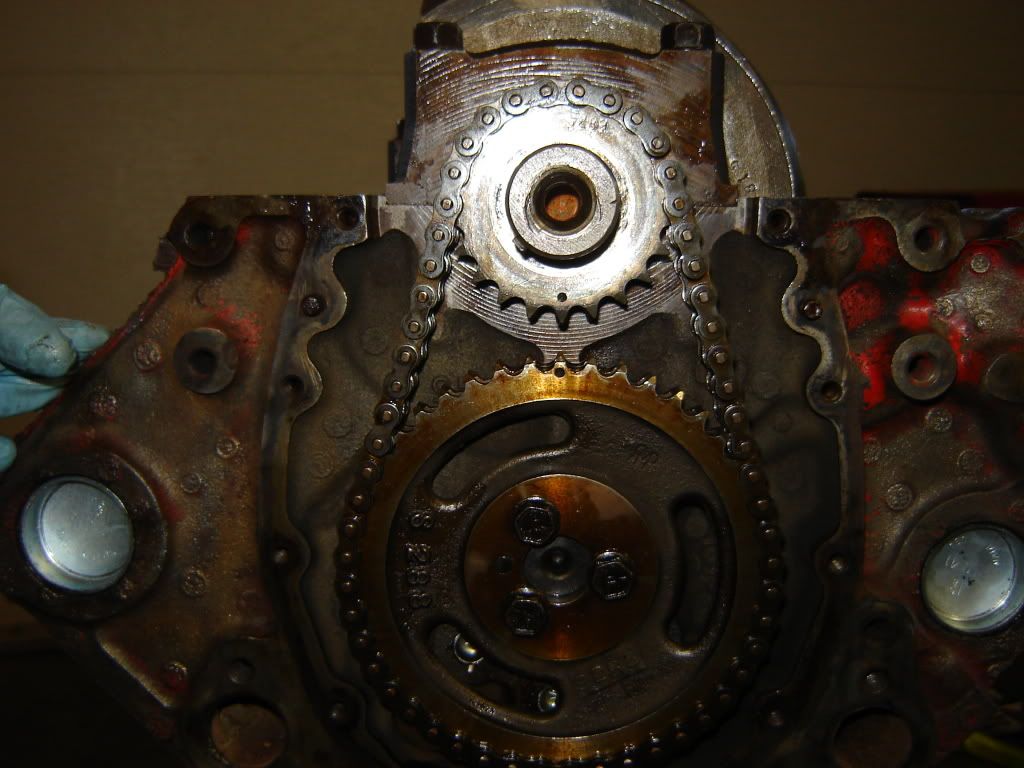
lined up the dots and through the chain on. once i had it on it seemed to me to have a little to much play. so i went to the parts store and picked up a new chain and gears. i test fitted the chain on the old gears and it had the same amount of play. so i went back to the old chain and saved the $50. i had never dealt with the timing chain on one of these before but i figured better safe then sorry. but it turned out to be ok anyways.


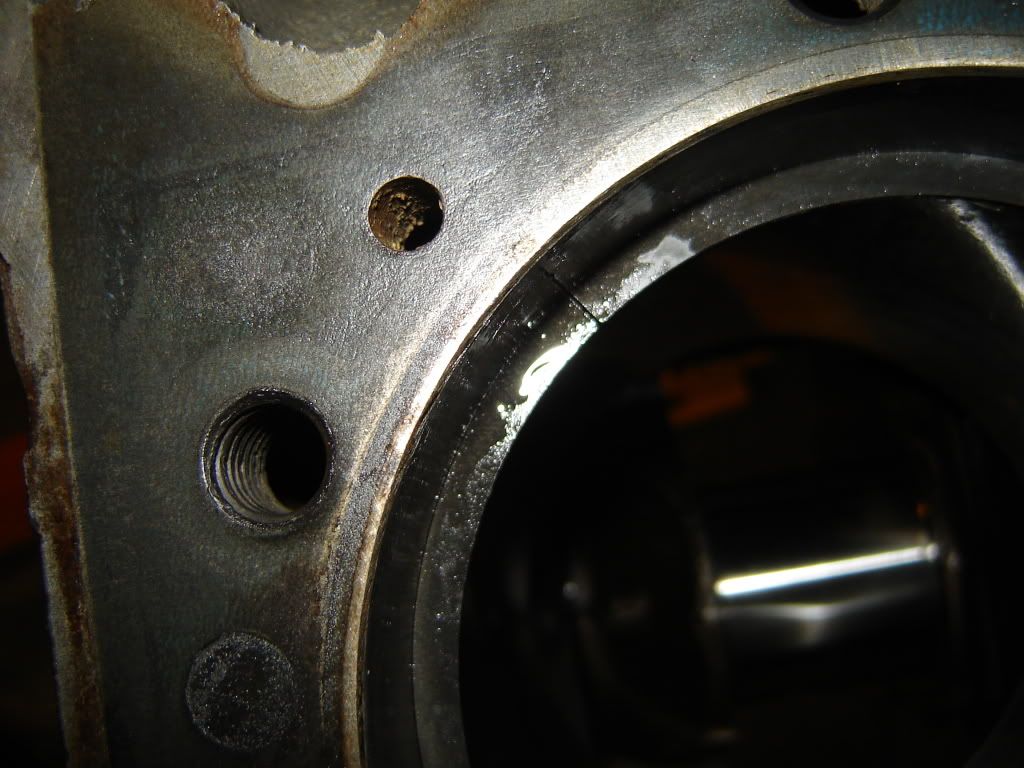
so next i took apart my oil pump to see how the insides were doing


if you look at the cap the scoring on the side nearest the top of the pic there is some pretty deep scoring in the middle circle you can see, also the gear teeth had definitely seen some debry. i didnt get a pic but they had lots of little scores and some deep ones too. then i snapped the little plastic fitting that holds the two shafts together but luckily a new one came in the box with my rear main seals. then later today i went to the parts store to get some odds and ends like timing case gasket and some other things and it turns out a new pump is only 36 bucks so i decided not to chance the old one and got a new one.

this is how it sits. i had already put the old pump on but ill just switch it out tmrw


thanks for lookin


Offline travh123

  • Newbie
  • Posts: 47
Re: 1974 stepside "the burg"
« Reply #17 on: March 25, 2012, 02:57:47 pm »
just a little update, got a new timing cover because the old one was pretty warped from being tightened down so much, and i didnt want to risk it leaking oil.


with the new seal pushed in, i just took a rubber hammer and layed a peice of wood across the seal and hammered it until it was in a bit, then finished it off with the rubber hammer


heres a pic of my new pump with the old pickup on it


this fell out of the pickup along with some other little pieces, im not really too sure what it is. almost looks like a little piece of the fitting form between the two shafts on the oil pump but im relly not sure


so after i put the new pump on i got all the surfaces ready for gaskets
i smeared just enough sealer on the timing case surface so tha i could stick the gasket in place, they covered the other side of the gaseket with sealer once it was on.


timing cover on, as you can see i went with the nice shiny new bolts :P


there was some of the sealer in the little nook on the rear main cap, so i had to scrape that off with a little screw driver before i could put the new seals in


pan gasket on with sealer on both sides


pan on and done for the day


Offline gto109

  • Frequent Member
  • **
  • Posts: 405
Re: 1974 stepside "the burg"
« Reply #18 on: March 25, 2012, 05:17:11 pm »
Looking good keep up the good work.
67 Le Mans Convertible resto project 350 Pontiac w/powerglide,
85 Scottsdale k-10 305 700r4,
86 Trans Am 305 350th
06 Dodge Ram daily driver

Offline bake74

  • Senior Member
  • ****
  • Posts: 5871
    • Build Thread
Re: 1974 stepside "the burg"
« Reply #19 on: March 26, 2012, 05:44:54 am »
     Really good work, I wonder if that piece you found was from your old oil pump/pickup tube ?  Did you happen to look the old one over ?
#1: The easiest and most obvious solution to any problem is 99% of the time correct.
#2: There is no such thing as impossible, it just takes longer.
  74 k10, 77k10    Tom

Offline travh123

  • Newbie
  • Posts: 47
Re: 1974 stepside "the burg"
« Reply #20 on: March 26, 2012, 02:15:22 pm »
thanks guys, @bake i took the old pickup off the old pump and put it on the new one. and the old pump had an orange fitting between the two shafts and was super brittle. and if you look at the pic of the piece it has a little ridge running through the middle of it like the oil pump fitting does, so im thinking that was probly it.

this is the fitting im talking about


Offline heavychevy91

  • Frequent Member
  • **
  • Posts: 322
  • '86 Chevy K20
Re: 1974 stepside "the burg"
« Reply #21 on: March 26, 2012, 08:52:00 pm »
Looks good man. If you want to make priming the oil system a little easier pack that pump with some vaseline.

Offline travh123

  • Newbie
  • Posts: 47
Re: 1974 stepside "the burg"
« Reply #22 on: March 26, 2012, 09:00:41 pm »
already have the pan on and id rather not pull it off and mess up the seal. what does the vaseline do to make it easier? does it just give it a bit of a better seal for suction type thing?

Offline heavychevy91

  • Frequent Member
  • **
  • Posts: 322
  • '86 Chevy K20
Re: 1974 stepside "the burg"
« Reply #23 on: March 26, 2012, 09:19:38 pm »
already have the pan on and id rather not pull it off and mess up the seal. what does the vaseline do to make it easier? does it just give it a bit of a better seal for suction type thing?

You got it. If you already have the pan on i wouldnt fret too much. If you do prime the oil system before you start it (which is a good idea) stay away from Harbor Freight oil pump prime tools. I wasted my money on one and it dint work worth a darn. Just took an old distributor and cut the top apart, ground the teeth off the cam gear, and chucked a drill on it. Good luck. Progress looks good so far.

Offline travh123

  • Newbie
  • Posts: 47
Re: 1974 stepside "the burg"
« Reply #24 on: March 26, 2012, 11:00:20 pm »
ok well thanks for the heads up man, and ill have to try and find an old dist cuz just from a quick interweb search some of the "tools" they have for sale look pretty sad

Offline travh123

  • Newbie
  • Posts: 47
Re: 1974 stepside "the burg"
« Reply #25 on: March 27, 2012, 06:42:44 pm »
its been slow the last couple days, and to top it off when i went to assemble my heads today and actually get some progress going, i had the wrong exhaust stem seals. the heads i have are from a 3/4 ton so as some may know they have beefier exhaust valves. so the seals i got (not the rubber o-rings) wouldnt fit on and i cracked the first one i tried putting the spring on. so i had to drive all the way back to the machine shop to get new seals because the parts guy at lordco wasnt sure about the difference between the seals, and neither was i. anyways ill have more pics tmrw and hopefully get some real work done.

also just a quick question for you guys, im wondering when i should actually paint my engine? i was thinking once i have the heads and intake already on. any input would be appreciated thanks.

Offline travh123

  • Newbie
  • Posts: 47
Re: 1974 stepside "the burg"
« Reply #26 on: March 29, 2012, 09:49:03 pm »
got some updates.

heres a better look at my heads


new seats and guides


retainers and keepers all cleaned up


so heres what happened when i tried to put the springs on with the smaller seals


this is the bigger seals compared to the smaller ones, minute difference cant really tell from the pic


head gasket in place, and head placed on top


and here it is all torqued up and ready to go


so i set the lash on all the valves, and went to prime the oil system. my drill wasnt too good and i dont think it could spin fast enough because i could get oil coming out of one side of rockers but just a bit of bubbling and spitting of oil on the otherside. so im jsut gunna have to be extra carefull on start up and try to prime it again once its in the truck

Offline 1980c10

  • Senior Member
  • ****
  • Posts: 1205
Re: 1974 stepside "the burg"
« Reply #27 on: March 30, 2012, 12:48:25 am »
It won't really matter when you paint your engine. If you plan to paint your intake the same color then put it on first. I would have not put on the timing chain cover or harmonic balancer yet though just to save having to mask them.  I would have painted it with the old valve covers and timing cover layed in place just to mask from overspray. Old spark plugs come in handy too to block the holes. Nice detail in the pics and description and the work  looks great too. You probably know this but your pistons are stamped .040 becuase they are likely .040 oversize meaning the block was bored at some point. just hints that the engine has been rebuilt since new. Also the pistons are a flat top design(not stock)  to increase compression ratio.

Offline travh123

  • Newbie
  • Posts: 47
Re: 1974 stepside "the burg"
« Reply #28 on: March 30, 2012, 12:05:52 pm »
ya i plan on just mocking up the old valve covers for paint, but timing case would have been a good idea too, and for some reason i kept my old plugs in  my garage so thats a helpful hint. i knew that the engine had been rebuilt because it was in pretty dang good shape for a 79, like there was hardly a ridge on the bores, and the timing chain was still just as tight as the new one i bought. but i didnt know about the pistons being flat top which is nice to know. thanks for the reply

Offline travh123

  • Newbie
  • Posts: 47
Re: 1974 stepside "the burg"
« Reply #29 on: March 31, 2012, 02:50:06 pm »
got the water pump cleaned up and pulled the back off to make sure there was no sand inside and washed er out


did a second clean up of the intake to get some of the spots i missed